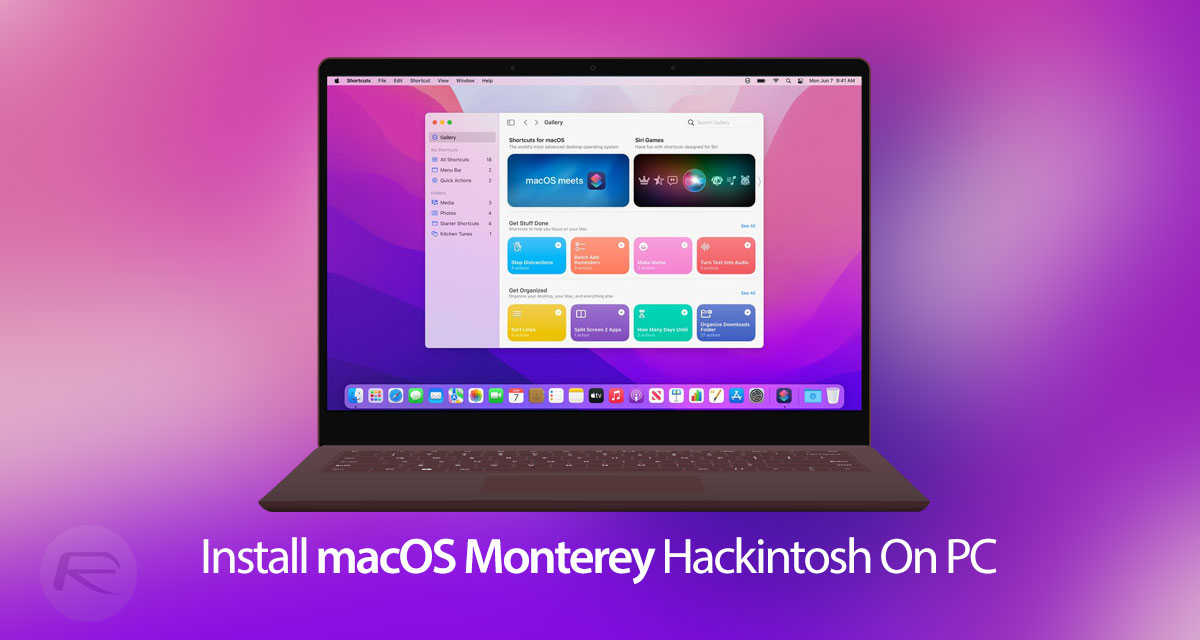
Here’s how to download and install macOS 12 Monterey Hackintosh on your PC the easy way using this guide of ours.
Before you go ahead in downloading and installing this, you need to make sure you meet the pre-requisites of this guide.

The following pre-requisites are required in order to download and install macOS Monterey hackintosh on your Intel-based PC.
What You Need:
- On a Windows computer, download and install BalenaEtcher
- Also download Explorer ++
- Download and install Paragon Partition Manager
- And last but not the least, download macOS Monterey RAW file from Olarila
- A 32GB+ USB drive
Once you have got hold of all these, follow the instructions below on how to install it.
How To Install macOS Monterey Hackintosh:
Step 1: First up, launch BalenaEtcher and click on “Flash from file”. Select the macOS Monterey RAW file you downloaded earlier.
Step 2: Next, plugin your USB drive and select that as ‘Target’ in BalenaEtcher.
Step 3: Now click on “Flash” in BalenaEtcher and wait for it to prepare your USB drive. This process might take a while so be patient.
Step 4: Once this is done, launch Paragon Partition Manager. Select your USB drive in this program and then click on “Change drive letter” option. Give it any letter like ‘A’ and then click on Change Now.
Step 5: Once this is done, you are pretty much ready to boot the USB drive up on your Intel machine to launch macOS installer. However if you have one of the following PCs with Intel CPU, you need to first add some files in the drive before going ahead with the boot up. If you don’t have the listed Intel CPU, you can totally skip the following sub-step.
- 4th-gen or below Core i Intel processor (use EFI OpenCore Serie 100.200)
- 4th-gen or above Core i Intel processor (use EFI OpenCore Serie 300.400 and use EFI OpenCore Serie 500)
Download the required files from Folders section at olarila.com/files/?dir=Folders. Once done, launch Explorer ++ as Administrator in Windows. Here, open the USB drive and delete the EFI folder and files you see in the drive and replace them with the ones you downloaded above.
Step 6: Once all of this is done, reboot the computer with USB drive plugged in the computer which is set to boot off the drive.
Step 7: Once you do this, you should see “Install macOS 12 Beta” or “Install macOS 12” option. Select it and let it load the Monterey installer.
Step 8: Once booted into the installer, go into Disk Utility and select View>Show All Devices. Select the drive on which you want to install macOS. Click on Erase and select Format as Mac OS Extended (Journaled) and Scheme as GUID Partition Map.
Step 9: Once done, close the Disk Utility and click on “Install macOS 12” option. Select the drive your formatted above to install it on and let it begin installing macOS Monterey.
Step 10: Once the installation begins, be patient and give it around 60 mins for it to complete. Once it’s done, it will boot right into macOS Monterey.
And that’s pretty much it. Happy hackintoshing macOS Monterey on your Intel PC!
You may also like to check out:
- Download: Windows 11 Preview Build 22000.51 ISO Released For Insiders
- How To Install Windows 11 On A Mac Using Boot Camp Today
- iOS 15 Beta Compatibility For iPhone, iPad, iPod touch Devices
- 150+ iOS 15 Hidden Features For iPhone And iPad [List]
- Download iOS 15 Beta 2 IPSW Links And Install On iPhone And iPad
- iOS 15 Beta 2 Profile File Download Without Dev Account, Here’s How
- How To Downgrade iOS 15 Beta To iOS 14.6 / 14.7 [Tutorial]
- How To Install macOS 12 Monterey Hackintosh On PC [Guide]
- iOS 15 Beta 3 / Public Beta Download Expected Release Date
- Download: iOS 14.6 Final IPSW Links, OTA Profile File Along With iPadOS 14.6 Released
- Jailbreak iOS 14.6 Using Checkra1n, Here’s How-To [Tutorial]
- How To Downgrade iOS 14.6 And iPadOS 14.6 [Guide]
- Convert Factory Wired Apple CarPlay To Wireless Apple CarPlay In Your Car Easily, Here’s How
- Apple Watch ECG App Hack: Enable Outside US In Unsupported Country On Series 5 & 4 Without Jailbreak
You can follow us on Twitter, or Instagram, and even like our Facebook page to keep yourself updated on all the latest from Microsoft, Google, Apple, and the Web.

