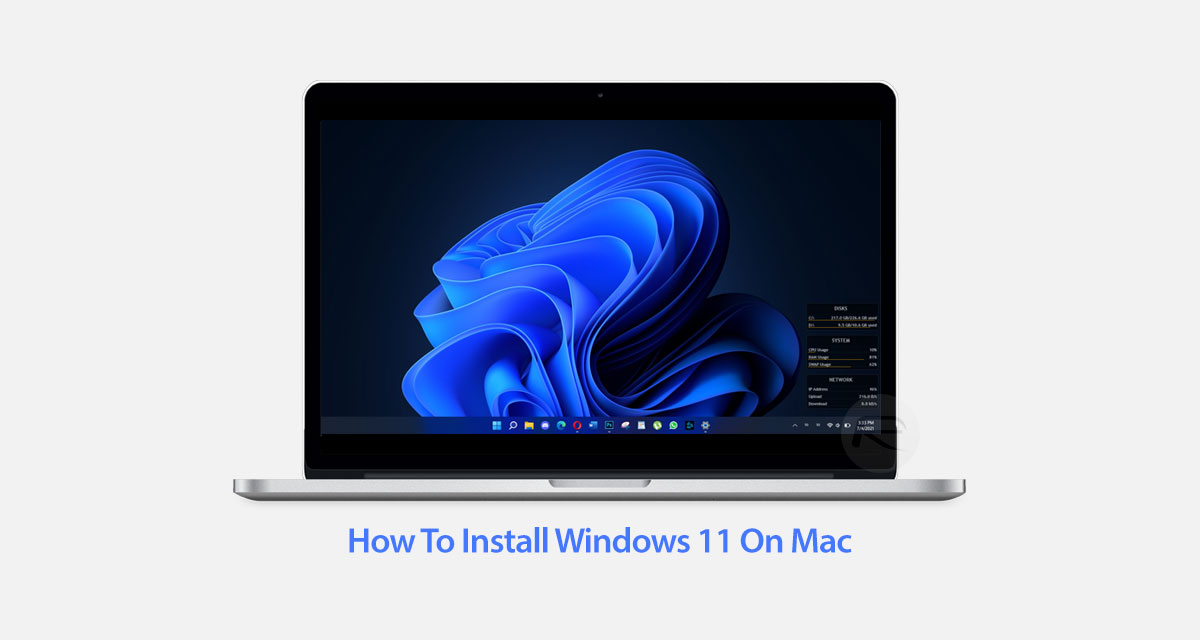
Here’s how to install the official Windows 11 Preview build onto a non M1 Intel-based Apple Mac using Boot Camp process.
If you are looking to view and use Microsoft’s gorgeous new Windows 11 OS but you have a Mac, then this process could definitely be for you.

Notes:
- This process will work on any Apple Mac running an Intel processor. Do not attempt to run through this process on one of Apple’s M1-powered Macs
Requirements:
- An Intel-powered Apple Mac
- The latest official Windows 11 ISO of Preview build
- The most recent Windows 10 ISO
- AnyToISO Lite tool or any other ISO manager. You can download it from here.
Step 1: First and foremost, make sure that the AnyToISO tool is downloaded and installed to your machine. You’ll also need to strap yourself in and exercise some patience for this process. Are you ready? Let’s go…
Step 2: Once you have downloaded Windows 10 ISO, right click on your Windows 10 ISO file and select Open With > DiskImageMounter. Select all of the items in the resulting folder, then right-click and go to Copy 8 Items
Step 3: Create a new folder on the desktop of your Mac – call it whatever you wish but we will call it build so we can reference it – and paste the previously copied items into the folder.
Step 4: Unmount the ISO file. Download Windows 11 ISO. Right click on the Windows 11 ISO file and select Open With > DiskImageMounter and then select the sources folder. Locate the install.wim file. Copy that file and temporarily paste it to the Desktop.
Step 5: Close all folders and, once again, unmount the Windows 11 ISO just to keep things nice and tidy.
Step 6: Right click on the install.wim file on the Desktop, and select Get Info. Under the “Name & Extension” section, remove the “wim” extension and replace it with “esd”. You should then end up with a file called “install.esd”. Close the Get Info box.
Step 7: Launch the build folder that you previously created. Head into the sources folder and locate the install.esd file and remove it by sending it to the trash. Copy the install.esd file from your Desktop into the build folder. If you are asked to enter you admin password for either of those two actions, then make sure that it’s entered.
Step 8: Launch the AnyToISO app (or any ISO maker of your choice). Select Folder to ISO and select the Browse for Folder option. Select your build folder from the Desktop and select Open.
Step 9: Select the Make ISO button and wait for the process to complete. Once completed, you will end up with an ISO file located in your destination folder.
Step 10: Within a Finder window, select Go > Utilities to launch the Utilities folder. Launch the Boot Camp Assistant app.
Step 11: Select Continue and then create a partition of your desired size for your Windows 11 installation. Select the Choose button to select your ISO from which to install Windows 11 and select the previously created ISO from your destination folder. Select Install.
Step 12: The Boot Camp Assistant app will then do the rest by downloading the relevant files for installation. The time that it takes will entirely depend on your internet connection.
Step 13: You may be asked to enter your admin password and then the machine will boot into the Windows installation. Click Next and then Next again and then when you are prompted with the “Select the operating system that you want to install” window, select Windows 11 Pro and then select Next.
Step 14: Agree to the terms and select Next. The installation will then begin and, once again, will vary in time depending on the speed of your machine. Click on Restart when prompted.

And there you have it! When you are brought back after the restart, you will be taken through a small wizard that lets you select your own personal preferences and customizations for the Windows experience. Make sure to install all of the relevant Boot Camp drivers and software when prompted for the full and proper experience.
You may also like to check out:
- Download: Windows 11 Preview Build 22000.51 ISO Released For Insiders
- How To Install Windows 11 On A Mac Using Boot Camp Today
- iOS 15 Beta Compatibility For iPhone, iPad, iPod touch Devices
- 150+ iOS 15 Hidden Features For iPhone And iPad [List]
- Download iOS 15 Beta 2 IPSW Links And Install On iPhone And iPad
- iOS 15 Beta 2 Profile File Download Without Dev Account, Here’s How
- How To Downgrade iOS 15 Beta To iOS 14.6 / 14.7 [Tutorial]
- How To Download iOS 15 Beta 1 Along With iPadOS 15 Beta 1
- iOS 15 Beta 3 / Public Beta Download Expected Release Date
- Download: iOS 14.6 Final IPSW Links, OTA Profile File Along With iPadOS 14.6 Released
- Jailbreak iOS 14.6 Using Checkra1n, Here’s How-To [Tutorial]
- How To Downgrade iOS 14.6 And iPadOS 14.6 [Guide]
- Convert Factory Wired Apple CarPlay To Wireless Apple CarPlay In Your Car Easily, Here’s How
- Apple Watch ECG App Hack: Enable Outside US In Unsupported Country On Series 5 & 4 Without Jailbreak
You can follow us on Twitter, or Instagram, and even like our Facebook page to keep yourself updated on all the latest from Microsoft, Google, Apple, and the Web.

