The following guide will help you do a fresh clean install of Windows 10 on your PC the right way. Follow the instructions carefully, if you encounter any issues, drop us a line in the comments section below.
Ready? Lets do this!
Backup:
Step 1: First and foremost, backup all of your data to either a cloud-based service or an external hard drive.
Check system requirements:
Step 2: Make sure your computer meets minimum system requirements for Windows 10:
- CPU: 1GHz processor or faster
- RAM: 1GB for 32-bit / 2GB for 64-bit
- Storage space: 16GB for 32-bit / 20GB for 64-bit
- Graphics: DirectX 9 capable video card
Create a bootable Windows 10 drive:
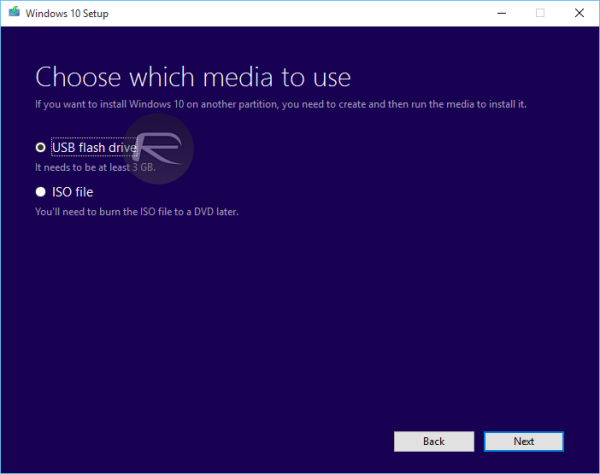
Step 3: Get a spare USB flash drive with at least 4GB of free space and make bootable Windows 10 drive out of it by following the instructions here: How To Create Bootable Windows 10 USB Flash Drive [Guide].
Get the product key:
Step 4: If you have a Windows 10 product key, that’s well and good, if not, you will need to first avail Microsoft’s free upgrade offer before you can do a clean install. Microsoft’s free upgrade offer requires you to be either on genuine version of Windows 7 SP1 or Windows 8.1 Update. You can upgrade to your free Windows 10 copy by following our tutorial here: How To Download And Install Windows 10 Free Upgrade [Tutorial]. This may seem like pointless but it’s important and the only way to get your free license from Microsoft.
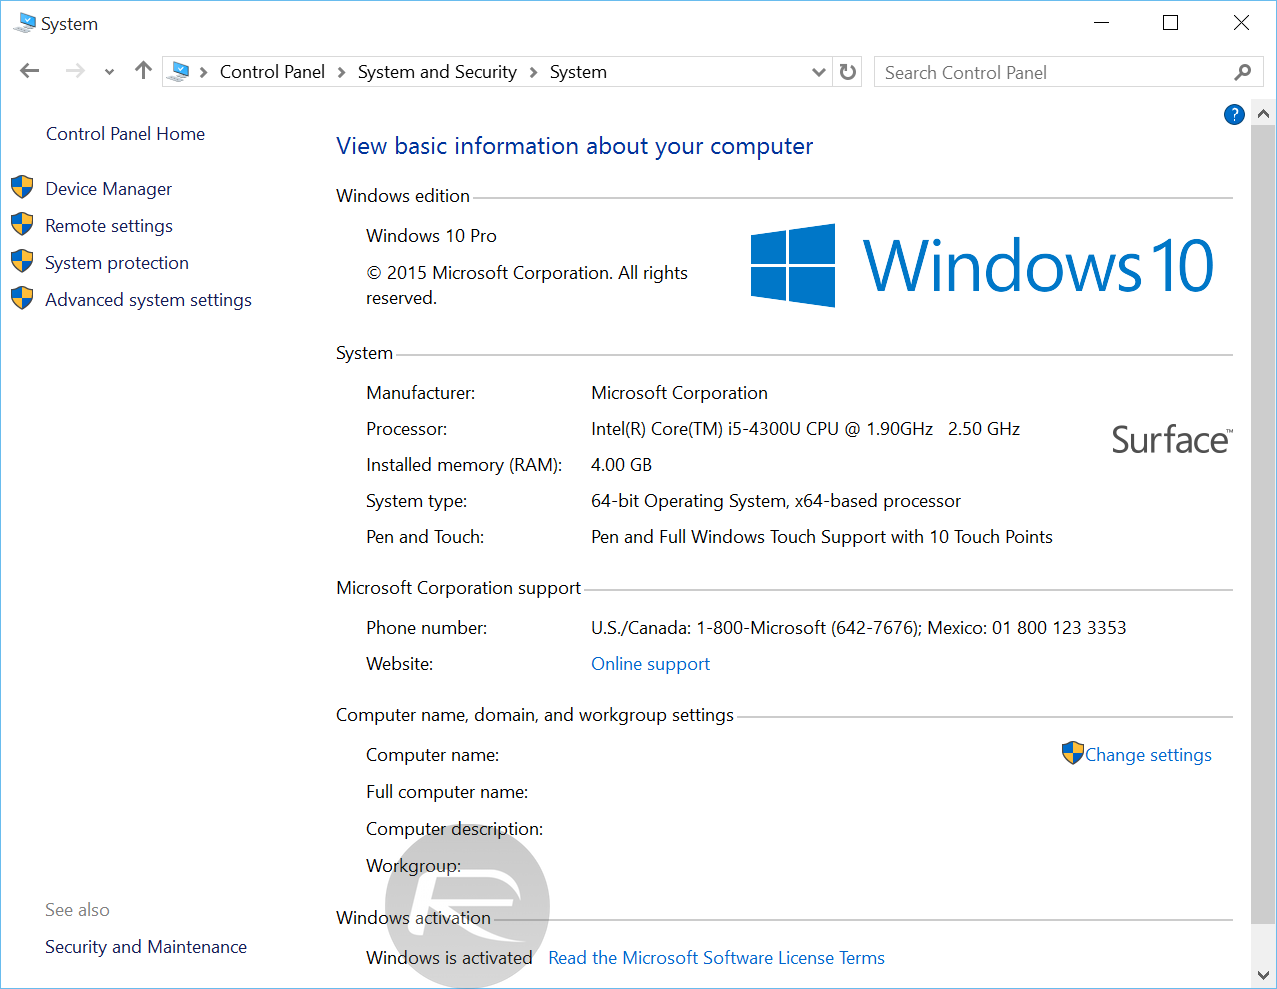
Step 5: Once upgraded, make sure your copy of Windows 10 is activated. You can check this from Control Panel > System and Security > System.
Why is this important? Windows product keys are tied to the hardware of your computer. When you avail Microsoft’s free offer of upgrading from Windows 7 or 8.1 to 10, Microsoft knows the computer hardware you upgraded on. Once upgraded and activated on Windows 10, you can do a clean install of Windows 10 at anytime – even after completely formatting your hard drive – and it will remain activated as long as it is done on the same hardware.
Boot from bootable USB flash drive:
Step 6: With the bootable USB plugged in, restart your PC. On start up, enter the BIOS settings of your computer and configure it to boot from the USB flash drive. The procedure for entering and configuring BIOS is different for every computer. If you don’t know how to enter BIOS or boot from USB drive on your computer, refer to the user manual it shipped with.
Installing Windows 10:
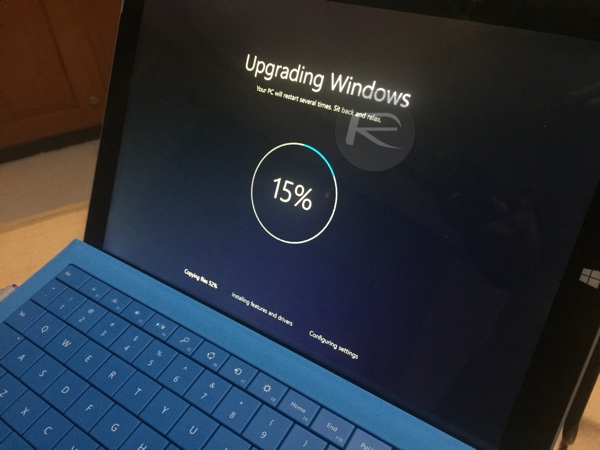
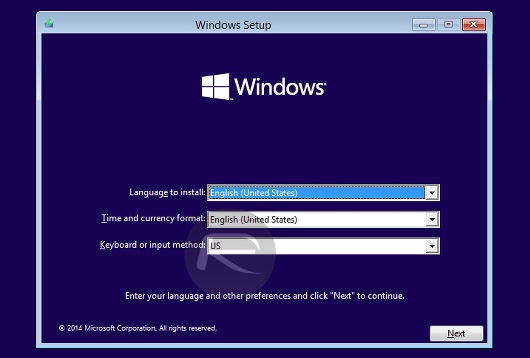
Step 7: Once you have booted from the USB flash drive, you will be greeted with Windows 10 setup screen. Simply follow the on-screen prompts, format (make sure you have backed up everything in Step 1 above first!) and select the hard drive you want to install it on.
When prompted for product key during installation, enter the genuine Windows 10 product key if you have one. If you availed Microsoft free upgrade offer as explained in Step 4 above, simply skip the product key page.
Activating Windows 10:
Step 8: Once Windows is installed and you have logged in, your copy of Windows 10 will automatically activate. In case you encounter issues activating Windows 10 after fresh installation, open Command Prompt in administrator mode, type this command and press enter: slmgr.vbs /ato
Your Windows 10 copy should activate now.
You may also like to check out:
- Download Windows 10 Pro ISO File Without Product Key From Microsoft
- Force Download Windows 10 Free Upgrade Right Now, Here’s How [Tutorial]
You can follow us on Twitter, add us to your circle on Google+ or like our Facebook page to keep yourself updated on all the latest from Microsoft, Google, Apple and the web.
