Here are step-by-step instructions on how to create a bootable USB flash drive for Windows 11 the correct way so you can do a fresh clean install of the operating system on your PC.
After a beta process that saw a surprising amount of excitement, Windows 11 is now available for download. But you’ll need a way to get it onto your computer and while upgrading from Windows 10 is a pretty simple affair, there are some steps to take if you want to be able to install Windows 11 onto a clean drive. The easiest and fastest way to do that is to create a bootable Windows 11 flash drive, so let’s do that!

Below are the steps you need to follow to create a bootable Windows 11 USB flash drive.
Step 1: Download the latest Windows 11 Media Creation Tool from here to get started.
Step 2: Run the tool once the download has been completed and select the Create installation media for another PC before clicking “Next”.
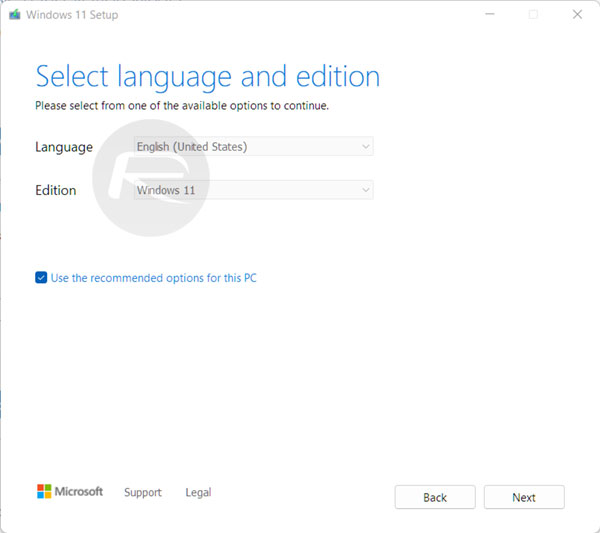
Step 3: Select the required language and Windows 11 version from the selection field. There’s also an option to select 32-bit or 64-bit variants of Windows — select the options you need and click “Next”.
Step 4: Insert the necessary USB flash drive into a free USB port on the computer. Make sure the drive is formatted correctly and has at least 4GB of available storage space. It’s best to actually use a fresh and empty USB drive to make sure you don’t run the risk of losing data.
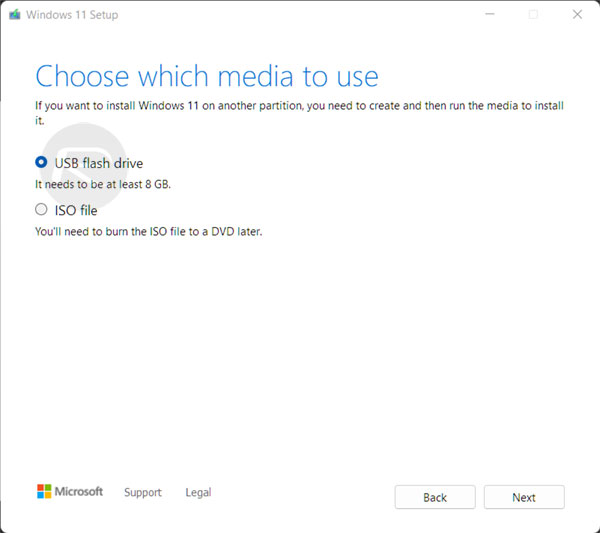
Step 5: Make sure that USB flash drive is selected, and click “Next”.
Step 6: Point the tool at the relevant USB drive when prompted.
Step 7: The tool will then download the relevant files and create a USB bootable version of Windows 10. Hit the “Finish” button when done to end the process.
And that’s it! Now you can boot to the Windows 11 flash drive and be on your way!
You may also like to check out:
- Download Windows 11 Pro ISO File Without Product Key From Microsoft
- Force Download Windows 11 Free Upgrade Right Now, Here’s How [Tutorial]
- How To Install Windows 11 On A Mac Using Boot Camp Today
- Download Windows 11 Installation Assistant For Your PC
- 150+ iOS 15 Hidden Features For iPhone And iPad [List]
- Download: iOS 15.0.1 IPSW Links, OTA Profile File Along With iPadOS 15.0.1 Out Now
- Jailbreak iOS 15.0.1 On iPhone And iPad Status Update
- How To Install macOS 12 Monterey Hackintosh On PC [Guide]
- Best iPhone 13, 13 Pro Tempered Glass Screen Protectors Available Today [List]
- Best iPhone 13, Pro Max 20W USB-C Chargers [List]
- Top iPhone 13 Pro Max Screen Protectors Available To Buy [List]
- Best iPhone 13 / Pro Cases For Protection Available Right Now
- How To Fix Bad iOS 15 Battery Life Drain [Guide]
- Fix iOS 15 OTA Stuck On Preparing Update Issue, Here’s How
- Fix iOS 15 Estimating Time Remaining Stuck Issue, Here’s How
- Fix iOS 15 Update Requested Stuck Issue On iPhone And iPad, Here’s How
- Apple Watch ECG App Hack: Enable Outside US In Unsupported Country On Series 5 & 4 Without Jailbreak
You can follow us on Twitter, or Instagram, and even like our Facebook page to keep yourself updated on all the latest from Microsoft, Google, Apple, and the Web.
