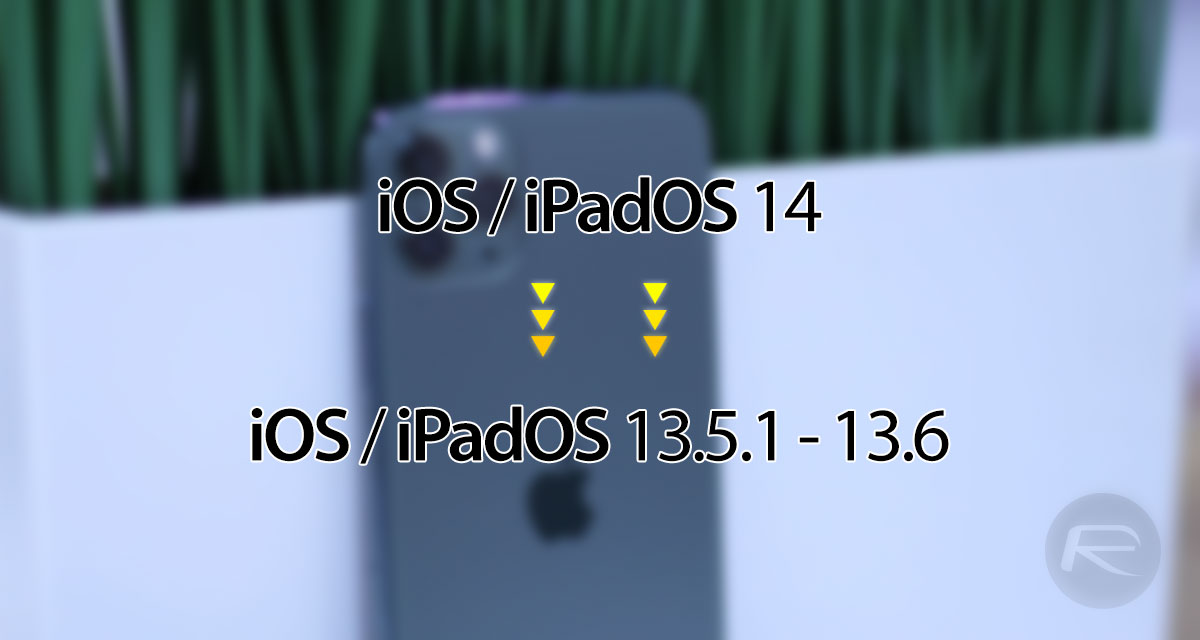
Here’s how to downgrade iOS 14 beta 1 or iPadOS 14 beta 1 to iOS / iPadOS 13.5.1 / 13.6 on a compatible iPhone, iPad, or iPod touch device.
If you have found yourself caught up in the initial iOS/iPadOS 14 unveiling and have decided to install it to one of your main devices, then there is a good chance that you will find yourself wanting to move back to a more stable build intended for public consumption.
Apple doesn’t try to pretend that an initial beta seed is going to be flawless and provide a perfect experience. With that in mind, if you have made the jump and want to go back, then you can rest assured that the option is available to you.
The process for downgrading is highlighted below but it’s very important that you keep in mind that any iCloud or iTunes backup that you have made whilst running iOS 14 or iPadOS 14 won’t be able to be restored to the device once you re-install iOS/iPadOS 13.5.1 or iOS/iPadOS 13.6. You will need to set it up as a brand new device or choose a backup from a compatible firmware version. Let’s jump right in.
Step 1: First of all, make sure you are running the latest version of iTunes on your Mac or PC. If you are running the latest version of macOS then this will be taken care of for you via the Finder app.
Step 2: You will also need to have the relevant IPSW file compiled specifically for the device that you are using to downgrade. You can download the right iOS/iPadOS 13.5.1 IPSW file for your device from here, or the iOS/iPadOS 13.6 IPSW file from here.
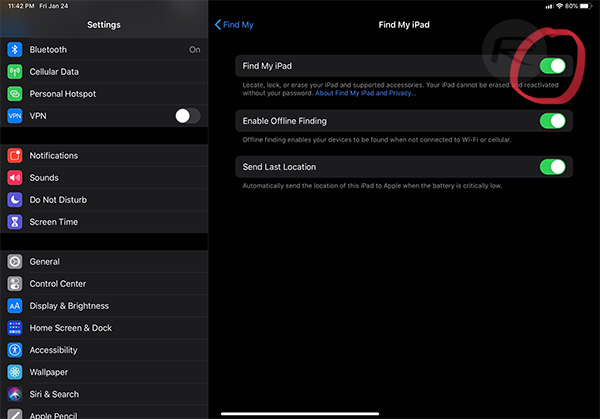
Step 3: Make sure that the Find My feature is disabled on the device in question. Launch Settings and head to iCloud > Find My and ensure that the toggle is switched to the Off position. When you are asked to provide your password, make sure to do so.
Step 4: Connect your iPhone or iPad to your PC or Mac using the correct USB cable and make sure that iTunes/Finder launches. You will now need to put the device into DFU mode. If you need some help with DFU mode for your specific device, then check out the articles below and then pop back into this window when you are done:
- iPhone 8 / 8 Plus, iPhone X / XR / XS / XS Max / 11 / 11 Pro / 11 Pro Max, or 2018/2020 iPad Pro owners can follow this guide.
- iPhone 7 / 7 Plus owners: Enter DFU Mode On iPhone 7 Or iPhone 7 Plus, Here’s How
- If you have an iPhone 6s / 6s Plus or any other iPad, then follow the instructions here.
Once the hardware is in DFU Mode, iTunes/Finder should let you know that it has detected a device in Recovery Mode.
Step 5: Jump back into iTunes. Press and hold the Option key (Mac), or SHIFT key (Windows), and select the Restore iPhone/iPad option. You will get a new window show up that will let you select the relevant IPSW file that you downloaded earlier. Make sure to select it.
Step 6: Now, it’s down to iTunes/Finder to go ahead and re-install/downgrade the firmware on the selected device to the IPSW file that you provided it with. Sit back and relax as it does this.
Once it has been finalized, you will be left on the standard setup screen for your device and you will be left with iOS/iPadOS 13.5.1/13.6 on the device. If you want to keep trying out iOS/iPadOS 14 as it progresses then maybe consider putting it onto an infrequently used test device.
You may also like to check out:
- Download iOS 14 Beta 1 IPSW Links And Install On iPhone 11, Pro, XS Max, X, XR, 8, 7, Plus, 6s, iPad, iPod [Tutorial]
- iOS 14 Beta 1 Download IPSW Links, OTA Profile And iPadOS 14 Beta 1 For iPhone And iPad
- iOS 14 Beta 1 Profile File Download Without Dev Account, Here’s How
- iOS 14 Hidden Features On iPhone And iPad That You Don’t Know About [List]
- Download: iOS 13.6 Beta 2 IPSW Links, OTA Profile File, Beta 2 Of iPadOS 13.6 Released
- iOS 13.5.1 Downgrade No Longer Possible After Apple Stops Signing iOS 13.5 Jailbreak Firmware
- Jailbreak iOS 13.5.1 Using Checkra1n, Here’s How [Video Tutorial]
- Jailbreak iOS 13.5 On iPhone 11, Pro Max, SE, iPad Pro, More Using Unc0ver 5.0.0 [Tutorial]
- Download: iOS 13.5.1 IPSW Links, OTA Update Released For iPhone And iPad
- Jailbreak iOS 13.5 Without Or No Computer, Here’s How
- Apple Watch ECG App Hack: Enable Outside US In Unsupported Country On Series 5 & 4 Without Jailbreak
You can follow us on Twitter, or Instagram, and even like our Facebook page to keep yourself updated on all the latest from Microsoft, Google, Apple, and the Web.
