Here’s how to clean install macOS Ventura on your Mac via USB drive the right way.
Apple has now released macOS Ventura to the world and you can download it yourself right now. But if you want to install it on a Mac afresh, you’re going to need to do so via a USB stick. Here’s how to do it.

Before you start there are a couple of things that you’re going to need. We’d definitely suggest that you have all of your data backed up if there is any on the Mac at the time, and you’re going to need to have a Mac that supports macOS Venture. That much is obvious, but worth repeating.
With that said let’s dive in.
How To Do A Clean Install Of macOS 13 Ventura
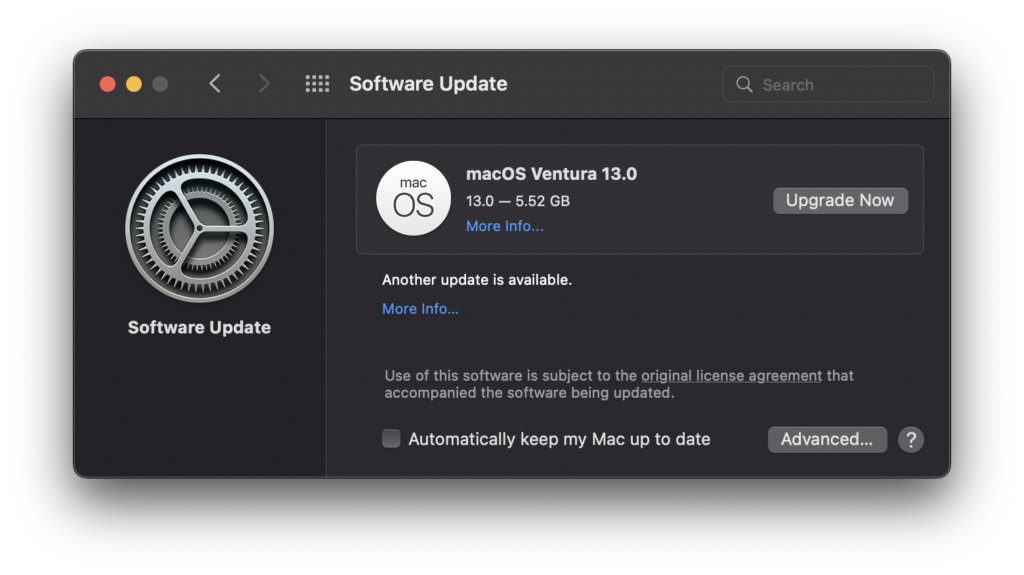
Step 1: Before you begin you will need to have the installation file for this particular version of macOS. You can download the installer for macOS Ventura from here.
Step 2: With that installation all downloaded you will need to make a bootable USB drive with this version of macOS all set and ready to go. We have a guide for that, so make sure to follow along before you continue: How To Make macOS Ventura USB Installer.
Step 3: Turn your Mac off and then insert the USB drive into a USB port. Turn it back on while holding the Option key if you’re using an Intel Mac. Using an Apple Silicon Mac? Just power it back on. You should be taken to the boot menu when everything starts up.
Note: If you have a T2-chip enabled Mac, you will first need to enable booting from external storage via macOS Recovery. Nothing is going to work if you don’t have that all squared away ahead of time.
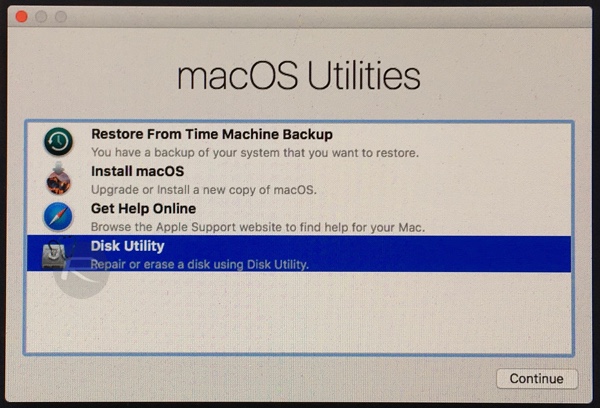
Step 4: You should now be able to use the macOS Utilities menu. Select Disk Utility and then click Continue.
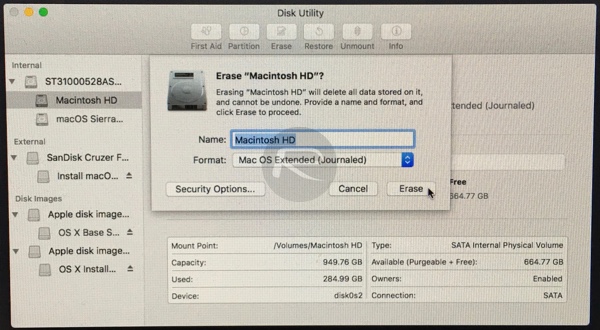
Step 5: Make sure that your Mac’s main drive is selected and then click Erase. Ensure that the name of the new drive is Macintosh HD and make sure that the format is set as either “APFS (Encrypted)” (if you have a modern Mac with faster SSD) or “Mac OS Extended (Journaled)”. Select the Erase option to begin.
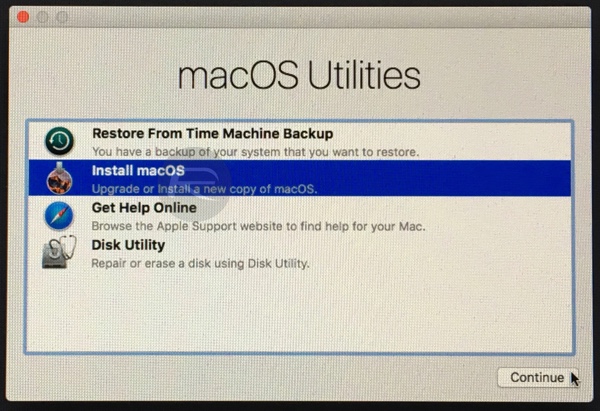
Step 6: Select Install macOS and then click Continue. Make sure that your newly-formatted drive is selected and follow the prompts.
When everything is done you should find that you’re all good to go and your new version of macOS Ventura is ready to be used.
You may also like to check out:
- Download: iOS 16.1 Final OTA Profile File, IPSW Links Released
- How To Fix Bad iOS 16 Battery Life Drain [Guide]
- Jailbreak iOS 16.1 On iPhone And iPad Status Update
- iOS 16 Compatible And Supported iPhone, iPad, iPod touch Devices
- iOS 16 Hidden Features: 100+ Changes Apple Didn’t Tell Us About
- Download: iPadOS 16.1 Final OTA Profile File, IPSW Links Released
- Download iOS 16 Final IPSW Links And Install On iPhone 13, Pro, 12, Pro, 11, Pro, XS Max, X, XR, 8, Plus [Tutorial]
You can follow us on Twitter, or Instagram, and even like our Facebook page to keep yourself updated on all the latest from Microsoft, Google, Apple, and the Web.
