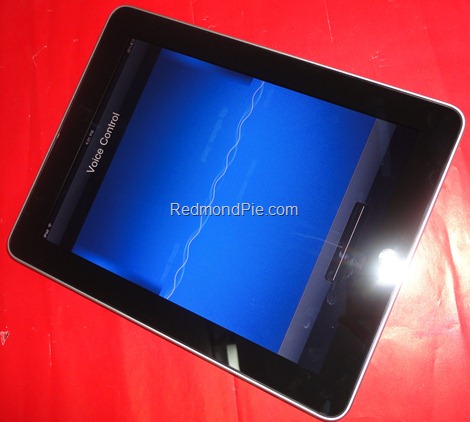
The following guide will help you enable “Voice Control” feature which is found in iPhone 3GS and the 3rd-gen iPod touch 3G. Make sure you have jailbroken your iPad prior to following this guide. Step by step guide on how to jailbreak your iPad using Spirit can be found here.

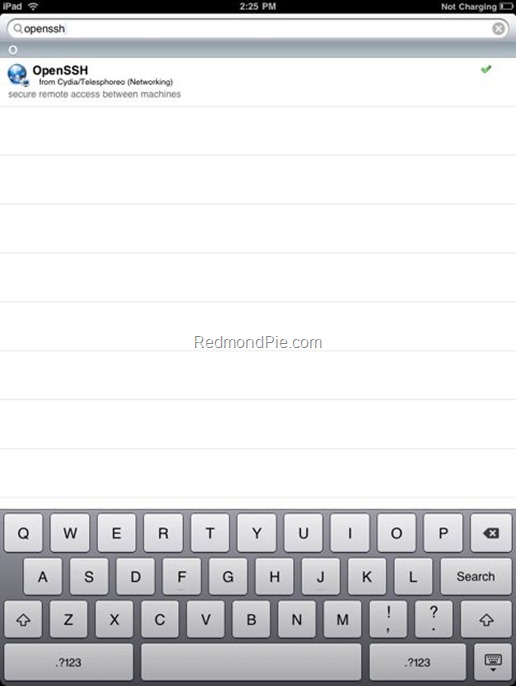
Step 1: Make sure you have OpenSSH installed on your iPad:
- Open Cydia. Touch on “Search” tab and then search for “OpenSSH”.

- Install “OpenSSH” and reboot your iPad.
Step 2: Connect your iPad with your computer. Make sure iTunes is not running.
Step 3: Download and install Cyberduck for Mac or WinSCP for Windows. Enter the following details to login to your iPad:
Cyberduck
- Server: The IP address of your iPad. Settings –> WiFi –> <Your Network Name>
- Username: root
- Password: alpine
- Protocol: SFTP (SSH File Transfer Protocol)
WinSCP
- Hostname: The IP address of your iPad. Setting –> WiFi –> <Your Network Name>
- User name: root
- Password: alpine
- Protocol: SCP
![Enable Tethering on iPhone 3.1.2 Firmware [iPhone 3GS and iPhone 3G] Enable Tethering on iPhone 3.1.2 Firmware [iPhone 3GS and iPhone 3G]](https://cdn.redmondpie.com/wp-content/uploads/2009/10/EnableTeth.2FirmwareiPhone3GSandiPhone3G_6DB/1.png)
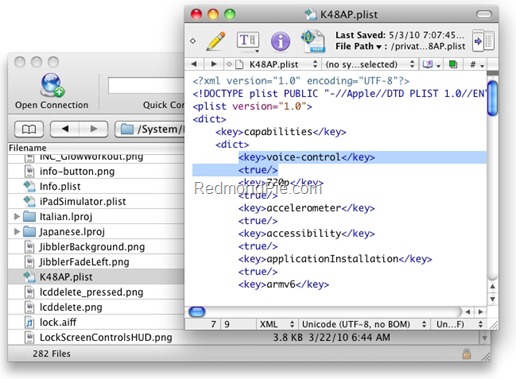
Step 4: Navigate to /System/Library/CoreServices/SpringBoard.app/ directory.
Step 5: Edit the K48AP.plist file in TextEdit or TextWrangler and add the following lines as shown in the screenshot below.
<key>voice-control</key>
<true/>

Step 6: Save this file and disconnect your iPad.
Step 7: Now simply restart your iPad. Voila ! You can now use ‘Voice Control’ feature by simply holding the "Home” button on your iPad until you see “Voice Control” screen on your iPad.
Disclaimer: This guide is for testing & educational purposes only. Follow it on your own risk. I’m not responsible for any loss of important data or malfunctioning of your iPad.
[via Twitter]
You may also like to check out:
- Jailbroken iPad 3G Can Send SMS Text Messages [Video]
- Use iPad in Landscape Orientation with Dock and Keyboard
- Turn Your Wi-Fi iPad into iPad 3G with MyWi App for iPhone
- Run iPhone Apps in Native Resolution of iPad (Non-Pixelated)
You can follow me on twitter or join our facebook fanpage to keep yourself updated on all the latest jailbreaking and unlocking releases.

