Here’s how to upgrade to macOS Ventura on your Mac the right and easy way.
As you may already know, macOS Ventura is the latest and greatest operating system release coming to Macs from Apple. Ventura has ton of new features like Stage Manager, Continuity Camera, big changes in Safari, Mail and Spotlight, and lots more.

Here we will guide you on how to upgrade your Mac to Ventura the right way.
Prepare your Mac for the Ventura update
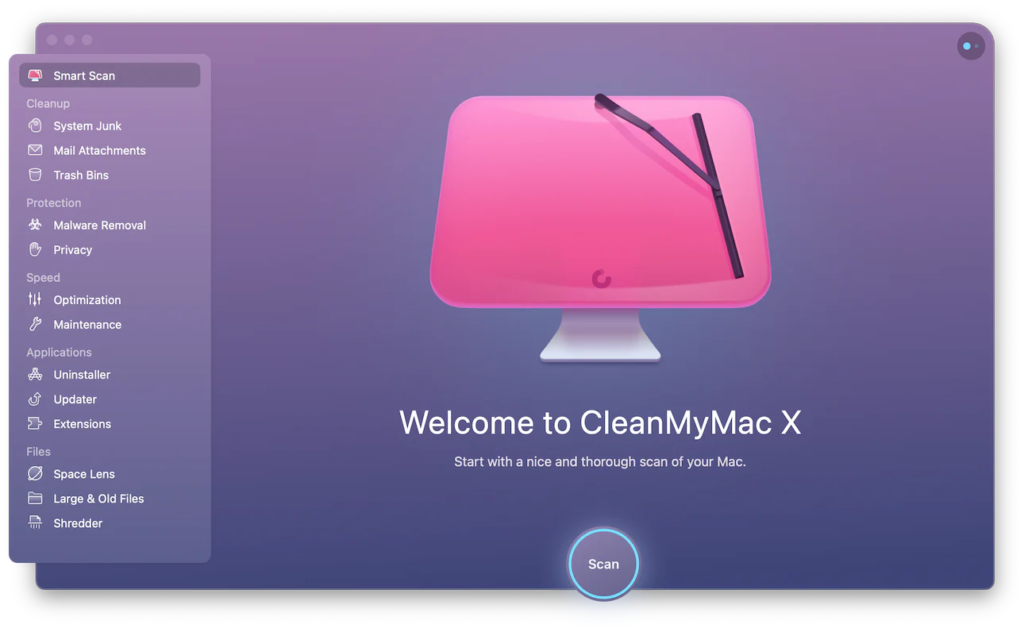
Before going ahead with the Ventura update, you will need to prepare your Mac. One of the recommended apps we suggest to do this is CleanMyMac X which helps prepare your Mac for the Ventura update. We will be using this app a lot during the following guide as we recommend it for all Mac users If you haven’t already, you can download CleanMyMac X from here. This app helps you free up some space for the installation and can also help delete junk files that could slow down computers during and after the update. Also, CleanMyMac helps prevent the most common problems with the newest macOS update, such as Ventura.
Make sure your Mac is compatible
This is a no brainer. Ventura is compatible with select Macs, so make sure yours is listed as being compatible:
- iMac 2017 and later
- iMac Pro 2017
- MacBook Air 2018 and later
- MacBook Pro 2017 and later
- Mac Pro 2019 and later
- Mac Studio 2022
- Mac mini 2018 and later
- MacBook 2017
Scan for Malware beforehand
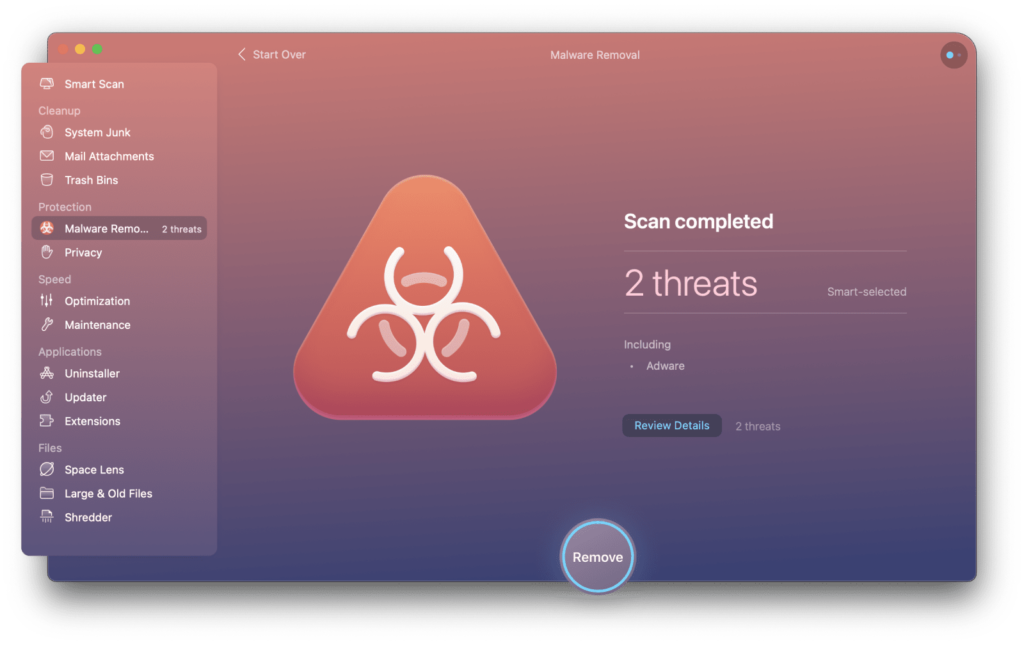
Using a software like CleanMyMac X, you can easily do this. Simply launch the app, click on “Protection” from sidebar and then click on “Malware Removal” option. Let CleanMyMac X scan your system and remove any malware found.
Clear Junk files and Cache

This can also be done using CleanMyMac X by simply heading over to “Cleanup” section from sidebar and then clicking on “System Junk”. Scan and remove all the unwanted junk and cache to free up as much space on your Mac as possible.
Create a Backup
This is an important step before any major operating system upgrade. The best way to go about doing this is to use Apple’s own Time Machine to create a remote or external backup of your Mac which you can easily get back to in case something goes wrong during the Ventura update.
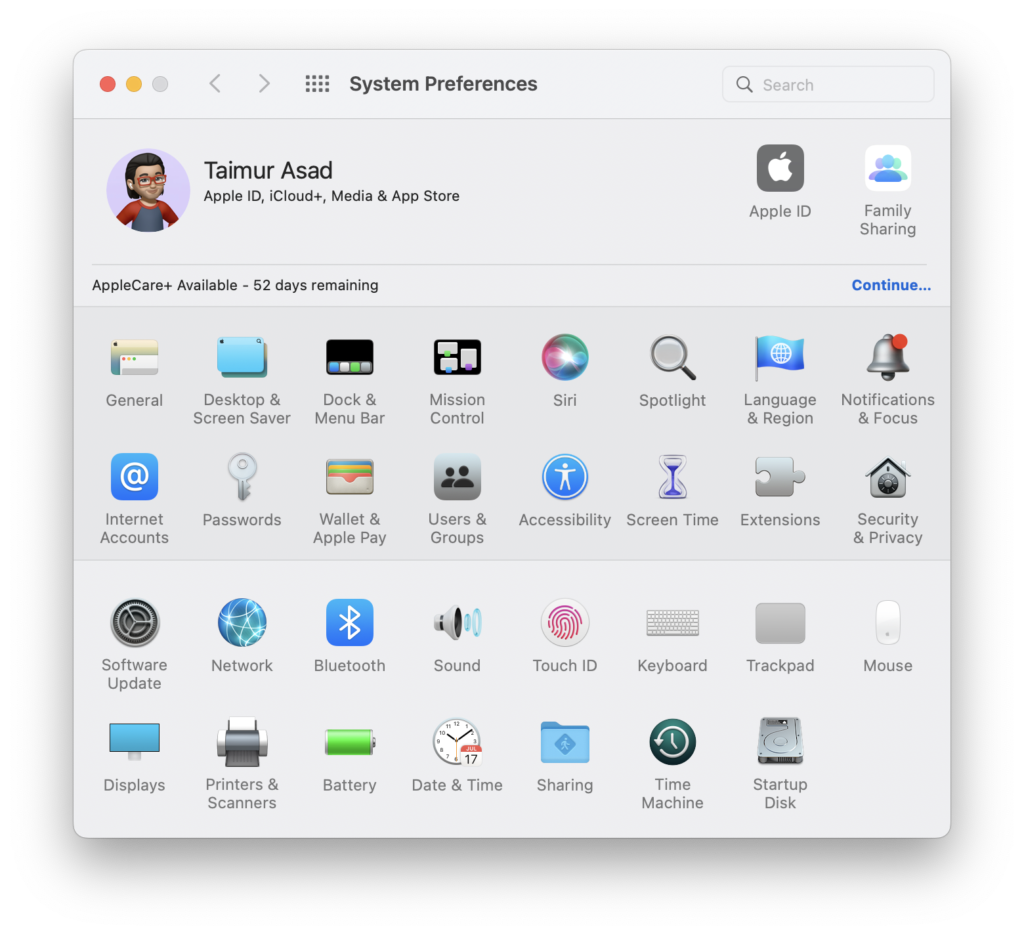
To do this, Open System Preferences on macOS Monterey or earlier, click on Time Machine, then click on Select Backup Disk. Here select the disk you want to create full backup on. You can also click on Options button and select or deselect which parts of computer you want to backup.
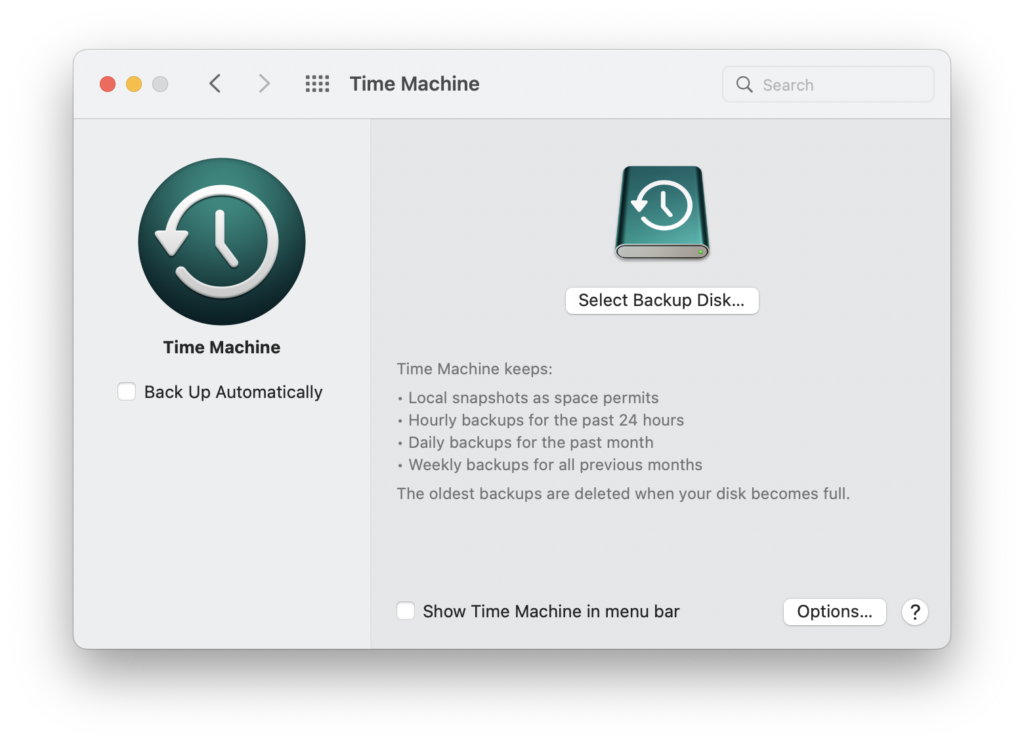
Optionally, you can also select “Back Up Automatically” option to make Time Machine automatically backup your computer in future.
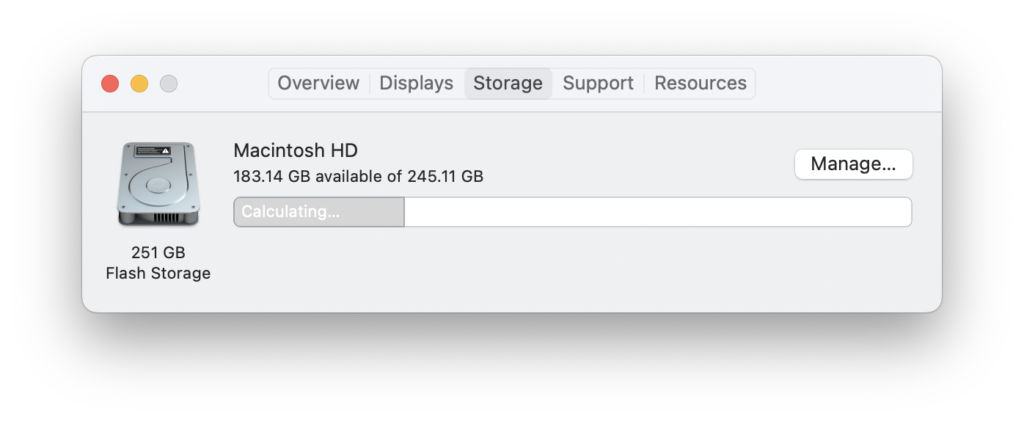
Allocate enough Disk Space for the Update

macOS Ventura requires approximately 35GB or more of free disk space to install. To be on safe side, make sure you have enough storage space free on your main drive. You can check this from clicking Apple logo > About This Mac > Storage section to see available and free storage space on your Mac.
If you find you don’t have enough free storage space on your Mac, use “Smart Scan” feature of CleanMyMac X to let the software scan your computer completely to find and remove all junk, cache, large and old unwanted files which will help you free up tons of space for successful Ventura update.
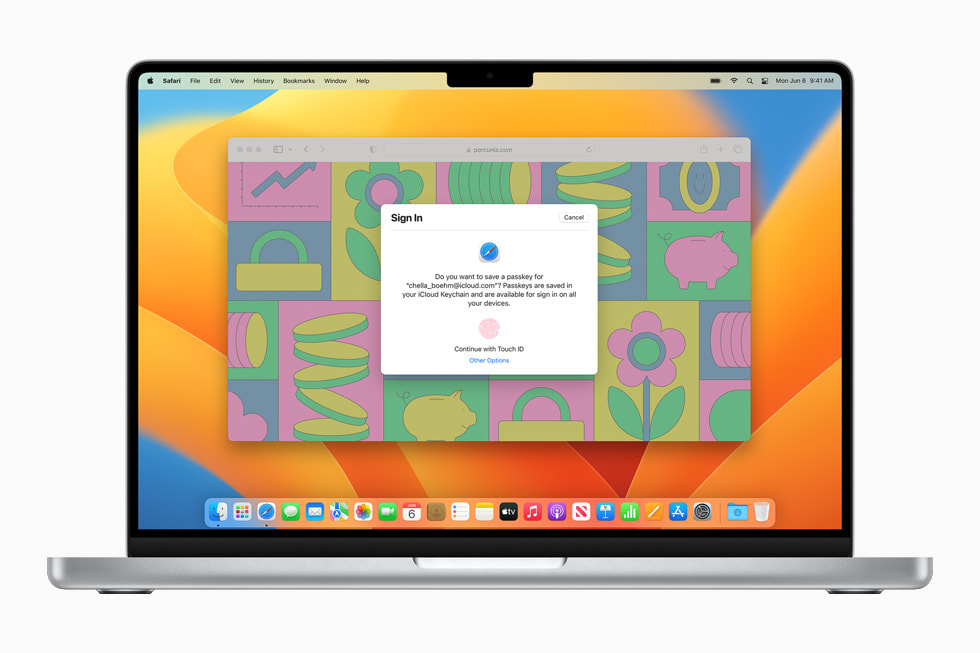
Download and Install the Update
Once you are ready, head over to Mac App Store to download and install macOS Ventura update for free from Apple.
The installation itself will take approximately an hour to complete. So be patient with it. Once done, you will be booted right into your Mac’s login screen with Ventura installed!
Check your Mac’s performance
Post installation of macOS Ventura, if you run into any issue, make sure you go through following checklist first before trying anything else.
Is your Mac running slower?
If you Mac is running slower on Ventura compared to Monterey, you may want to give CleanMyMac X’s Dashboard to free up memory. This will most likely help you fix slowing issue post installation of Ventura.
Does your battery drain too fast?
If you are facing battery issue, make sure all apps you using are updated to latest version which are compatible with Ventura as sometimes biggest battery life culprit are apps which haven’t been updated in ages.
Do all apps work as well as before?
Again, the best way to make sure all your apps work on Ventura is to update them to latest version. To do this, you can simply use CleanMyMac X’s built-in feature to update not only Mac App Store apps but also those which are not available on Mac App Store. To do this, head over to Applications > Updater to update all apps to latest version.
Is your MacBook overheating?
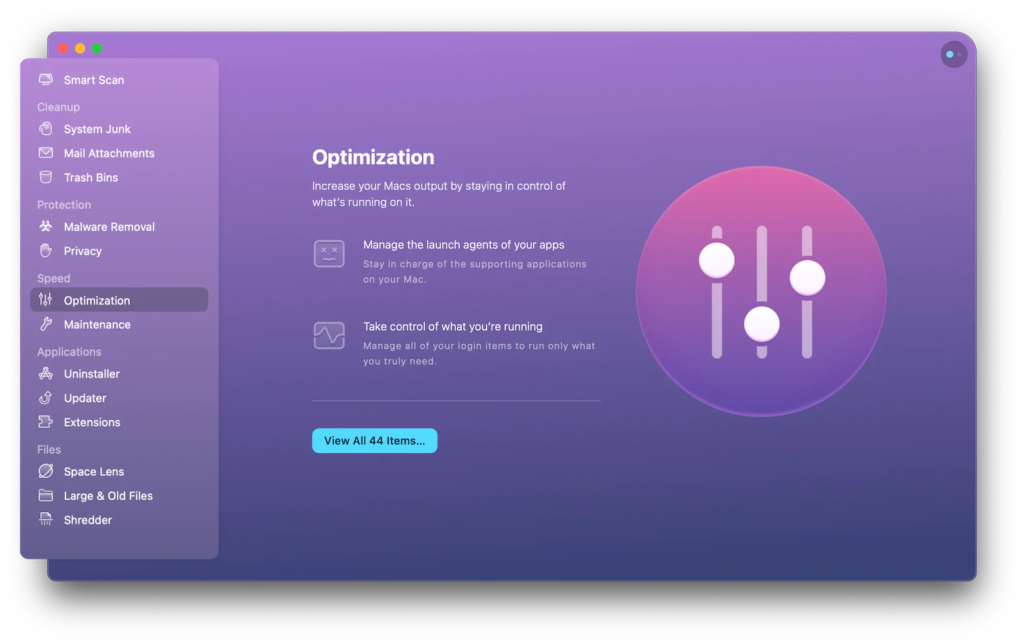
If your Mac is overheating more than usual after Ventura update, you can try CleanMyMac X’s built-in Maintenance feature to fix the problem. From the sidebar, click on Speed > Maintenance and let CleanMyMac X handle the rest.
Conclusion
All in all, macOS Ventura is a big update and a must-have if you have one of the supported Macs. As for CleanMyMac X, it’s also a must-have tool to have in any Mac user’s arsenal as you can see from above, it’s an all-in-one tool which can help you fix a tons of issues in your Mac. Be it during major update cycles such as Ventura, or even in normal day-to-day usage.
You may also like to check out:
- Download: iOS 16.1 Beta 3 Released
- How To Fix Bad iOS 16 Battery Life Drain [Guide]
- Jailbreak iOS 16.0.2 On iPhone And iPad Status Update
- iOS 16 Compatible And Supported iPhone, iPad, iPod touch Devices
- iOS 16 Hidden Features: 100+ Changes Apple Didn’t Tell Us About
- Download: iOS 16.0.2 OTA Profile File, IPSW Links Released
- Download iOS 16 Final IPSW Links And Install On iPhone 13, Pro, 12, Pro, 11, Pro, XS Max, X, XR, 8, Plus [Tutorial]
You can follow us on Twitter, or Instagram, and even like our Facebook page to keep yourself updated on all the latest from Microsoft, Google, Apple, and the Web.
