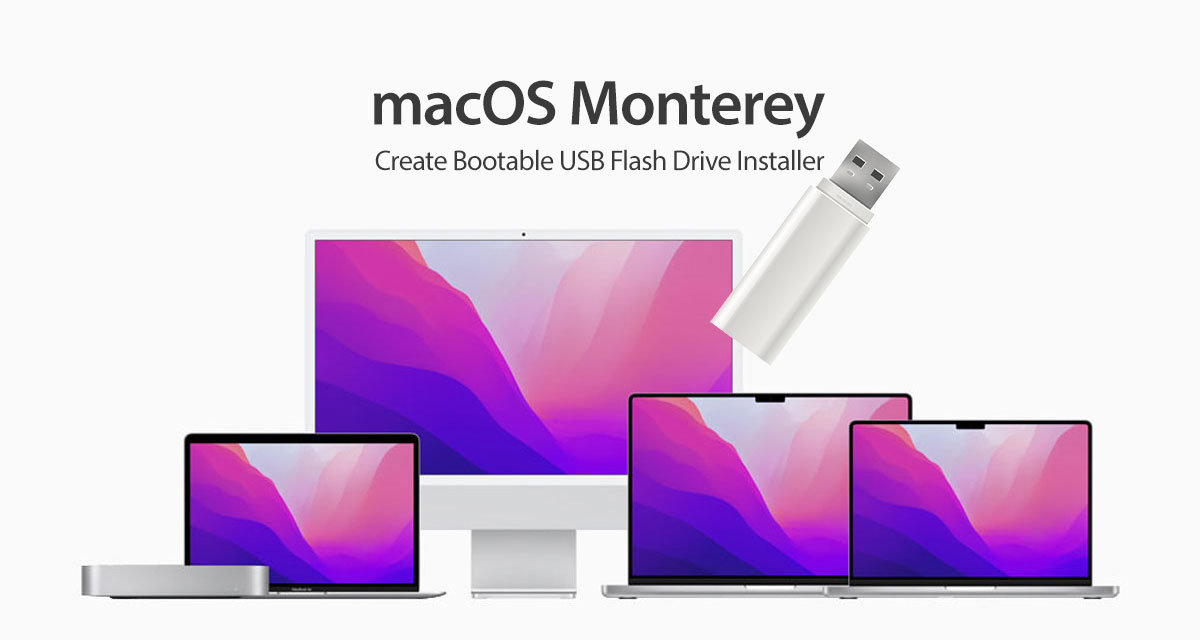
Here’s how to create macOS Monterey bootable USB flash drive installer, complete with step by step instructions.
Now that Apple has released macOS Monterey to the world there’s a good chance that you might wind up needing to install it on your device afresh. If that’s the case, you’re going to need help — here’s how to create a USB flash drive installer for macOS Monterey!
You’ll obviously need a USB stick and the installation file for macOS Monterey before you go any further. But assuming you have that all squared away, here’s what’s next.
Step 1: You’re going to need to have a USB drive with at least 8GB of storage as a minimum. Ensure that the drive is inserted placed into a USB port on your Mac
Step 2: You will also need to have the macOS Monterey installation file downloaded to your machine and ready to go. You can get it from here.
Step 3: Launch a Finder window and select the Applications option from the left sidebar — or wherever you have the installation file saved.
Step 4: Find the Install macOS Monterey file. Right-click on it and select Show Package Contents.
Step 5: When the new window launches, navigate to Contents > Resources and then locate the createinstallmedia file.
Step 6: Keep that Finder window open and launch the Terminal application on the Mac. Type sudo, hit the space bar, and then drag and drop the createinstallmedia file from the Finder window into your Terminal window. You should notice that it places text into the Terminal window to give you the start of a terminal command.
Step 7: Type –volume directly after the path and hit the Space bar so you should end up with “sudo [auto-populated string] –volume”
Step 8: Now, go back into the Finder window, select connected drives, and locate your USB drive. Click on this and drag and drop it into the Terminal window app. You will now have a full command pre-populated ready for action.
Step 9: Press Return on the keyboard and enter the password for your Mac’s account. Type Y and press Return to continue when macOS prompts.
The Terminal will now show that the disk is being erased and prepared. It will then start copying data over to the disk to leave you with a fully bootable USB drive running macOS Monterey.
You may also like to check out:
- Download Windows 11 Pro ISO File Without Product Key From Microsoft
- Force Download Windows 11 Free Upgrade Right Now, Here’s How [Tutorial]
- How To Install Windows 11 On A Mac Using Boot Camp Today
- Download Windows 11 Installation Assistant For Your PC
- How To Upgrade To Windows 11 From Windows 10 For Free
- How To Create Bootable Windows 11 USB Flash Drive [Guide]
- Download: iOS 15.1 Final IPSW Links, OTA Profile File Along With iPadOS 15.1 Out Now
- Jailbreak iOS 15.1 On iPhone And iPad Status Update
- How To Install macOS 12 Monterey Hackintosh On PC [Guide]
- Best iPhone 13, 13 Pro Tempered Glass Screen Protectors Available Today [List]
- Best iPhone 13, Pro Max 20W USB-C Chargers [List]
- Top iPhone 13 Pro Max Screen Protectors Available To Buy [List]
- Best iPhone 13 / Pro Cases For Protection Available Right Now
- How To Fix Bad iOS 15 Battery Life Drain [Guide]
- Apple Watch ECG App Hack: Enable Outside US In Unsupported Country On Series 5 & 4 Without Jailbreak
You can follow us on Twitter, or Instagram, and even like our Facebook page to keep yourself updated on all the latest from Microsoft, Google, Apple, and the Web.
