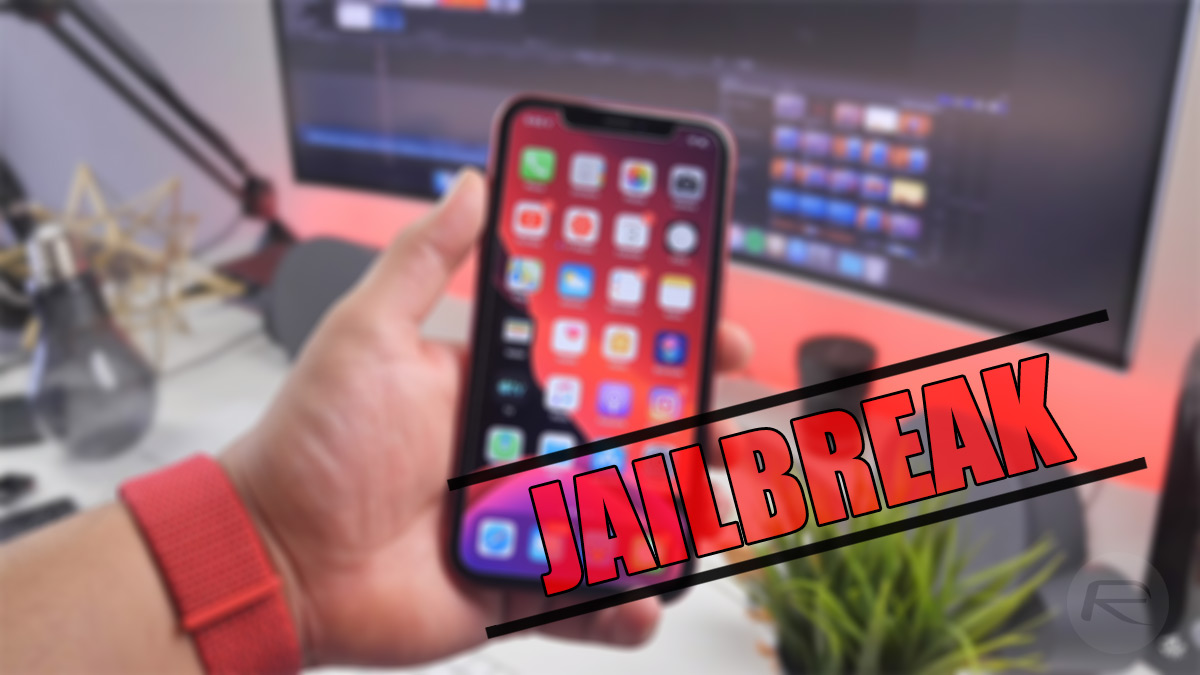
Here’s how to downgrade iOS 13.5 / iPadOS 13.5 to iOS 13.4.1 / iPadOS 13.4.1 for checkra1n jailbreak. If you have accidentally upgraded to Apple’s latest iOS/iPadOS release but now want to be able to liberate your device using the checkra1n jailbreak, then you will need to follow this process while you still can.
In order to successfully follow the process, you will need your iPhone or iPad, a PC or Mac, and a USB cable with which to connect the device to the computer that you are using. Without those things, this process isn’t going to be possible.

Step 1: You are going to need to have the latest version of iTunes installed on your PC or Mac. If you are lucky enough to be using a Mac running macOS Catalina, then you don’t need to worry as the Finder app contains everything that you need and you won’t need to have access to iTunes. For other OSes or earlier versions of macOS, please ensure you have the latest version of iTunes in place.
Step 2: You will also need to have the relevant IPSW file for iOS 13.4.1 or iPadOS 13.4.1 that has been compiled by Apple for your specific device. Don’t just grab the first file that you come across as this will likely be the incorrect one. You can grab the right IPSW file from here.
Step 3: The next stage in the process is to turn off the Find My service on your iPhone or iPad. To do this, head to Settings > iCloud > Find My and then flick the Find My iPhone / iPad switch into the Off position. You will be asked to provide the password for the associated Apple ID in order to verify the change.
Step 4: Make sure that your iPhone or iPad is connected to your PC or Mac. You will now need to put the device into DFU Mode before you can proceed. If you do not know what DFU mode is, or just need a little guidance, then check out the information below before continuing:
- iPhone 8 / 8 Plus, iPhone X / XR / XS / XS Max / 11 / 11 Pro / 11 Pro Max, iPhone SE, or 2018 iPad Pro owners can follow this guide.
- iPhone 7 / 7 Plus owners: Enter DFU Mode On iPhone 7 Or iPhone 7 Plus, Here’s How
- If you have an iPhone 6s / 6s Plus or any other iPad, then follow the instructions here.
Step 5: Press and hold the Option key on a Mac or the Shift key on a PC, and click the Restore iPhone/iPad option that shows up in iTunes or Finder. This will produce a new window that allows you to pick the IPSW file that you downloaded earlier. Select the iOS/iPadOS 13.4.1 file that will be saved on your machine.
Step 6: iTunes/Finder will now go about its business and will downgrade the firmware on your device to iOS/iPadOS 13.4.1 as per the IPSW file passed into it. The device may reboot a few times during that process, which is entirely normal!
You should be in a position to liberate your device using the checkra1n jailbreak tool!
For a step-by-step guide on how to jailbreak iOS 13.4.1, you can check out our video tutorial below:
Subscribe to our YouTube channel for more videos.
You may also like to check out:
- iPhone SE 2 2020 Screen Protector: Here Are The Best You Can Buy Today [List]
- iPhone SE 2 2020 Case: Here Are The Best Ones You Can Get Today [List]
- Kodi 18.6 IPA APK Download For iOS 13 / iPadOS 13, Android Released
- Run Multiple 2 WhatsApp Accounts Number On 1 iPhone The Right Way, Here’s How
- Download: iOS 13.5 Final IPSW Links, OTA Update Released Along With iPadOS 13.5
- Jailbreak iPhone 11 Pro Max With Unc0ver 4.0.0 On iOS 13.3 Now
- Checkra1n For Windows Alternative: How To Use Ra1nUSB For iOS 13.3 Jailbreak
- Jailbreak iOS 13.4.1 / iPadOS 13.4.1 Using Checkra1n, Here’s How [Guide]
- Downgrade iOS 13.4.1 To iOS 13.3.1 For Checkra1n Jailbreak, Here’s How
- Apple Watch ECG App Hack: Enable Outside US In Unsupported Country On Series 5 & 4 Without Jailbreak
You can follow us on Twitter, or Instagram, and even like our Facebook page to keep yourself updated on all the latest from Microsoft, Google, Apple, and the Web.
