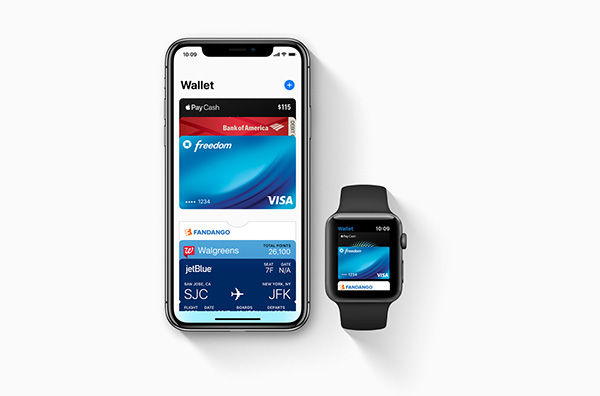
Apple Pay has been around for most of us for a few years now, but the way users take advantage of it has changed somewhat on the newly released iPhone X.
While the system is the same and users will still need to wave their iPhone at a card reader in order for the payment to be processed, the method of authentication has changed thanks to the removal of Touch ID.

The method of invoking Apple Pay itself has also changed, meaning there is plenty opportunity for your first iPhone X payment to go awry. Making an Apple Pay payment with an iPhone X is still really simple to do; you just need to know what to press and when. Once that’s taken care of, you’ll be buying things without even thinking about it. This guide assumes you already have a card configured for Apple Pay.
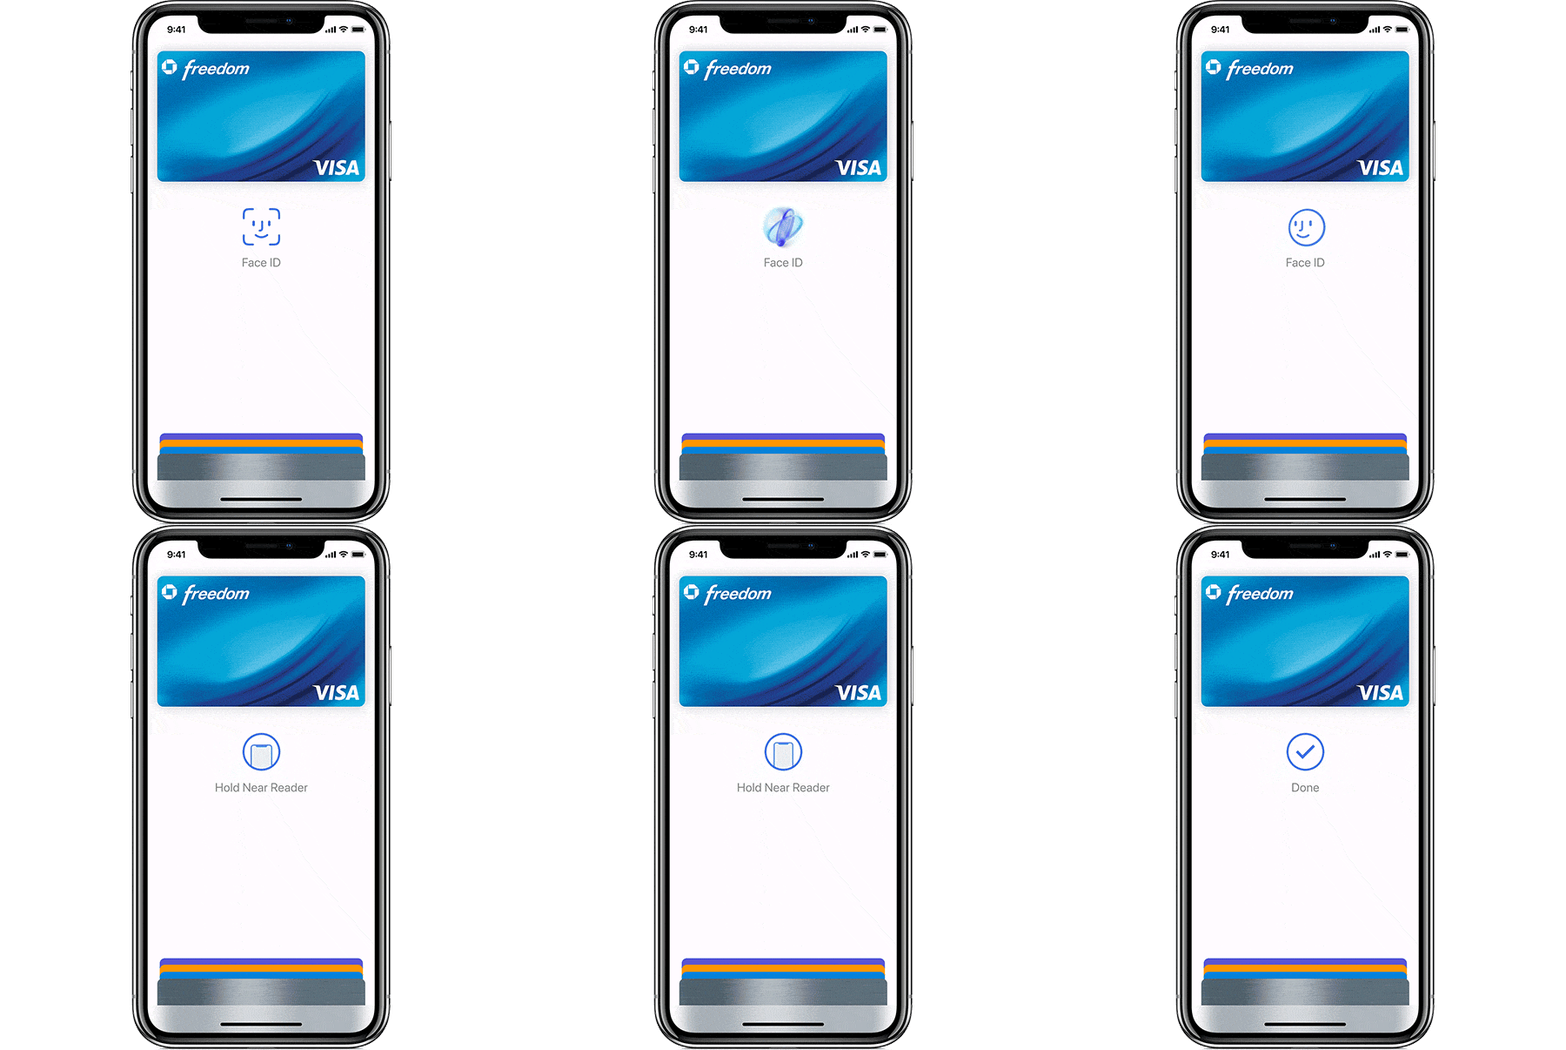
Step 1: When you are ready to pay, double-tap the Side button (formerly called as sleep/wake/power button) on your iPhone.
Step 2: At this point, you need to authenticate via Face ID. Let the camera see you as if you were unlocking your iPhone, and you’re done. A smiley face will appear on the display to show that you are authenticated.

Step 3: Wave your iPhone at the payment terminal as you have always done with previous iPhones. If you want to change the card you use to pay, simply do so before you present your iPhone to the terminal.
The new process will feel awkward for those of us used to waving an iPhone at a terminal in order to set the payment process in motion ahead of using Touch ID to authenticate, but once this new method has been used a few times, we are willing to bet it will become second nature. In fact, logically, it makes more sense than the way Touch ID payments are made. Give it time – we’re sure you’ll agree.
You may also like to check out:
- Fix For iPhone X Activation “Could Not Activate iPhone” Error Possibilities
- Download iOS 11.2 Beta 2 IPSW Links And OTA For iPhone X
- The Best iPhone X Ultra-Slim Cases That Don’t Break The Bank
- The Best iPhone X / iPhone 8 Wireless Chargers
- Download iOS 11.1 IPSW Links And OTA Update Of Final Version
- Downgrade iOS 11 / 11.1 On iPhone Or iPad [How-To Guide]
- Download iOS 11, 11.1, 11.0.3 Links & Install On iPhone X, 8, 7 Plus, 6s, 6, SE, iPad, iPod [Tutorial]
- Jailbreak iOS 11 / 11.1 / 11.0.3 On iPhone And iPad [Status Update]
You can follow us on Twitter, add us to your circle on Google+ or like our Facebook page to keep yourself updated on all the latest from Microsoft, Google, Apple and the Web.

