With macOS Mojave releasing on September 24, there is obviously a newfound interest in installing the operating system on Macs all around the globe.
However, as we’re sure everyone reading this will know, installing a new build of macOS on a production Mac or even just one that is relied on for whatever reason, is perhaps not the smartest move around as it’s always better to wait for teething issues to go away before you upgrade your production/work machine to a new version.
But in case you want to upgrade to it right away using clean install method, thankfully there is one fairly easy way of running macOS Mojave and that is by creating a bootable USB flash drive and then redoing the whole thing using that.
Below, we are going to run through the steps that are required in order to create a bootable macOS Mojave USB drive for a clean install.
You’re obviously going to need a USB 3.x USB-C or USB-A drive with a minimum of 32GB capacity in order to make this work and prices are actually more than reasonable right now. We’ll recommend getting SanDisk one from here which has USB 3.1 speeds and features dual USB-A and C connectors. Also, note that you’re going to need a drive that is empty so make sure you don’t have anything sat on there that you’re not willing to lose.
With that all said, let’s jump into it shall we?
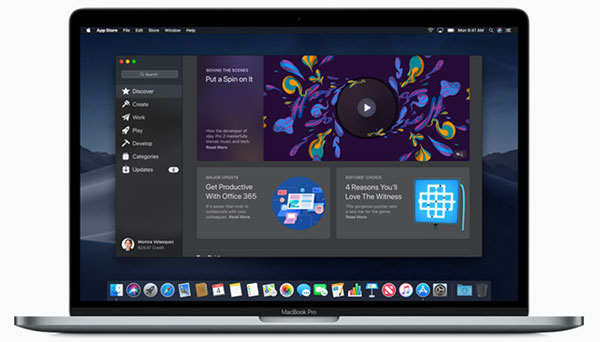
- Download the macOS Mojave files. You can download it from Mac App Store.
- Once you have your Mojave file all ready to go, close the installer that automatically pops up. You don’t want to be installing it just yet.
- Open a Finder window and head to Applications. Right-click on Install macOS 10.14 and select the Show Package Contents option.
- Open Contents > Resources. You’re going to need something from this sub-folder from here in a minute.
- Fire up Terminal either via Spotlight or from Applications > Utilities. Once open, type sudo followed by a space.
- Drag the createinstallmedia to that newly opened Terminal window.
- Now enter the following command, which will once again be followed by a space: –volume.
- Next up and back in Finder, select Go > Go To Folder. In here type /Volumes and click the Go button.
- Connect your USB drive and watch for it appearing in the Finder window.
- Drag the USB drive volume into the still open Terminal window.
- Press return, submitting the command that we just built via the magic of drag and drop.
- Type a y when prompted and hit return again.
- Go and make a drink – this whole process can take around 30 minutes and will see the USB drive be erased before the installer is copied over.
That’s all there is to it! You should now have a bootable USB flash drive from which macOS Mojave can be installed. When it’s time to do that, connect the drive to your Mac and restart while holding the Option (⌥) key. Select the macOS Mojave Installer and away you go!
You may also like to check out:
- iPhone XS Max Ultra Thin Case For Minimalistic Experience? Here’s A List Of Best Ones
- Kodi 18 iOS 12 IPA Download On iPhone Or iPad Without Jailbreak Now Available
- Fix iOS 12 Battery Life Issues And Percentage Drain, Here’s How [Guide]
- Jailbreak iOS 12 / 12.0.1 / 12.1 On iPhone And iPad [Status Update]
- Downgrade iOS 12 To 11.4.1 Final Version On iPhone Or iPad, Here’s How
- Download iOS 12 Final IPSW Links And OTA Update
- Download iOS 12.1 Beta 1 IPSW Links, OTA Update For iPhone, iPad
- Download iOS 12 IPSW Links & Install On iPhone X, 8, 7, Plus, 6s, 6, SE, 5s, iPad, iPod [Tutorial]
You can follow us on Twitter, add us to your circle on Google+ or like our Facebook page to keep yourself updated on all the latest from Microsoft, Google, Apple and the Web.
