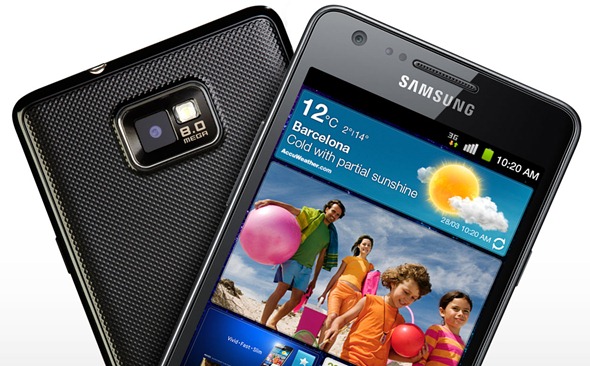
There has been some good news for Samsung Galaxy S II owners today with the announcement that the Korean company will start to push out the Android 4.0.3 update to S II devices in Korea and some parts of Europe. The update process looks like it will initially focus on devices in Hungary, Poland and Sweden before starting to roll out in the United Kingdom during the week commencing on March 19th. When taken at face value, it sounds like S II users could be running Ice Cream Sandwich in the very near future, but the reality is that individual networks also need to approve the software updates and put it through vigorous in-house testing to ensure it plays nicely with their own branded software, meaning that although the official update button is pushed it could still be quite some time before users can benefit from it.
If you are a Galaxy S II user who has expended all of their patience and can no longer wait to enjoy the improved features and speed enhancements that Ice Cream Sandwich brings, then worry not, when there’s a will there’s always a way. The step by step guide below will walk your through the process of flashing Ice Cream Sandwich onto your beloved Galaxy S II device, no longer making you suffer the indignity of not having the latest Android OS. The usual caveats apply and you should be aware that tinkering with operating systems on a device can sometimes be problematic, throw up unexpected issues and in extreme cases cause your smartphone to become nothing more than a beautifully crafted door stop, so exercise caution and proceed carefully, if at all.
DISCLAIMER: Redmond Pie will not be held responsible if you lose data or your device gets damaged in the following of this guide. Proceed at your own risk.
Note: The following method might not work on all Galaxy S II variants which exist in the market at the time of writing. Samsung, in their press release have mentioned that the update is for the Galaxy S II and there has been no mention of U.S. variants of the device. Hence, proceed with extreme caution. Galaxy S II LTE devices are not supported at all.
Step 1: Before you jump in with two feet, head on over to the Samsung Apps website and download the official and latest version of the Kies application. Kies contains all of the required USB drivers and communications goodness which allows the Galaxy handset to connect to the computer with minimal fuss.
Step 2: Find the downloaded Kies application on your machine and install as per the included instructions.
Step 3: In Norse mythology, Odin was one of the major gods and ultimate ruler of Asgard, recently made famous by the Hollywood blockbuster Thor. However, in this instance, Odin is the handy little piece of software which allows Ice Cream Sandwich to be flashed to the device. Odin is required for this process and can be downloaded here.
Step 4: Before you go plugging things in and pressing buttons, remember to enable ‘USB Debugging‘ on the Galaxy S II. This can be achieved by going to ‘Settings >> Applications >> Development‘ and checking the relevant little box.
Step 5: Possibly the most important element in this whole process is the Android 4.0.3 firmware file, which you will obviously need to download from this link. The ICS file weighs in at over 300MB so be patient while it downloads. When downloaded, extract the contents of the ZIP file.
Step 6: Now that we have the necessary files needed for the process, it’s time to throw them together to perform magic. Open up the ‘Odin‘ application and click the big button which is labeled ‘PDA‘ (located under the heading ‘Files [Download]). Navigate to the extracted folder containing the downloaded Ice Cream Sandwich files and locate the file which is appended with the ‘.md5’ extension. Odin will relish this and eagerly prepare the file for the installation goodness that is to follow,
Step 7: The time has come to gently prepare the Galaxy S II device for what is about to happen. After making sure the handset is totally turned off, bring it to life by pressing the ‘power‘, ‘volume down‘ and ‘home‘ buttons together. A rather scary warning sign will appear on the screen, giving you the opportunity to back out now if you so desire (don’t worry, we won’t judge you if you get cold feet). If you decide to proceed, press the ‘volume up‘ button to dismiss the warning and activate the device’s download mode.
Step 8: Connect the Galaxy S II to the computer via the USB cable, skipping back to the Odin application that is running and wait for it to detect the connected device. If nothing happens, make sure you followed step 2 correctly and installed the required Kies application.
Step 9: Underneath the ‘Control Panel‘ heading in Odin lies a big button which says ‘Start‘. If you still have the courage, and everything has gone to plan so far then press it and give your Galaxy S II the treatment is so sorely deserves.
There you have it. A relatively painless and simple, but unofficial method to install Ice Cream Sandwich on the Galaxy S II handset.
You may also like to check out:
You can follow us on Twitter, add us to your circle on Google+ or like our Facebook page to keep yourself updated on all the latest from Microsoft, Google, Apple and the web.
