Although a Dashboard update is always seen a welcome visitor by Xbox 360 users across the globe, not everybody is completely stoked by one or two of the features Microsoft added with its latest one.
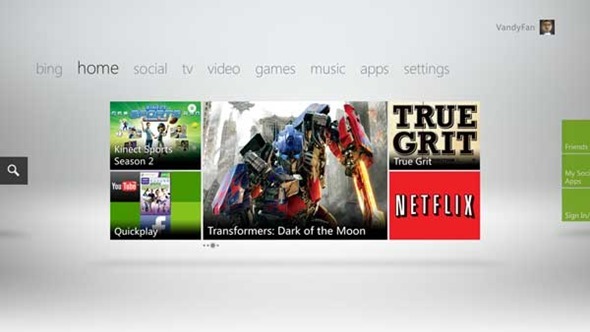
Along with a bunch of handy new features, such as voice browsing via the highly successful Kinect peripheral, the Redmond-based software outfit also added something a little less favorable – Interactive TV ads.
Obviously, with $8.5 billion having been spent on Skype earlier this year, Microsoft is checking every possible avenue to recoup some funds. However, with Live users paying for a service which should arguably be free, pushing ads through to boot may be taking things a little too far.

Ads essentially come hand-in-hand with streaming media, and although some providers do look to keep things as unobtrusive as possible, it often overwhelms the content trying to be viewed, and subsequently everybody loses.
If you’re not hot on the new ads, then you’re not alone, and as usual, there are many workarounds available in order to nudge them politely from your screen. The easiest such method uses OpenDNS, and we’ve enclosed a simple step-by-step below on how it’s done:
Step 1: Sign up for a free OpenDNS account, and add a network for your IP address.
Step 2: Go to Advanced Settings, then Domain Typos, and, if it isn’t already, check the ‘Enable typo correction’ box and then Apply.
Step 3: In Web Content Filtering settings, you’ll need to set your filtering level to ‘None’, and by ‘Manage individual domains’, key in rad.msn.com which you’ll then want to set as ‘Always block’. After that, click on ‘Add Domain’ in order to rubber-stamp your changes.
Step 4: On your Dashboard, head to System Settings -> Network Settings -> (your connection) -> Configure Network -> DNS settings -> Manual, and type in the following OpenDNS IP addresses for the primary and secondary DNS servers: 208.67.222.222 and 208.67.220.220 respectively.
Step 5: You’ll probably need to clear the cache in order for your cunning tampering to take effect. Simply head to System Settings -> Storage -> Hard Drive -> press Y -> Clear System Cache.
Note, you’ll have to re-download any game updates after clearing your cache, so make allowances – especially if you have a sub-par connection.
You may also like to check out:
- Xbox Companion App For Windows Phone Now Available For Download
- Official Xbox LIVE App For iPhone, iPad, iPod touch Available For Download Now!
You can follow us on Twitter, add us to your circle on Google+ or like our Facebook page to keep yourself updated on all the latest from Microsoft, Google, Apple and the web.
