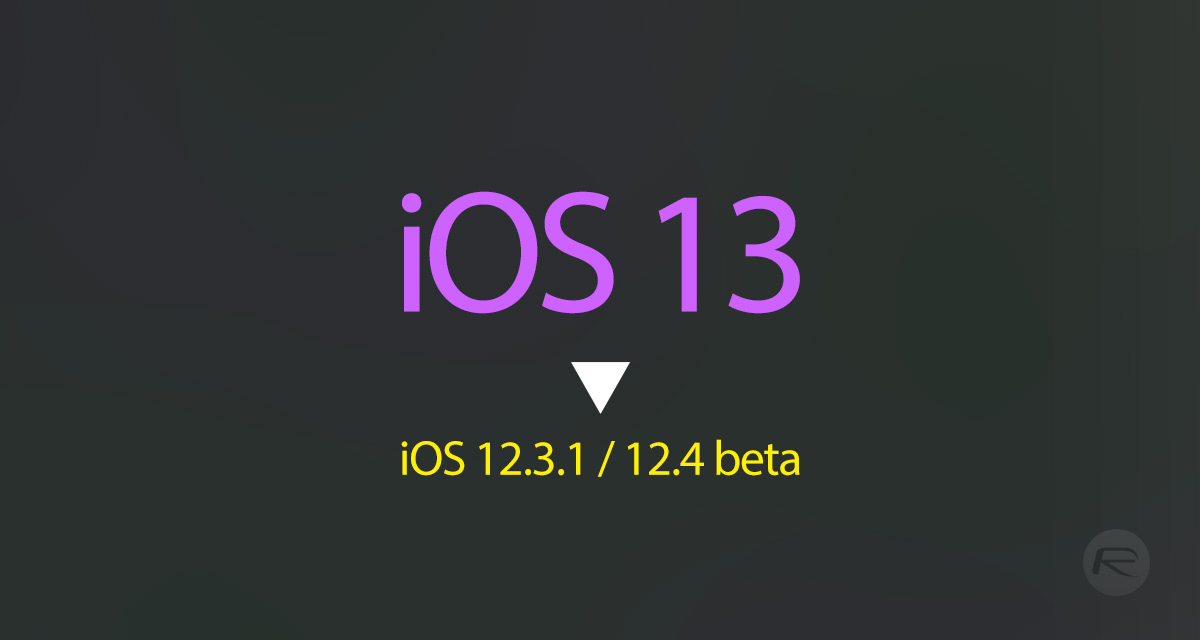
Here’s how to downgrade the brand new iOS 13 and iPadOS 13 beta 1 to iOS 12.3.1 / 12.4 on a compatible iPhone, iPad or iPod touch device.
If, for whatever reason, you have taken the opportunity to grab Apple’s iOS 13 beta 1 and iPadOS 13 release and install it to your device, but have found that you simply cannot live with the known issues and temperamental nature of an initial beta, then this is the guide that you need.
Before you dive right in, it’s important to note that you can get back from iOS 13 and iPadOS 13 beta 1 to a public version of iOS 12 – in this instance, iOS 12.3.1 or iOS 12.4 – but you will not be able to restore from an iCloud or iTunes backup which was made whilst the device was running the iOS 13 or iPadOS 13 beta. This is simply due to an incompatibility with the backup being made on a newer version of the firmware. If you are happy to accept that and understand that you will need to set the device up as an entirely new phone, let’s dive right in.
Step 1: In order to begin, you are going to need to make sure that you have latest version of iTunes installed which is compatible with iOS 13 and iPadOS 13.
Step 2: You will also need to have the correct iOS 12.3.1/12.4 IPSW file for the device that you are trying to downgrade on. As an example, if this is an iPhone X, you will need the correct IPSW file compiled for that device. Download iOS 12.3.1 IPSW from here, or iOS 12.4 beta 3 from here.
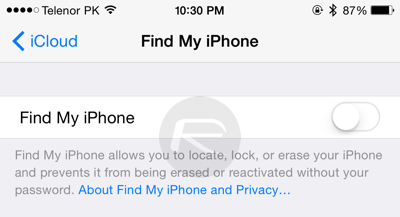
Step 3: On the iPhone/iPad itself, you will need to turn off the Find My iPhone functionality in order to be able to downgrade. Head to Settings > iCloud > Find My iPhone. Make sure the Find My iPhone switch is set to the Off position and enter the iCloud password for the signed in account when asked.
Step 4: Connect your device to your PC or Mac with the supplied USB cable and ensure that iTunes kicks into action. You’re now going to need to put the connected device into DFU or Recovery mode. Once in DFU mode, iTunes will provide an alert saying that it has detected a device in Recovery Mode.
You can find instructions on putting your device in DFU mode, below:
- iPhone 8 / 8 Plus, or iPhone X / XR / XS / XS Max owners: DFU Mode On iPhone X / 8: Here’s How To Enter It
- iPhone 7 or iPhone 7 Plus owners: Enter DFU Mode On iPhone 7 Or iPhone 7 Plus, Here’s How
- If you have an older device, then follow the instructions here.
Step 5: Back in iTunes, press and hold the Option key (Mac), or SHIFT key (Windows), and make sure that you select the Restore iPhone… option in the main device window. When prompted, navigate to the iOS 12.3.1/12.4 IPSW file on your computer and select it. You’re essentially passing the file into the iTunes software.
Step 6: iTunes has no idea that it’s about to be removed from existence, and, as such, will go about its business and patch the device with the file that you provided it with. When it has finished doing what it needs to do, you will be put directly onto the setup screen that allows you to set the device up to your requirements.
You may also like to check out:
- iOS 13 Public Beta 1 Download Release Date Announced Along With macOS 10.15, tvOS 13 Public Betas
- iOS 13, iPadOS Compatibility For iPhone, iPad, iPod touch Devices
- iOS 13 Beta 1 Download IPSW Links, OTA Update And iPadOS 13 Beta 1 For iPhone And iPad
- Download iOS 13 Beta 1 IPSW Links & Install On iPhone XS Max, X, XR, 8, 7, Plus, 6s, iPad, iPod [Tutorial]
You can follow us on Twitter, or Instagram, and even like our Facebook page to keep yourself updated on all the latest from Microsoft, Google, Apple, and the Web.
