When it comes to privacy, people are generally becoming more and more aware of what they are sharing with companies and services, and as a result, there may be times where a disposable email address could come in handy. With Gmail, that’s a relatively simple matter of adding +whateveryouwant to the part of your email address before the “@,” and now Apple is also jumping on board by making it easy for iCloud email address users to create free aliases that forward email to the main iCloud account, keeping a user’s real email address out of the spotlight.
Apple actually offered a feature very similar to this back in the old days, before iCloud was a thing and people still used .mac accounts. The feature’s return is a welcome one, and setting it up is easy peasy.
Here’s how to get a new email alias from your iCloud account.
Step 1: Head on over to icloud.com and sign in using your credentials.
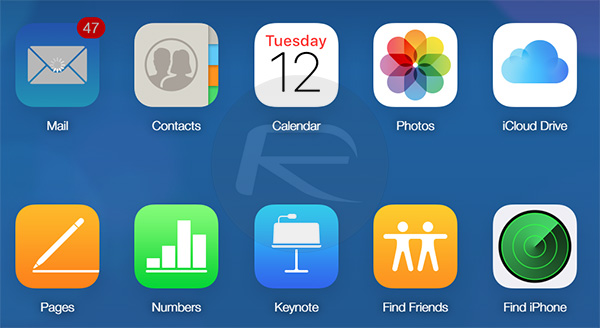
Step 2: Select Mail.
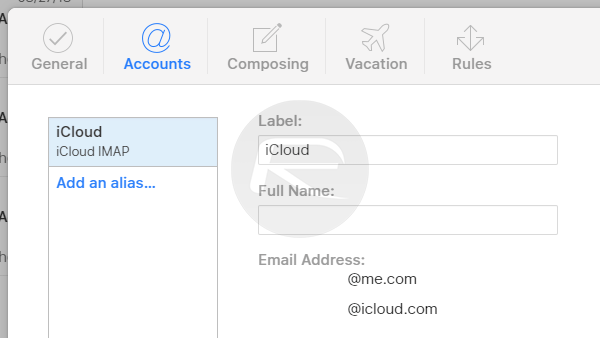
Step 3: Now, select the Settings button in the bottom left-hand corner, before selecting Preferences from the pop-up menu. Next, choose Accounts and then Add an alias.
Step 4: In the next window, you can select an alias, a “From” name and a label (and label color) for your new alias. Because you’re creating a whole new email address, it has to be one that is available. That means you might not get the alias you want, but that’s the case when you set any new email address up.
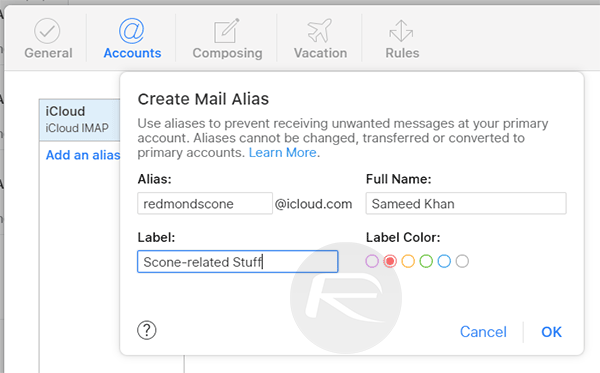
Step 5: When everything is filled in, click OK, and you’re done.
That’s all there is to it. Now any email going to the new alias will go to your main iCloud account. Great!
You may also like to check out:
- Kodi 18 Beta 4 APK Android Download, iOS App Out, Here’s What Is New
- Downgrade From iOS 12.0.1 To iOS 12.0 No Longer Possible As Apple Stops Signing The Firmware
- Download: iOS 12.1 Beta 5 IPSW Links And OTA, watchOS 5.1, tvOS 12.1 Released
- Jailbreak iOS 11.4.1 Update: Ian Beer Releases His Exploits
- How To Downgrade iOS 12.0.1 To iOS 12.0 / 11.4.1
- Download: iOS 12.0.1 IPSW Links, OTA Update For iPhone And iPad Released
- Jailbreak iOS 12.0.1 / 12 / 12.1 On iPhone And iPad [Status Update]
You can follow us on Twitter, add us to your circle on Google+ or like our Facebook page to keep yourself updated on all the latest from Microsoft, Google, Apple, and the Web.
