The chances are that if you are an owner of a desktop or notebook computer, powerful smartphone or tablet. then at some point you might have felt the need of accessing work based packages such as word processors, presentation creators and spread sheet applications. Generally speaking, a lot of us have software suites such as Apple’s iWork or Microsoft’s Office but if we require the freedom to work anywhere, from any machine, then it could be possible that we have checked out OnLive Desktop to accomplish this task.

On the grand scale of things, the OnLive Desktop service is relatively new, but the developers have already managed to ruffle a few feathers by not promptly fulfilling any indication that the service would be made available for Mac OS X users. The promise of having a set of packages that give instant response creation and editing of documents wherever you are is definitely something that will appeal to the masses, so if you are a disgruntled Mac user who wants to give the OnLive service a try then it is now possible with the use of the BlueStacks package and a side loaded .apk file.
Before this can be made possible, there are a few things that are actually required to get things up and running. First of all, a Mac is required, preferably running OS X 10.7 or above. The Alpha 2 or later build of the BlueStacks software is also required as well as a functioning OnLive account of any level.
Step 1: Download and install the free of charge BlueStacks player on your Mac OS X machine.
Step 2: The easiest way to download and run the required OnLive for Android is to visit the required link from within a browser running on the BlueStacks player. By default, the browser within BlueStacks is actually hidden so you will need to open up any app with links, like Twitter, to invoke the web browser.

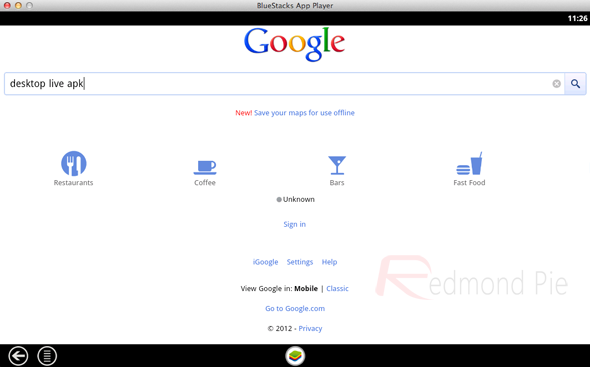
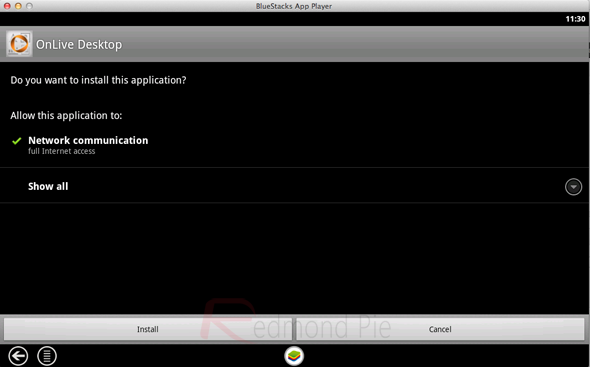
Step 3: One of the great advantages of Android is the fact that it allows users to side load applications, something that is very fundamental to get this working. Staying within the invoked browser, open up the Google homepage and search for ‘OnLive desktop apk‘ and open up the link from the first returned result.

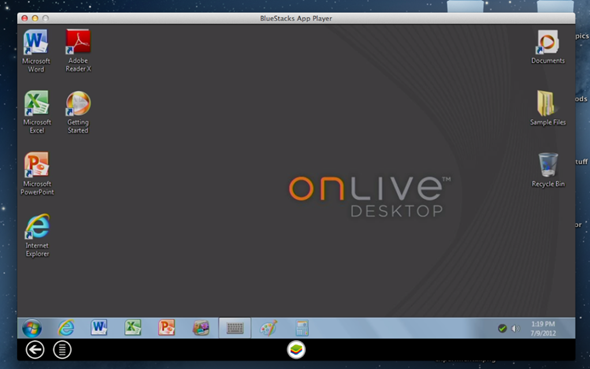
Step 4: Voila. That is all it takes to get OnLive Desktop up and running on your Mac. Enjoy the OnLive experience.

As is usually the case when installing applications on platforms which they aren’t specifically designed for, there are a few little annoying nuances to take into account and make allowances for. The frame rate at which the BlueStacks software runs at may not be that satisfactory, as well as not being able to force the experience into full-screen mode. If you can live with those shortcomings, then this is a great way of experiencing OnLive Desktop on your Mac until an official release pops up.
(via OnLiveFans) (thanks, Isaac for the hat tip)
You can follow us on Twitter, add us to your circle on Google+ or like our Facebook page to keep yourself updated on all the latest from Microsoft, Google, Apple and the web.

