It may have taken the Cupertino based company a while to get there, but Apple has officially rolled out two-step verification for those users who have an active Apple ID (iTunes, App Store, iCloud etc). The initiative is essentially a process that makes it a lot more difficult for those with scrupulous morals to get access to someone else’s Apple ID by implementing an additional security element. Those who are keen to implement an additional security layer will find that making purchases or logging into the ID on a new device will trigger an authentication process that takes the shape of a four-digit code entry.
The two-step verification isn’t something which Apple is forcing down the user’s throat at the moment, and it remains entirely optional. At the time of writing, it is available for users residing in the United Kingdom, United States of America, Australia, New Zealand and Ireland. Enabling the additional security is relatively straight-forward, so check out the steps below to get up and running with an existing Apple ID.

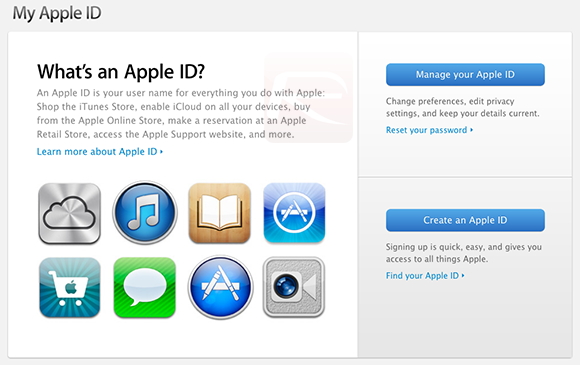
Step 1: The first stage in the authentication process involves visiting the My Apple ID page, from there, select the Manage your Apple ID button from the right-hand side of the site. Log-in with the correct credentials of the Apple ID for which you want to enable two-step authentication.
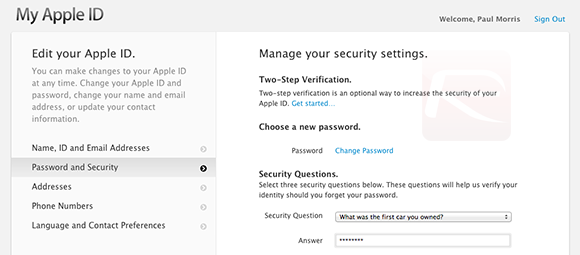
Step 2: Select the Password & Security option from the resulting left hand menu, under the heading Two-Step Verification, select Get Started.
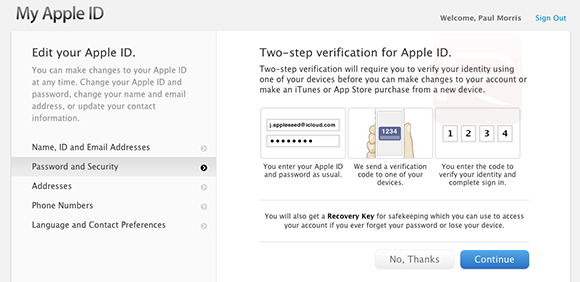
Step 3: The next stage explains a little bit about the verification process. The information from Apple essentially states that the verification process involves the user having to identify themselves through the use of an iOS device in the future. It also explains that the process will generate a recovery key to allow us to access the account in the future. Select Continue to proceed.
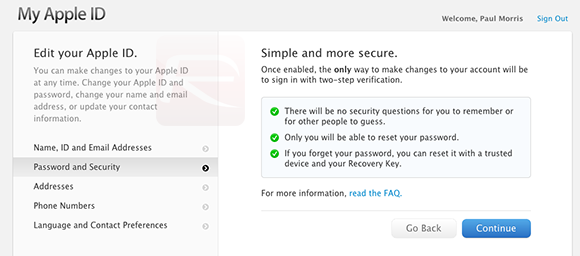
Step 4: More information follows on the next screen. Select Continue again to proceed.
Step 5: The final ‘Warning’ message is then displayed. Select the Get Started option to continue with the process.
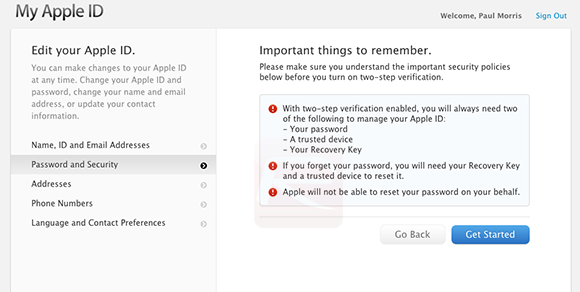
Step 6: When the process has officially begun, we will need to add a device – or multiple devices – to the account and then grant permission for that device to receive the four-digit code that is required for access. Select the device you want to verify from the list.
Note: You can also add a device to the list which are associated with a phone number and are capable of receiving an SMS. This option will grant you the perk of receiving the verification code via SMS.
Step 7: A verification code will then be sent to you on your iOS device, enter this code on the two-step verification website to complete the verification process.
Step 8: You will now be presented with a Recovery Key, it’s a good idea to print it or take an image of it and store it in a safe place. Press Continue.
Step 9: This step involves the confirmation of the recovery key, type the recovery key you received in step 8. Hit Confirm, and agree to Apple’s terms and conditions and click on Enable Two-Step Verification.
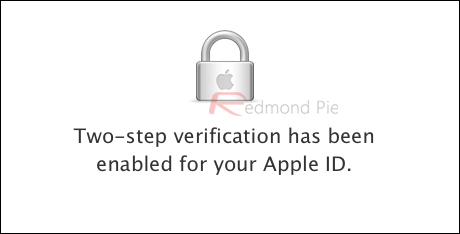
Step 10: That’s it, you’re done, two-step verification is now enabled for your Apple ID.
You can follow us on Twitter, add us to your circle on Google+ or like our Facebook page to keep yourself updated on all the latest from Microsoft, Google, Apple and the web.

