You may use the voice memos app to record your voice and want to export the recordings to your computer for some reason.
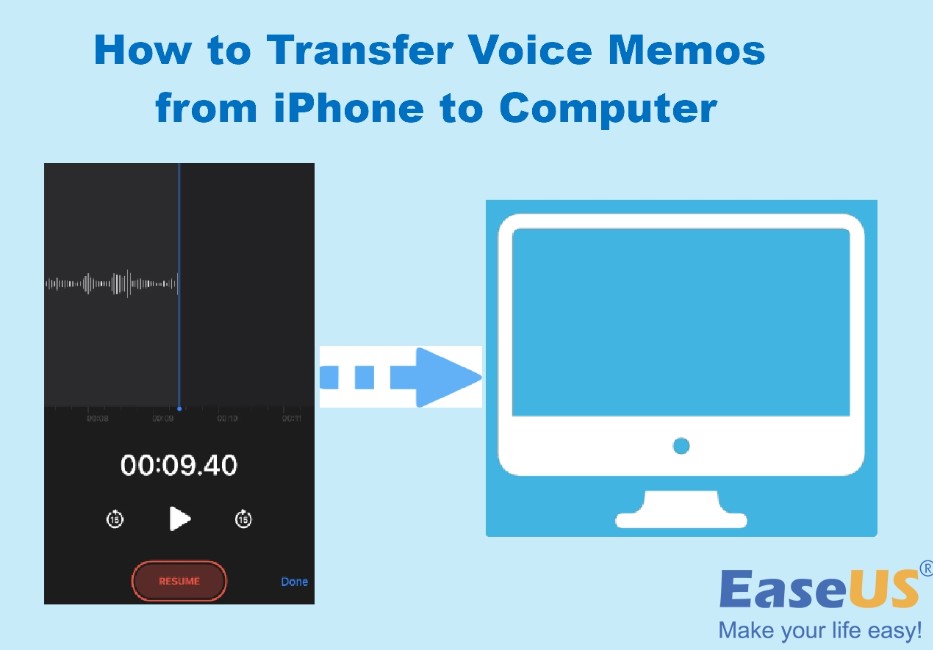
Transferring voice memos is not a difficult task. This article summarizes in detail various ways to transfer voice memos from iPhone to computer. Whether you use USB or not, you can find the method that suits you.
| Methods |
Effectiveness |
Difficulty |
| EaseUS MobiMover | High – It helps transfer all kinds of iPhone data, including voice memos, to the computer quickly. | Super Easy |
| iTunes | Moderate – It is used to transfer all voice memos at a time. | Moderate |
| iCloud | High – It syncs all voice memos across Apple devices or sends recordings by iCloud Drive. | Moderate |
| Google Drive | Moderate – It helps upload voice memos from the iPhone to Google Drive and download them on the computer. | Easy |
| AirDrop | Moderate – It needs Bluetooth and Wi-Fi to share voice memos between your iPhone and Mac. | Easy |
| Moderate – It sends the recordings as attachments and allows you to download them to a PC. | Easy |
Why Do You Move Voice Memos from iPhone to Computer
The voice memos app on iPhone is incredibly convenient, allowing you to easily record and share your important information anytime, anywhere, such as personal affairs, important family moments, and meeting content. It also has basic editing features.
Sometimes you need to download voice memos to PC for more complex editing or add them as audio to your video. Transferring voice memos is also a regular occurrence, either for backup or to free up space on your iPhone. In this article, we provide several methods to assist you in transferring voice memos from an iPhone to a computer.
How to Transfer Voice Memos from iPhone to PC with USB
To transfer voice memos to the computer, you can first connect the iPhone to the computer with a USB cable. This section introduces two methods of sending voice memos using the USB cable, including using an iPhone transfer tool and iTunes.
Method 1. All-in-one Transfer Solution
Apply to: Windows PC and Mac
There are many ways to transfer files and a common one is using iTunes. But iTunes will transfer all voice memos at a time. So if you don’t want to transfer voice data with iTunes, EaseUS MobiMover is highly recommended to use an efficient iPhone transfer tool to help you transfer voice memos from your iPhone to your computer more flexibly. This versatile iPhone transfer software helps you fully control, transfer and backup your iPhone, iPad and iPod data.

Why choose EaseUS MobiMover when you need to transfer files:
- It is easy and convenient to transfer files with a few clicks.
- It moves data smoothly with different options: iPhone to PC or vice versa, and iPhone to iPhone.
- It provides flexible transfer solutions with selective transfer and bulk transfer.
- It supports all kinds of iPhone data, like voice memos, Ringtones, Audiobooks, Movies, Contacts, Messages, Notes, and more.
Here are steps to export voice memos from iPhone to computer via EaseUS MobiMover:
Step 1. Launch EaseUS MobiMover on your computer and connect your iPhone to the computer using a USB cable.

Step 2. Click the “Browse & Transfer” on the homepage of EaseUS MobiMover and then click “Voice Memos” from “Audio.”

Step 3. Select the voice memos you want to transfer from the list. Tap the “Settings” button to choose a location on the computer to save the recordings.

Step 4. Click “Export to PC” to start transferring and wait for the process to finish.

Method 2. iTunes
Apply to: Windows PC and Mac running macOS 10.14 Mojave or earlier
iTunes is a common means of transferring files. You can use iTunes to transfer voice memos from your iPhone to your computer if you are using a Mac running macOS 10.14 Mojave or earlier, or a Windows PC. To connect your iPhones to Windows or Mac, you need to get a compatible cable ready, and download the most recent version of iTunes to your desktop or laptop.
Note: You must download the latest version of iTunes on your computer to use this method. And this method will sync all your voice memos so you can’t send the one you like.
Follow the steps to use iTunes to copy voice memos to computer:
Step 1. Connect your iPhone to your computer via a USB cable.
Step 2. Open the latest version of iTunes on the computer.
Step 3. Click your iPhone from the list of devices in iTunes.
Step 4. Tap on the “Music” tab.
Step 5. Check the box next to “Sync Music.”
Step 6. Choose “Include voice memos” from the menu.
Step 7. Tap on the “Apply” button to transfer your voice memos to your computer.

How to Export Voice Memos from iPhone to Mac or Windows PC Wirelessly
If you prefer wireless transmission, then please read this chapter. Transferring audio recordings in a wireless way is very convenient. You can use AirDrop, iCloud, Email, or Google Drive to export your voice memos to the computer.
Method 1. iCloud
Apply to: Mac and Windows PC
Your images, videos, texts, and app data can all be backed up using iCloud, the standard cloud service for iPhones. Using iCloud to transfer voice memos is also a better option. It can wirelessly transfer your voice memos from iPhone to computer without a USB cable. All of your Apple devices will automatically sync your recent voice memos. There are two options for you to choose from. One is to use iCloud to sync your voice memos on both devices and another is to use iCloud Drive to export the voice memos to the computer
Note: Using iCloud to transfer data requires a stable internet connection and sufficient storage space on both devices.
Option 1. iCloud Sync (Mac)
By syncing Voice Memos over iCloud, you can download your recordings and edit them on your Mac. Follow the steps to sync Voice Memos on both your iPhone and Mac.
Step 1. On your iPhone, Go to the “Settings” app, and tap “iCloud.”
Step 2. Scroll down to find “Voice Memos”and then toggle on it.

Step 3. Then, sync Voice Memos on your Mac: Choose Apple menu and System Settings.
Step 4. Click iCloud on the right, then select Options next to iCloud Drive.
Step 5. Enable “Voice Memos” in the list. Then your voice memos should sync from your iPhone to the Mac.

Option 2. iCloud Drive (Mac and Windows PC)
If you don’t own a Mac, you can export voice memos to iCloud Drive and download them onto your Windows PC.
Step 1. In the voice memos app, choose the recordings that you want to export.
Step 2. Tap the three-dot icon.
Step 3. Click “iCloud Drive” in the share menu.
Step 4. Select a destination folder to save the recordings.
Step 5. You can access the voice memos in iCloud Drive on your computer.

Method 2. Google Drive
Apply to: Mac and Windows PC
To transfer voice memos from an iPhone to a computer, you can also use Google Drive. This procedure entails downloading the voice memos onto the computer after uploading them from the iPhone to Google Drive. This method offers a flexible way to move voice memos between devices.
Here are the steps for you to use Google Drive.
Step 1. Download the Google Drive app on your iPhone and sign in with your Google account.
Step 2. Select the voice memos you want to transfer.
Step 3. Click “Share” and then upload the voice memos to “Google Drive.”
Step 4. On your computer, open Google Drive and download the voice memos by logging into the same Google Drive account.

Method 3. AirDrop
Apply to: Mac
The AirDrop feature can be a choice to copy voice memos from an iPhone to an iOS device. It entails connecting the two devices wirelessly by employing Bluetooth and Wi-Fi and then starting the transfer procedure. AirDrop enables Apple device users to wirelessly share and receive photographs, files, websites, notes, and more with other Apple devices nearby.
Here are the steps to copy voice memos from iPhone to Mac using AirDrop.
Step 1. Make sure that AirDrop is enabled on both the iPhone and the computer.
Step 2. Choose the voice memos that you want to transfer and tap the “share” icon.
Step 3. When a new window appears, select “AirDrop” from these options and click your Mac as the targeted device.
Step 4. Accept the voice memos on the computer and save them to the desired location.

Method 4. Email
Apply to: Mac and Windows PC
While AirDrop uses the Share feature, Email is also included in this feature. It sends the voice memos as attachments to an email address that can be received on the computer. The email’s attachments can be downloaded and you can save the voice memos to the computer. This process is convenient because it does not require additional software.
Note: To avoid any potential data loss or security breaches, you need to ensure that the email address being used for the transmission is secure and dependable.
Follow the below steps to add voice memos to your computer via Email:
Step 1. Open the Voice Memos app on your iPhone.
Step 2. Select the voice memos that you want to send and click the “share” icon.
Step 3. A new window will show up, and select “Mail” from the share menu.

Step 4. Follow the screen instructions to enter your email address in the “To:” field and tap “Send.”

Step 5. Open the Email on your computer and receive the email. Then you can download the voice memos in the attachments.
Conclusion
Voice memos may occasionally need to be transferred to a computer for editing or backup. This article offers six practical methods for transferring voice memos from an iPhone to a PC. You can move voice memos to a computer wirelessly using some ways, including AirDrop or Email, or using a USB, such as iTunes or a professional transfer tool.
Of all the methods, EaseUS MobiMover is a recommendation. It can help you quickly transfer voice memos with a few clicks. This excellent transfer software provides an all-in-one transfer solution to help you transfer various files on your iPhone. In addition to transferring data, it has comprehensive functions, including backup and management of data, downloading videos as well as music.
FAQs on How to Transfer Voice Memos from iPhone to Computer
Here are some frequently asked questions on this topic, which might assist you further.
Where are my iPhone voice memos stored on PC?
It depends on where you store your voice memos on your computer. Taking iCloud as an example, you can upload voice memos to iCloud Drive. The iCloud Drive folder you previously selected on your iPhone is where you’ll discover your voice recording.
How to transfer large voice memos from iPhone to Windows 10?
If you want to transfer large voice memos from iPhone to PC Windows 10, you can use a professional transfer tool – EaseUS MobiMover – to move your recordings in bulk with just a few clicks.
Is there a limit to how long a voice memo can be on an iPhone?
The voice memos app itself has no special limit on the length of a recording. The amount of internal storage on your iPhone is the restriction. So you need to consider the storage of your device. Your iPhone will alert you if your storage space is running low.
You may also like to check out:
- Jailbreak iOS 17.0.2 On iPhone Status [Latest Update]
- Download: iOS 17.0.2 IPSW Links, OTA Update For iPhone 14, Pro, iPad, More Released
- How To Fix Bad iOS 17 Battery Life Drain [Guide]
You can follow us on Twitter, or Instagram, and even like our Facebook page to keep yourself updated on all the latest from Microsoft, Google, Apple, and the Web.
