Yes you read that right ! The just released iOS 4.3 GM for iPhone 4 has been jailbroken already. The jailbreak though is tethered only for now, which means that you will have to boot it into jailbroken state every time you reboot.
Support for iPad, iPhone 3GS and iPod touches is on the way ! Simply follow the instructions below to jailbreak iOS 4.3 GM on iPhone 4 using a combination of PwnageTool 4.2, Universal Ramdisk Fixer and tetheredboot utility.
Here’s what you will need:
- PwnageTool 4.2
- Access to iOS 4.3 GM firmware
- iTunes 10.2
- Mac OS X
- PwnageTool bundle for iOS 4.3 GM
- Universal Ramdisk Fixer
- tetheredboot utility
Note:
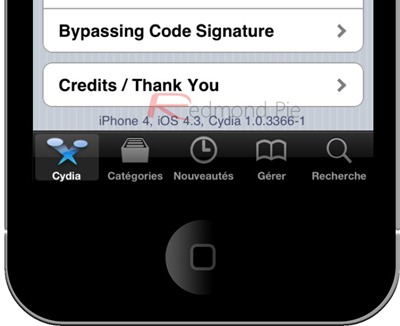
- Cydia is fully working on iOS 4.3 GM.
- It is a semi-tethered jailbreak.
- Your baseband will not be upgraded during restore process.
Modifying PwnageTool
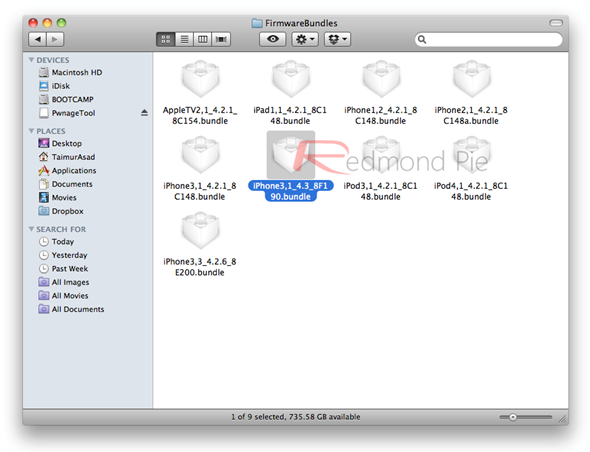
Step i: The first step is to download the PwnageTool bundle for your version of iOS device. Download this PwnageTool bundle and extract the contents of .zip file in a folder. Open this folder and look for iPhone3,1_4.3_8F190.bundle file that we are using for this jailbreak. Put this file on your desktop for quick access.
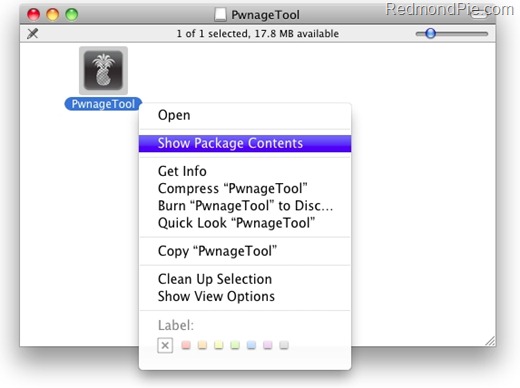
Step ii: After downloading the bundles, download PwnageTool 4.2 and copy/paste it to ‘/Applications’ directory on your Mac. After copying right click on it and then click “Show Package Contents”. See the following screenshot:
Step iii: In Contents/Resources/FirmwareBundles/ copy/paste iPhone3,1_4.3_8F190.bundle file that you found after completing the previous step.
Creating Custom Ramdisk for iOS 4.3 Custom Firmware
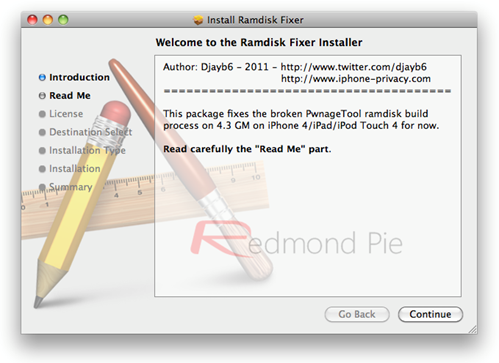
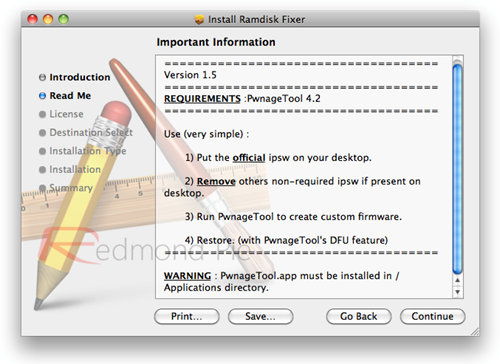
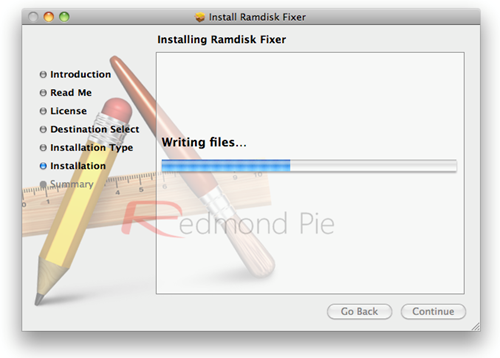
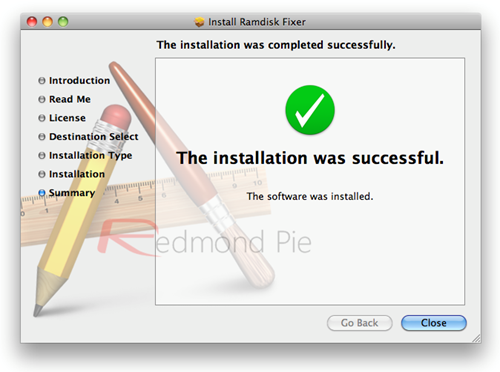
Step iv: As Ramdisk is broken in this version of PwnageTool, You need to download Universal Ramdisk Maker and install it. See the screenshots below for reference:
Building iOS 4.3 Custom Firmware
Step v: Now you need to create a custom jailbroken firmware. First download the official iOS 4.3 GM firmware and move it to the desktop.
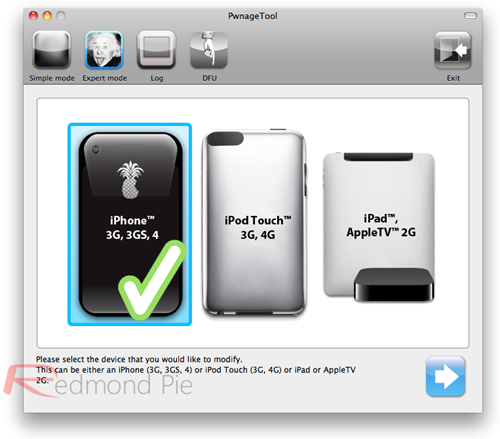
Step vi: Run the PwnageTool in “Expert mode” that you downloaded earlier. Select your device when the following Window appears.
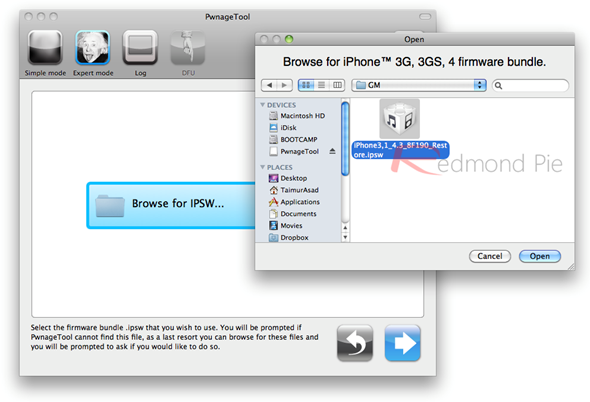
Step vii: In next step, you need to point the iOS 4.3 GM firmware. See the screenshot below:
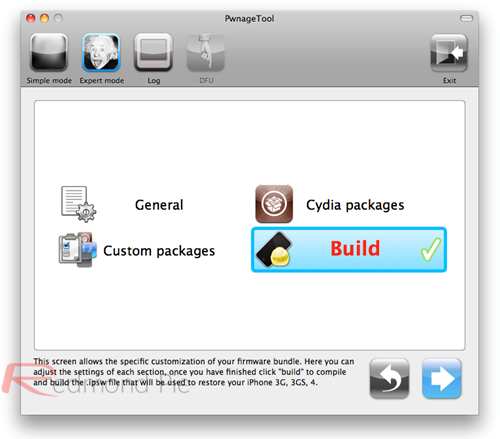
Step viii: In next Window, check “Build” and click Next button. The process to make a custom 4.3 firmware file will start:
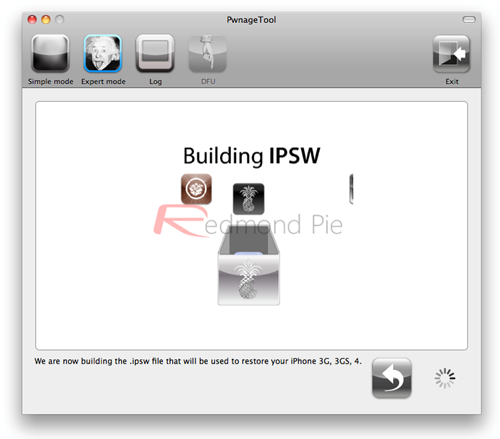
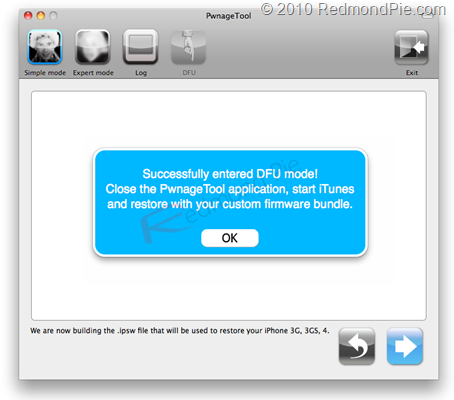
Step ix: PwnageTool will ask you to enter your device in DFU mode. To enter DFU mode, Hold down Power and Home buttons for 10 seconds. Now release the Power button but continue holding the Home button for 10 more seconds. Following screen will appear when your device will successfully enter DFU mode.
Restore iOS 4.3 Custom Firmware Using iTunes
Step x: Start iTunes and click on your iOS device icon from the sidebar in iTunes. You will see the options shown in the screenshot below:

Hold “Shift” key on keyboard if you are using Windows or “alt/option” key on keyboard if you are using Mac. Click “Restore” and point the browser to the custom created .ipsw file.
Step xi: You will see the progress on your iOS device while iTunes restores it to the jailbroken iOS 4.3 firmware. It will finally reboot your iOS device to a jailbroken state runniing iOS 4.3
Booting in Tethered Mode
As this jailbreak is untethered because there is no untethered jailbreak for iOS 4.3 yet, we will use a utility called “tetheredboot” to boot our iPhone to a tethered jailbroken state.
Step xii: Download tetheredboot.zip utility for Mac OS X and unzip the .zip file.
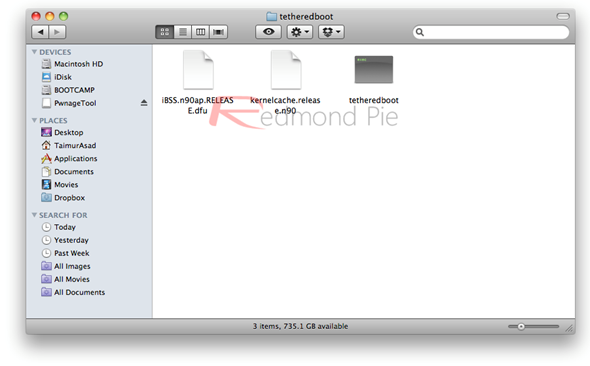
Step xiii: Create a copy of custom iOS 4.3 GM firmware that you created in previous step and extract the contents of .ipsw file by changing it’s file extension to .zip. When extracted. We will need these two files: kernelcache.release.n90 and iBSS.n90ap.RELEASE.dfu.
copy kernelcache.release.n90 and iBSS.n90ap.RELEASE.dfu files located in /Firmware/dfu/.
Make a new folder on desktop and name it “tetheredboot” and copy/paste these files here. See the screenshot below:
Step xiv: Make sure your iOS device is turned off. Run Terminal on Mac and execute the following commands:
sudo -s
enter your administrator password, then:
/Users/TaimurAsad/Downloads/tetheredboot/tetheredboot
/Users/TaimurAsad/Downloads/tetheredboot/iBSS.n90ap.RELEASE.dfu
/Users/TaimurAsad/Downloads/tetheredboot/kernelcache.release.n90
You will have to of course replace “TaimurAsad” with the name of the directory on your computer.
now press enter.
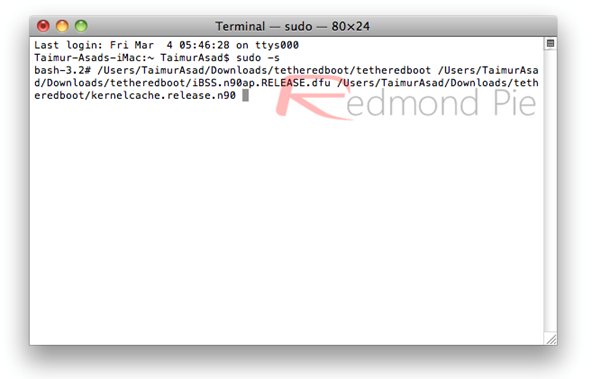
You will see terminal executing some scripts. After few moments, you will be asked to enter your device in DFU mode (Press and hold “Home” and “Power” buttons for 10 seconds, then release “Power” button but keep holding “home button” for 10 seconds). Once you enter your device in DFU mode, the terminal will show “Exiting libpoison” message. After that, your iOS device will start in a jailbroken tethered mode.
UPDATE 1: A new iOS 4.3 PwnageTool bundle for iPhone 4 is now available which eliminates the need of Step 4 above for creating Ramdisk. You can download this new bundle from here.
UPDATE 2: iOS 4.3 PwnageTool bundle for new and old bootrom iPhone 3GS can be downloaded from here.
UPDATE 3: Full jailbreak instructions for jailbreaking iPad on iOS 4.3 can be found here.
UPDATE 4: Instructions on how to jailbreak iPod touch 4G and 3G can be found here.
(A huge shout out to DjayB6 for the iOS 4.3 GM bundle, and Universal Ramdisk Fixer !)
You can follow us on Twitter or join our Facebook fanpage to keep yourself updated on all the latest iPhone jailbreaking and unlocking releases.

