Here’s a step by step tutorial on how to jailbreak iOS 8.3, 8.2 and 8.1.3 using TaiG v2 on supported iPhone, iPad and iPod touch.
Now that the Chinese TaiG jailbreak team has released a Windows compatible tool capable of providing an untethered jailbreak for all devices running iOS 8.1.3, iOS 8.2 and iOS 8.3, it’s time to get down and dirty with the process. Users have been waiting ever so patiently for this tool to be released, more so considering the supported versions of iOS within this tool have previously been publicly unjailbreakable. Still, it’s clear that where there’s a will there is always a way, and thanks to TaiG all Windows users have a way of getting that beautifully liberated device back on the latest firmware.
Important notes before you begin:
- The jailbreak is untethered and currently available for Windows only.
- Make a full backup of your data with either iTunes or to iCloud before going ahead with jailbreak.
- Fresh restore to iOS 8.3 is recommended: Download iOS 8.3 Final For iPhone And iPad [Direct Links]
- Supported firmware: iOS 8.3, iOS 8.2 and iOS 8.1.3.
- Supported devices: iPhone 6 Plus, 6, 5s, 5, 4s, iPad Air 2/1, iPad mini 3/2/1, iPad 4/3/2 and iPod touch 5
How to jailbreak:
Step 1: Grab the latest TaiG Jailbreak version from here: Download TaiG 2.1.2 For iOS 8.3 Jailbreak With Support For Cydia Substrate. (Update: v2.1.3 is available now, download that instead from here.)
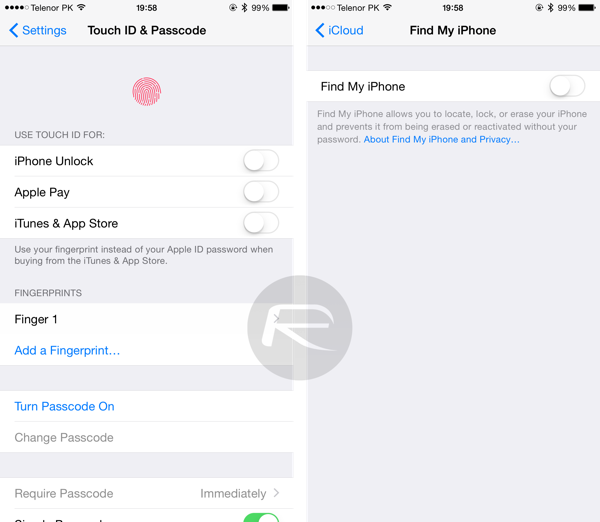
Step 2: On the iOS device in question make sure that Find My iPhone and Passcode/Touch ID are turned OFF. To achieve this, head to Settings > Touch ID & Passcode > Enter your current Passcode and then select Turn Passcode Off. This will prompt for the current Passcode once more to verify. Similarly, to turn Find My iPhone off head to Settings > iCloud > Find My iPhone and select the relevant option to turn that particular location tracking service off.
Step 3: Connect the iOS device running iOS 8.1.3 – 8.3 to a Windows computer. Open the downloaded TaiG Jailbreak tool.
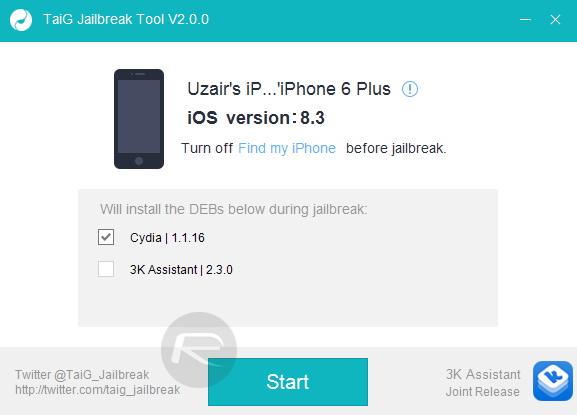
Step 4: If the Apple device can’t be discovered by the jailbreak tool, it will present a window that clearly shows “Can’t find Apple device“. However, if everything is detected correctly a different window will be presented showing the details pertaining to the device and the DEBs that will be installed.
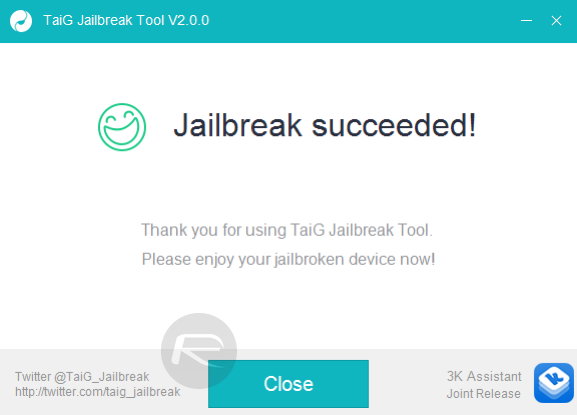
Step 5: We recommend keeping the Cydia option checked but unchecking the 3K Assistant option. Click Start to proceed with the jailbreak procedure.
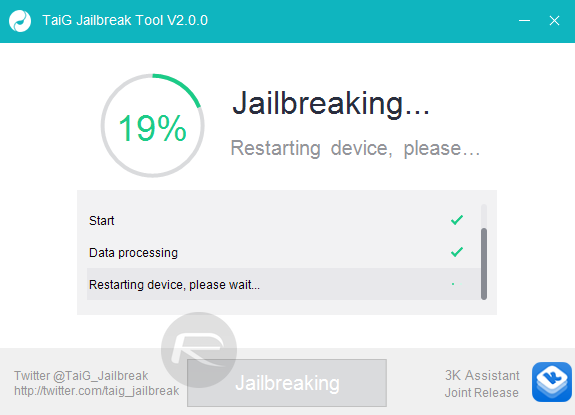
Step 6: The user-interface will then keep you updated on the progress of the jailbreak with percentage indicators and labels of what has been successful. This could take some time so be patient. Finally, when the jailbreak process is finished the UI will be updated with a “Jailbreak succeeded!” message.
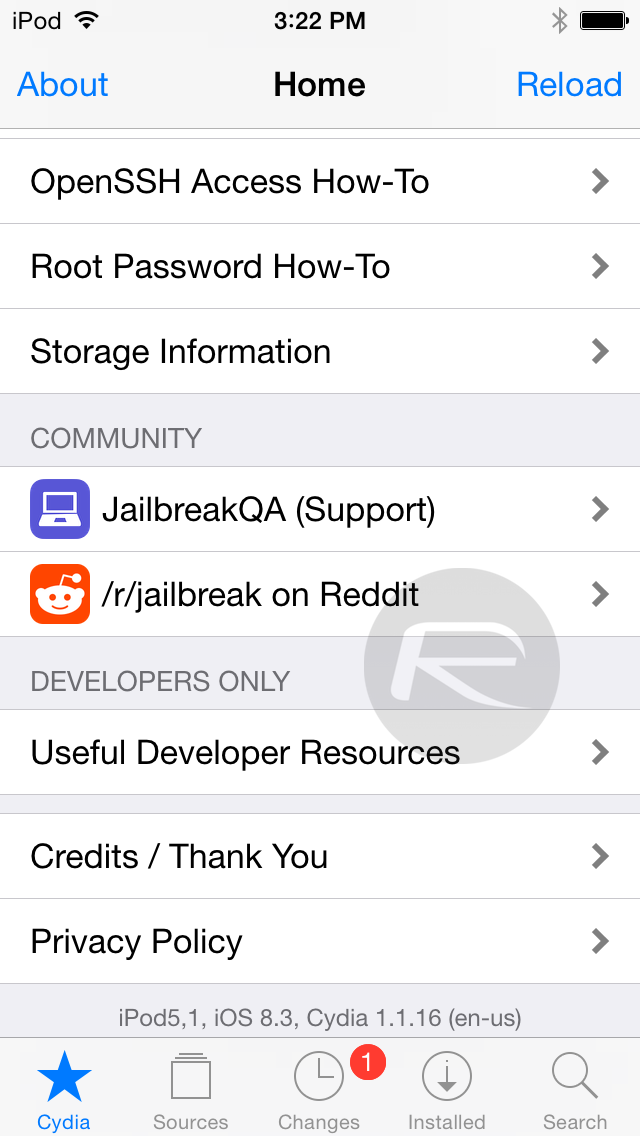
Step 7: Now once the device has automatically rebooted, you should have Cydia installed on your home screen.
Here’s a video tutorial:
Subscribe to our YouTube channel for more videos.
If you run into any issues like Error 1101, 1102 or getting stuck at 20% or so, follow our full TaiG iOS 8.3 jailbreak troubleshooting guide here: Fix TaiG iOS 8.3 Jailbreak Stuck At 20% Error 1101, 1102, 1103 And More [Troubleshooting Guide].
As you can see, the team has done a wonderful job of making things as easy as possible to ensure that all levels of users can get through the process relatively unscathed.
Let us know how it goes for you.
Update: Mac user? Follow the instructions here on how to jailbreak with TaiG on Mac OS X: Jailbreak iOS 8.3 On Mac OS X With TaiG, Here’s How [Video].
You may also like to check out:
- iOS 8.3 Compatible Jailbreak Tweaks On Cydia [List]
- Jailbreak iOS 8.3, 8.2, 8.1.3 With TaiG v2 On iPhone 6 Plus, 6, 5s, iPad, More [Updated]
You can follow us on Twitter, add us to your circle on Google+ or like our Facebook page to keep yourself updated on all the latest from Microsoft, Google, Apple and the web.
