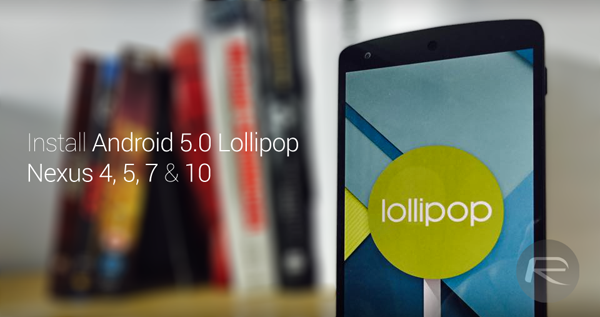
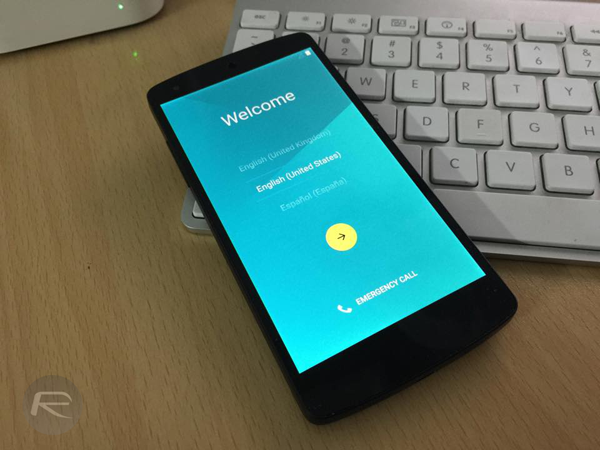
Google has finally released the Android 5.0 Lollipop factory images for Nexus 4, 5, 7, and 10. These factory images were long overdue actually, but as is the case with Nexus devices, they are always forerunners when it comes to receiving the latest OS updates. With OTA updates still nowhere in sight, these factory images should help give interested users a head start and get up to speed with the latest version of Android.
According to the Android Developers website, along with the Nexus 5, Nexus 7 (2013) and Nexus 10 devices, the Nexus 6, 9 and Nexus Player have also received updated factory images. Interestingly the first generation Nexus 7 (Wi-Fi) also gets the cut, along with the Nexus 4.

If you are an experienced Android flasher, and have a Nexus 4, Nexus 5 (GSM / LTE), Nexus 7 2nd-gen (Wi-Fi), Nexus 7 1st-gen (Wi-Fi) or Nexus 10, here’s how you can have Android 5.0 Lollipop up and running on your device.
Note: This procedure will erase all data from your phone or tablet, since factory images essentially restore your device to an out-of-the-box state.
Requirements:
- Download the appropriate Android 5.0 Lollipop factory images for your device. Download for Nexus 4 from here, and Nexus 5, 7 and 10 from here.
- Nexus USB drivers configured and installed (Windows only).
- Nexus device with an unlocked bootloader.
- A computer with ADB installed and set up.
- Enable ‘USB Debugging’ in Settings > Development options, and plug the device to the computer. To enable developer mode on your Nexus device, simply follow our guide on: how to enable developer options on Nexus.
- Completely back up your Nexus device. Follow our: How to completely backup your Android device on PC without root access guide on how to do so.
Unlock Bootloader
Windows users:
Step 1: You need to have ADB installed and set up. See our guide on how to set up ADB on Windows.
Step 2: Power down your Nexus device completely and plug it to the PC via USB.
Step 3: Open Command Prompt and navigate to the platform-tools folder of the Android SDK and type:
adb reboot bootloader
Step 4: Once the device boots into bootloader mode, enter the following command:
fastboot oem unlock
You will be prompted with some instructions on your Nexus, so follow those to proceed.
Mac users:
Step 1: Launch Terminal and type the following command to set up ADB and Fastboot automatically:
bash <(curl https://raw.githubusercontent.com/corbindavenport/nexus-tools/master/install.sh)
Step 2: Navigate to System Preferences > Keyboard – Shortcuts then click on Services. Find the New Terminal at Folder option and click to enable it.
Step 3: Connect your Nexus device to your Mac via USB.
Step 4: Extract the contents of the Lollipop factory image on the desktop inside a folder. Right-click on the folder, then float the mouse pointer on Services, click on New Terminal at Folder.
Step 5: Enter the following command in the Terminal window to reboot the device into bootloader mode:
adb reboot bootloader
Now enter the following command to unlock the bootloader
fastboot oem unlock
Follow any on-screen instructions on your Nexus to ultimately unlock your bootloader.
Install Android 5.0 Lollipop On Nexus 4, 5, 7, 10
Step 1: To begin, download the factory image relevant to your device, and extract the contents to your desktop in a folder.
Step 2: Enter the following command in Command Prompt or Terminal to boot the device in bootloader mode:
adb reboot bootloader
Step 3: Once the device is in bootloader mode, Windows users can run the flash-all script file to start the flashing process.
Mac and Linux users should right-click on the folder of the extracted image contents, then navigate to Services, then click on New Terminal at Folder. Now enter the following command:
./flash-all.sh
This is it! Your Nexus device should begin installing the Lollipop factory image and should restart once the process completes.

You can follow us on Twitter, add us to your circle on Google+ or like our Facebook page to keep yourself updated on all the latest from Microsoft, Google, Apple and the web.

