Apple has just released iOS 4.3.4 which patches the PDF vulnerability exposed by Comex’s JailbreakMe 3.0 tool which was used to jailbreak iPhone, iPad (and iPad 2) or iPod touch on iOS 4.3.3.
If you’ve saved your SHSH blobs for the earlier versions of iOS, in this case its 4.3.3, 4.3.2, 4.3.3, 4.3 or 4.2.1, then you can downgrade from iOS 4.3.4 to these earlier versions without any problem. Keep in mind that this guide does not apply to 3G iPad 2 users running iOS 4.3.4, since downgrading the baseband is not possible on it, yet. If you do have a 3G iPad 2 and have upgraded to iOS 4.3.4, then you are out of luck for now.
Step 1: Download the required IPSW file to which you want to downgrade to, the links are given below for your convenience:
Step 2: Once you’ve downloaded the required IPSW file, its time you put your iPhone, iPad or iPod touch into DFU mode. The steps are as follows:
- Connect your iPhone, iPad or iPod touch to your PC or Mac.
- Turn your device off.
- Now launch iTunes.
- Hold down the Power button and the Home button simultaneously for 10 seconds.
- After 10 seconds, release the Power button but don’t let go of the Home button, your computer should detect a new USB device.
- At this point, iTunes will also recognize your device, whether its an iPhone, iPad or iPod touch.
At this point, your device’s screen should be off, if that’s so, then you’ve successfully put your device in DFU mode. If iTunes logo shows up, you’re in Recovery Mode, NOT DFU mode.
Step 3: Here comes the tricky and the most important part, you’re going to fool iTunes into thinking that its in contact with Apple’s servers, whereas we’re going to change that to Saurik’s server. In order to do this, follow the steps given below:
Windows users:
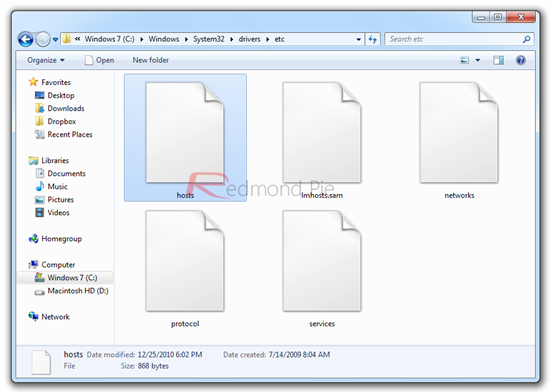
Navigate to C:\Windows\System32\drivers\etc\ and locate the file named as “hosts”.
Mac users:
Mac users can access the “hosts” file by navigating to “/etc/” folder, which can be found through Go > Go to Folder from within Finder.
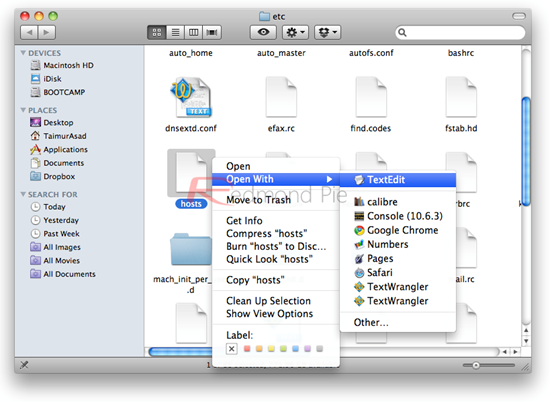
If you’re on Windows, then open the “hosts” file in Notepad. If on a Mac, then open the “hosts” file in TextEdit, and add the following line at the end:
74.208.105.171 gs.apple.com
Refer to the screenshot below if you’re having confusion:
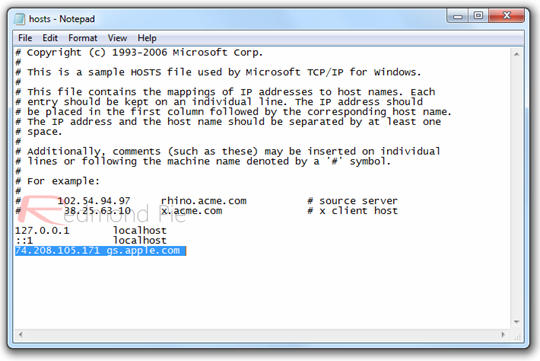
Just save the file and close Notepad or TextEdit, and you’re all set for the downgrade.
A quick note for Windows 7 and Vista users: Start Notepad with “Administrator privileges”, that can be done by right-clicking the Notepad app, and there you will see the “Administrator privileges” option, simply click and launch.
A quick note for Mac OS X users: While saving the host file on your Mac, you should have complete read and write privileges in order to make changes. Getting a permission error? A simple workaround is to copy the host file to your Mac’s desktop, from there make the changes in TextEdit, save the file, and copy it back to the original location, and replace the original host file with the one which you just created.
Step 4: Launch iTunes, choose your device from the left sidebar. Hold down the left “Shift” key if you’re on Windows or hold down the left “alt” key if you’re on a Mac and click on “Restore”, do not click anything else! A new window will pop up asking you for the location of the IPSW file.
Navigate to the desired firmware to which you want to downgrade to, in this case it can be either iOS 4.3.3, 4.3.2, 4.3.1, 4.3 or 4.2.1. Once you find the required IPSW file, click “Open” and let iTunes do its thing.
In a matter of few minutes, iTunes will install the version of iOS which you directed it to install. At this point you should see a progress bar on your device, everything is automated, therefore don’t do anything silly. Your device will reboot automatically when everything is done.
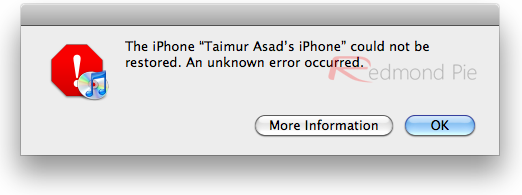
In some cases, iTunes will throw 1013 error, ignore it, its perfectly normal when downgrading. At this point, your device will be in Recovery Mode with your desired version of iOS fully installed.
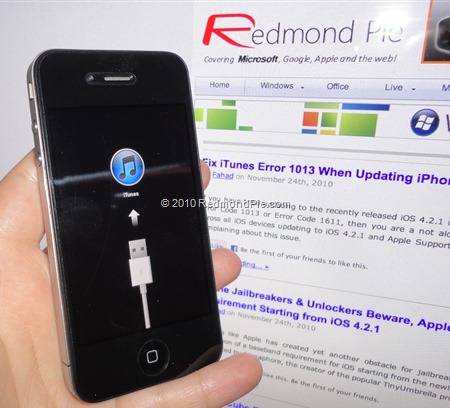
You should see a screen like the one below:
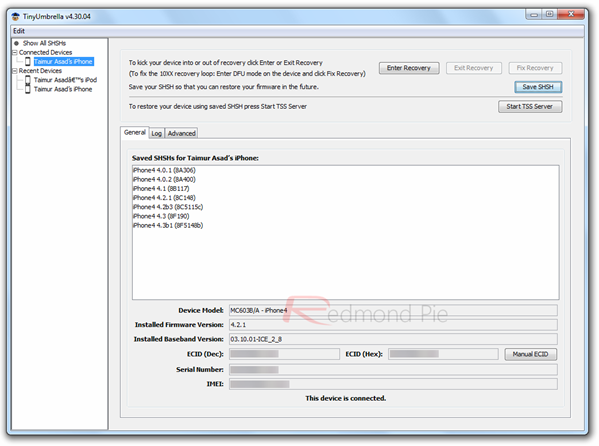
Its quite simple to get out of Recovery Mode, simply down this nifty program called TinyUmbrella (Windows, Mac) along with Fix Recovery (Windows, Mac).
Once you’re done downloading TinyUmbrella, launch it, and then click on the “Exit Recovery” button. In a matter of seconds, your device will boot up normally.
Once you’re done with this, the last thing you’re going to do is remove the line you added to the “host” file in step 3, which is 74.208.105.171 gs.apple.com in order to receive updates from Apple’s servers normally.
If you’re running iOS 4.3.3, then simply follow our guide on how to jailbreak iOS 4.3.3 using JailbreakMe, fully untethered!
You can follow us on Twitter or join our Facebook fanpage to keep yourself updated on all the latest iPhone jailbreaking and unlocking releases.
