Looking to do a clean install of OS X El Capitan 10.11 on your Mac? Here’s a step-by-step guide on how to do that.
As you know by now, the final build is now available to download free-of-charge from the Mac App Store for an impressive range of compatible Mac hardware. We’re going to take a look at how to install a fresh copy of El Capitan on one of those supported Macs via a bootable USB flash drive.
Excited? You should be, so lets get down to business!
Prerequisites:
- A supported Mac. To see if your Mac is supported, check out our post here: OS X 10.11 El Capitan Mac Compatibility List.
- Prepare your Mac for the installation of El Capitan. Includes instructions on how to backup your data with Time Machine. Follow the guide here: How To Prepare Your Mac For OS X El Capitan [Guide].
How to clean install OS X El Capitan on your Mac:
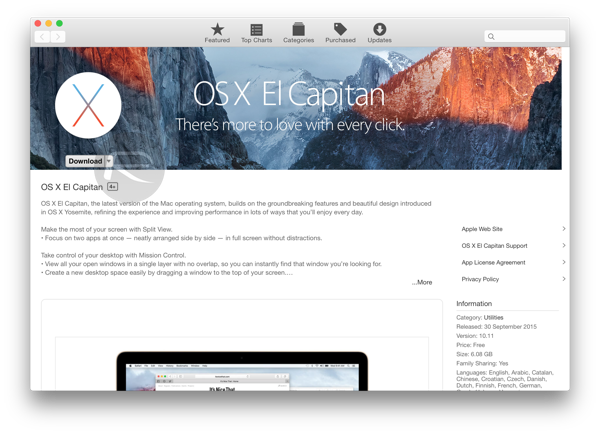
Step 1: Before you can install OS X El Capitan, you will need to download it from the Mac App Store. It is available for free. Make sure that when the installer is finished downloading, you quit the installation process and don’t actually allow it to install El Capitan over your existing Yosemite or Mavericks system. Get El Capitan from here: Download OS X El Capitan 10.11 Final Version For Your Mac Free Right Now.
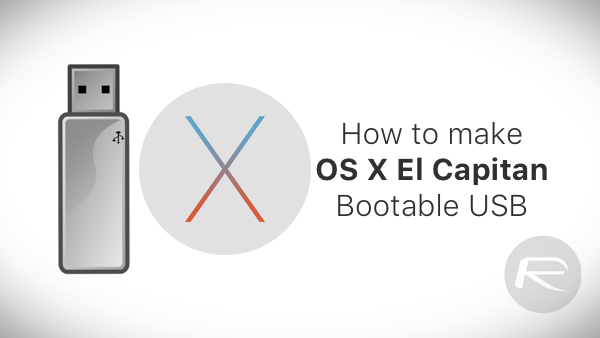
Step 2: Now that El Capitan is downloaded, you will now need to create a bootable OS X El Capitan USB flash drive. Doing this will allow you to install a fresh copy of OS X on your Mac from the flash drive, rather than having to upgrade to the new OS over an existing installation. Follow the instructions on how to make the bootable installation drive here: Make OS X El Capitan Bootable USB Flash Drive, Here’s How [Tutorial].
Step 3: Now that the bootable OS X El Capitan USB drive is ready, plug it into your Mac. If your Mac is powered down then turn it on with the USB drive plugged in, ensuring that the Option key on the keyboard is pressed and held as soon as the Mac powers up. If it’s already on, simply restart the machine and follow the same process.
Step 4: You will now be prompted to choose a location to boot from. Be aware that if you have any external hard drives or additional USB drives plugged in they will be displayed here. Make sure you select the bootable USB flash drive that was created in Step 2 above. Once the correct drive is selected, hit the Enter / Return key to proceed.
Step 5: After a few minutes – depending on your Mac’s speed – the installation process will start. In the presented window, click on the ‘Disk Utility‘ option and hit ‘Continue‘.
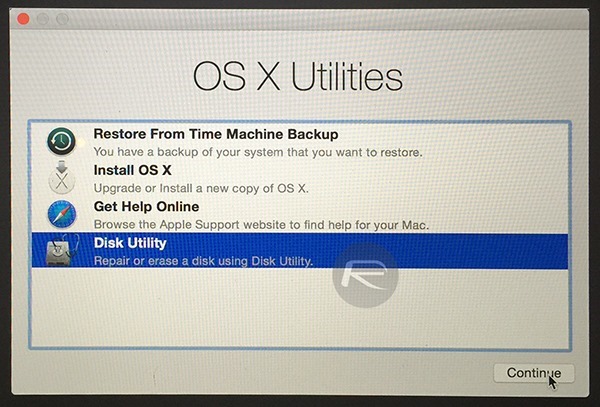
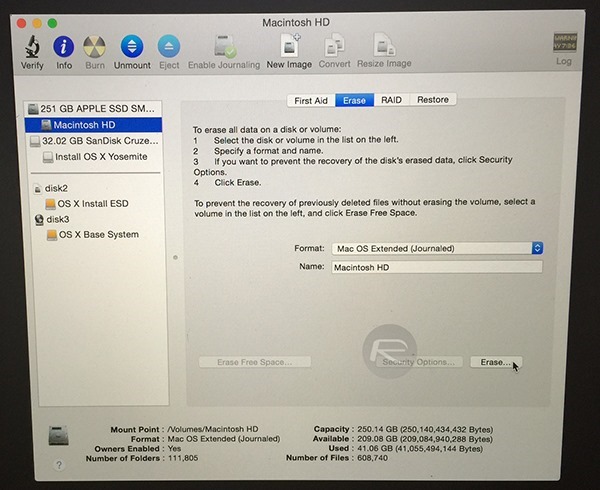
Step 6: From the Disk Utility, select the ‘Macintosh HD‘ option from the left hand-side pane. In the main window select the ‘Erase‘ tab from the options at the top, finally clicking the ‘Erase‘ button located at the bottom. Note: This will erase everything off your main hard drive. Make sure you backup everything first as mentioned in prerequisites above before doing this.
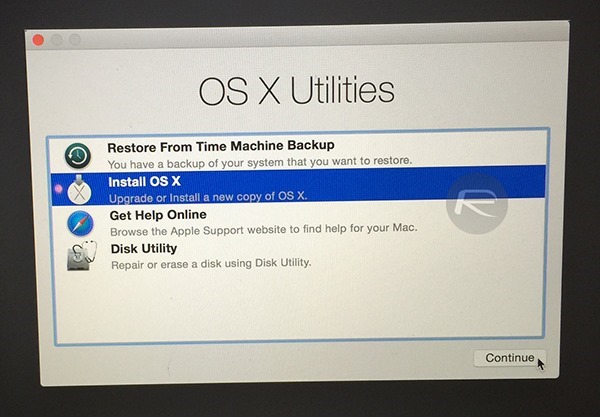
Step 7: Now that your Mac has been erased of the existing operating system, OS X Utilities window will be presented again. Select the Install OS X option this time and click Continue.
Step 8: Select the ‘Macintosh HD‘ option from the resulting window. This is the hard drive that we formatted and made ready as part of Step 6 above. Click the ‘Install‘ button at the bottom of the interface to begin the installation process.
And there we have it! We’ve now initiated the process of installing a fresh version of OS X El Capitan from a bootable USB flash drive. You’ll now need to exercise a little bit of patience and allow the installation process to run its course. When completed, you’ll be up and running with a shiny, fresh new copy of OS X El Capitan on your Mac. Enjoy!
You can follow us on Twitter, add us to your circle on Google+ or like our Facebook page to keep yourself updated on all the latest from Microsoft, Google, Apple and the Web.
