The awesome guys over on the Dev-Team have just released the tool required for jailbreaking both iPhone 2G and iPhone 3G running OS firmware 3.0 for both Windows and Mac OS X. To jailbreak your iPhone 2G and iPhone 3G, simply follow the simple on-screen steps:
You will need to first update/restore to the original iPhone OS firmware 3.0 on your iPhone by using iTunes 8.2 before proceeding with the following steps.
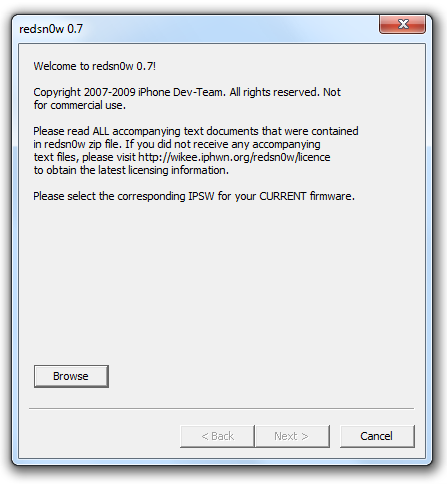 Browse to the Original iPhone firmware OS 3.0 .ipsw file. Check the links below to download them.
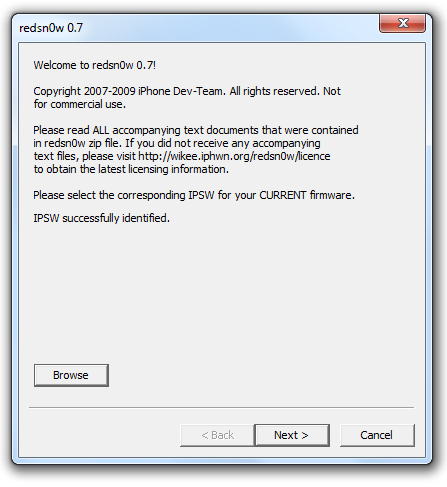 redsn0w will then verify to see if the .ipsw is valid.
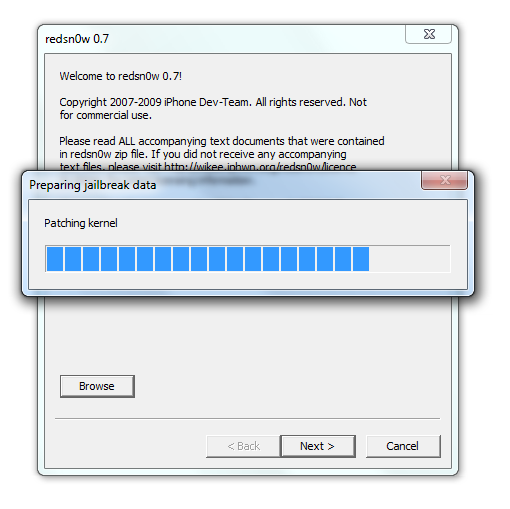 Now redsn0w will automatically patch the original file.
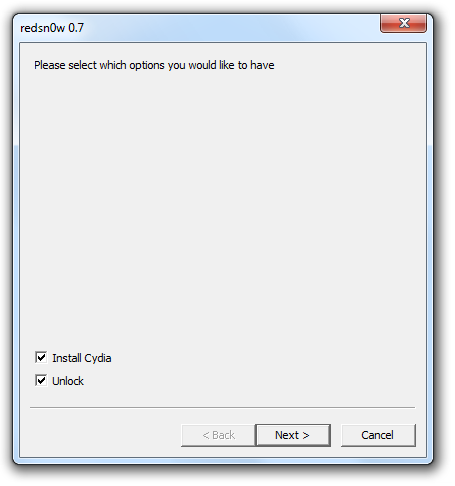 Check on “Install Cydia” to jailbreak and “Unlock” to unlock your iPhone (Unlock is for 2G Only) so that you can use it with any carrier SIM.
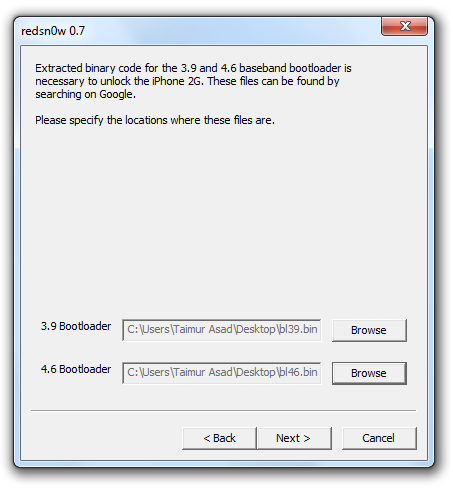 This step is for iPhone 2G users only. iPhone 3G users should skip to next step – You will have to provide the path to bl39.bin and bl46.bin files. Download them from the links given below.
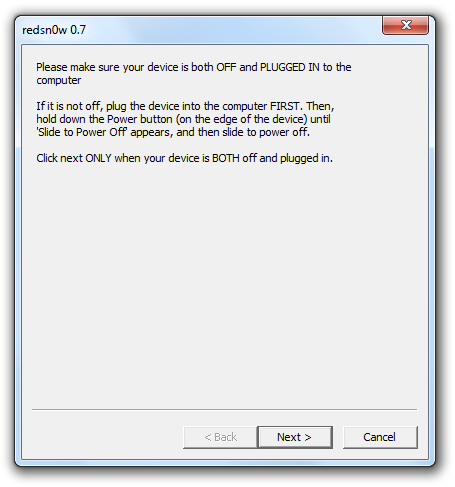 Now make sure your device is both OFF and PLUGGED IN to the computer before you click “Next”.
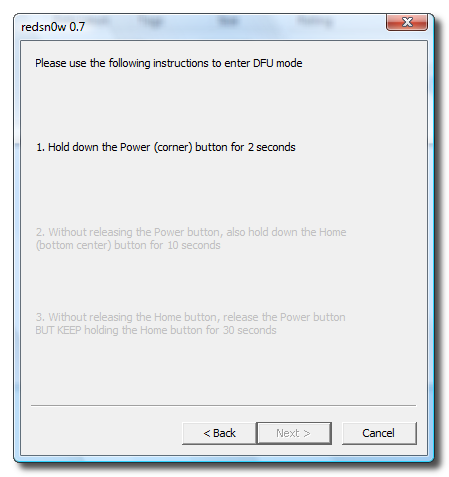 At this stage you will be presented with the screen where you will have to quickly hold “Power” button and then while holding the “Power” button, you will now have to hold “Home” button too. Now after few seconds release “Power” button but keep holding “Home” button until installation begins.
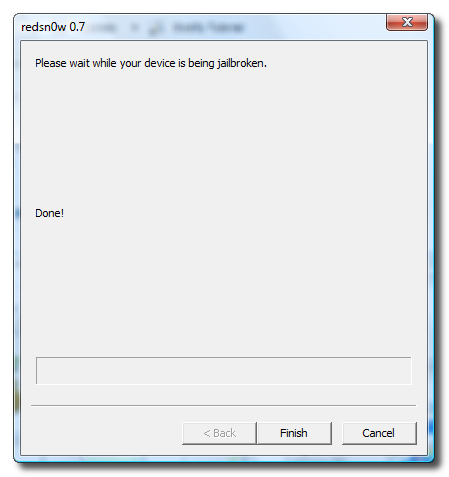
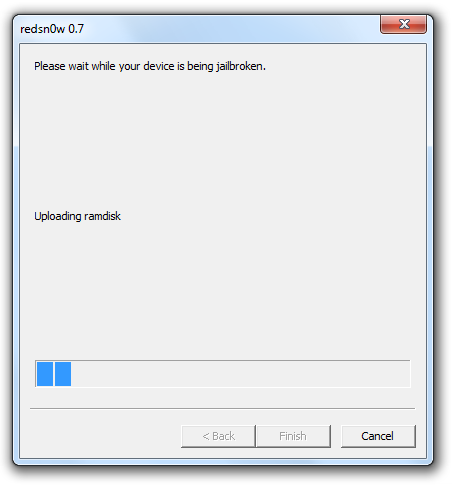 Sit back and enjoy while redsn0w will do all the rest for you. Once done, your iPhone will restart automatically and you will find it jailbroken. This applies to both iPhone 2G and iPhone 3G.
Feel free to ask me any question regarding any problem that you may encounter during the update process.
Disclaimer: This guide is for testing & educational purposes only. I’m not responsible for any loss of important data or malfunctioning of your iPhone.
UPDATE 1 (Windows 7 users): redsn0w may crash for some users running Windows 7. To get around freezing and crashing of redsn0w, right click on redsn0w.exe and then click on “Properties”. Switch to “Compatibility” tab and make sure you check “Run this program in compatibility mode for: Windows XP (Service Pack 3)”. Now simply start the application by right clicking on the .exe file and then click on “Run as administrator”. This should solve your problem on Windows 7.
UPDATE 2 [ How to install Icy? (formerly Installer) ]
Those of you who have jailbreaked your iPhone using redsn0w method above may have noticed no Icy(formerly Installer) on your iPhone. To install “Icy”, simply start “Cydia” on your jailbroken iPhone. It will prompt you to install upgrades, choose “Complete Upgrade” and then confirm the installation. Once this upgrade is done, restart “Cydia” and then follow the following steps:
1. Click on “Manage” and then click on "Sources”.
2. Click on “Edit” and then click on “Add”.
3. Enter “http://apt.ripdev.com” and then click on “Add Sources”. It will upgrade some files.
4. Now click on “Done” and then click on “Search” to search for “Icy”.
5. Find “Icy” (Only the word “Icy”) and install it.
6. You should now have “Icy” installer on your iPhone home screen.
UPDATE 3:
redsn0w 0.7.2 is now available for both Windows & Macs. It adds support for PPC and comes with Icy(formerly Installer) as pre-installed. The links below have been updated with latest version of redsn0w i.e. 0.7.2
UPDATE 4:
ultrasn0w is out! iPhone 3G users can now unlock their phones running jailbroken iPhone firmware 3.0 by following the step by step guide here.
Download Links:
(Torrent Links)
Download redsn0w 0.7.2 for Windows
Download redsn0w 0.7.2 for Mac OS X
(Direct Links)
Download iTunes 8.2
Download Original firmware OS 3.0 (iPhone 3G)
Download Original firmware OS 3.0 (iPhone 2G)
Download redsn0w 0.7.2 for Windows
Download redsn0w 0.7.2 for Mac OS X
Download Bootloader 3.9 (Required by iPhone 2G only)
Download Bootloader 4.6 (Required by iPhone 2G only)
