Here’s how to jailbreak iOS 8.4 on iPhone, iPad, iPod touch using the newly updated TaiG v2.4 tool for Windows.
With iOS 8.4 now being available, TaiG was swift enough to release an updated version 2.4.1 of its jailbreak tool that supports Apple’s latest mobile OS. If you’ve ever used a previous versions of the TaiG tool, then you’ll feel right at home with this. If you haven’t, then fret not, we have a complete step-by-step guide to walk you through the whole process of jailbreaking iOS 8.4 on your iPhone, iPad or iPod touch.
Note: The tool is still currently available for Windows users only and supports iPhone 6 Plus, iPhone 6, 5s, 5c, 5, 4s, iPad Air 2/1, iPad 4/3/2, iPad mini 3/2/1, iPod touch 5 running iOS 8.4 all the way down to iOS 8.1.3.
Also before you begin, you must make a complete backup of your data either using iTunes or to iCloud.
Ready? Lets do this!
Step 1: Download the new TaiG jailbreak tool from here: Download TaiG 2.2.0 iOS 8.4 Jailbreak For Windows (Update: A new version 2.4.1 is now available, download that instead from here). Also download and install the latest version of iTunes from apple.com/itunes.
Step 2: Restore to iOS 8.4 from scratch on your device using iTunes. This is important as OTA updates tend not to play nicely with modern jailbreaks like TaiG. You can download iOS 8.4 for your device from here: Download iOS 8.4 Final IPSW Links For iPhone And iPad.
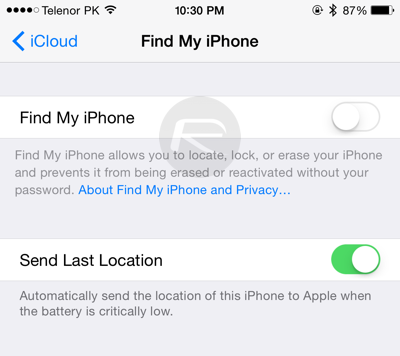
Step 3: Disable Find My iPhone on your iOS device. Navigate to Settings > iCloud > Find My iPhone and turn off the ‘Find My iPhone’ toggle. You’ll be required to enter your Apple ID password to confirm.
Step 4: Disable Passcode and Touch ID unlock.
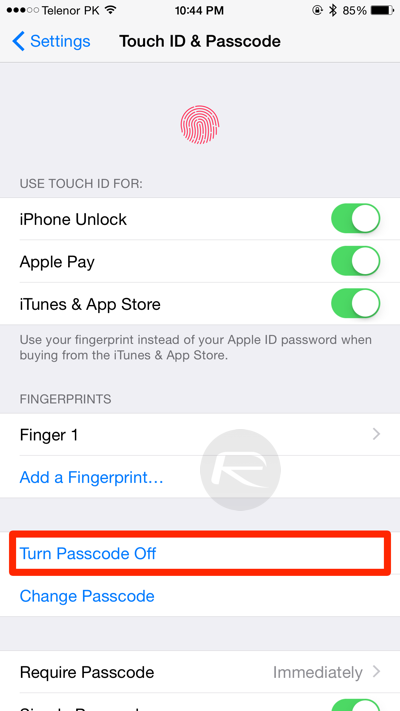
You can achieve this by going to Settings > Touch ID & Passcode and then tapping on the ‘Turn Passcode Off’ option.
Step 5: Connect your iPhone or iPad to your PC and launch the TaiG jailbreak tool you downloaded in step 1.
Step 6: The tool will now identify your device. Once it’s done, simply click on the ‘Start’ button to kick off the jailbreak process. Make sure you uncheck the ‘3K Assistant’ box before you begin.

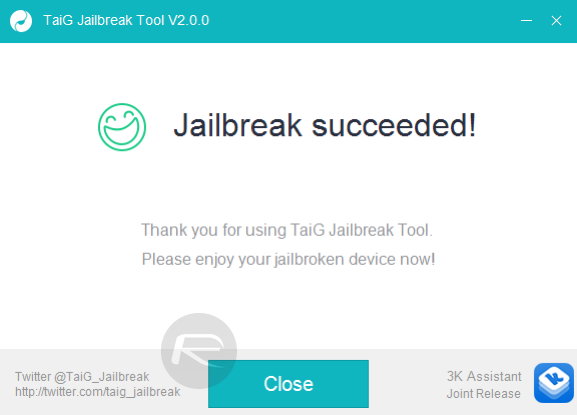
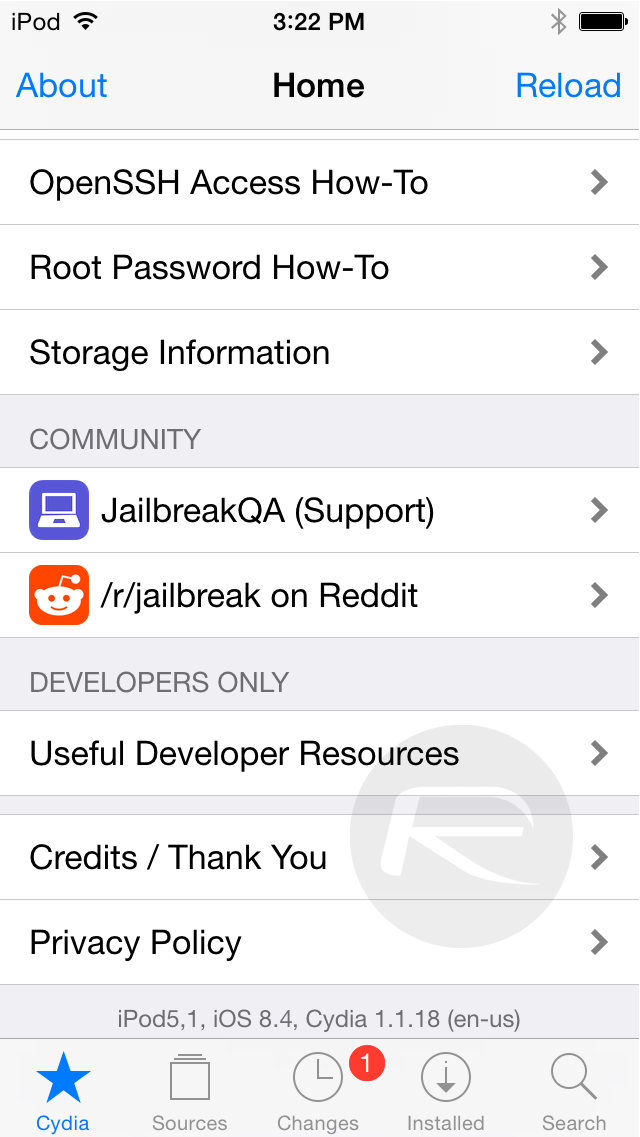
Step 7: After a few minutes your iOS device will reboot and you’ll see the Cydia icon on your home screen, confirming that the jailbreak process went smoothly.
After the jailbreak is complete, you can safely turn on both Find My iPhone and Touch ID/Passcode options which you disabled in steps 3 and 4 above.
Here’s Cydia running on iOS 8.4:
Here’s our video tutorial showing the whole process in action:
Subscribe to our YouTube channel for more videos.
Having any issues with the jailbreak? Follow our troubleshooting guide here: Fix TaiG iOS 8.4/8.3 Jailbreak Stuck At 20% Error 1101, 1102, 1103 And More [Troubleshooting Guide].
Let us know how the jailbreak went for you.
Mac user? Follow the OS X specific instructions detailed here: How To Jailbreak iOS 8.4 With TaiG On Mac OS X.
You may also like to check out:
You can follow us on Twitter, add us to your circle on Google+ or like our Facebook page to keep yourself updated on all the latest from Microsoft, Google, Apple and the Web.
