You can never have too much security in this world, and with Apple and the FBI going at it over that very subject, the point has never been more accurate. While we doubt the FBI really wants to read our notes, for example, it’s great to know that with both iOS 9.3 and OS X 10.11.4, users of the stock Apple Notes app can now save their notes with password/Touch ID protection, which should stop most people from seeing whatever you have saved inside the app even if the device itself is unlocked.
Password protected notes are something that users of the Notes app have been crying out for, and after a long, long time, Apple has finally listened with the arrival of iOS 9.3. Of course, it’s all well and good password protecting a note on iOS, but the Mac also needs to be able to access those same notes, hence the OS X 10.11.4 update, which lets users access said notes as well as password protect any new ones.
If you’re new to the Notes app and are just poking around, or have been a veteran Notes user for years, you’re going to want to know how to password protect a note. Doing just that is far from rocket science, but we’re going to cover it now just to make sure nobody can get stuck.
Let’s get started.
iOS 9.3
Step 1: Open the Settings app on your iPhone or iPad.
Step 2: Scroll down to Notes and tap on it.
Step 3: Towards the middle of the screen, you should see a Password option. Tap on that.
Step 4: You will be prompted at this point to set up a new password. Make one, and keep it nice and safe.
Step 5: Fill in the fields for password, and then verify that password.
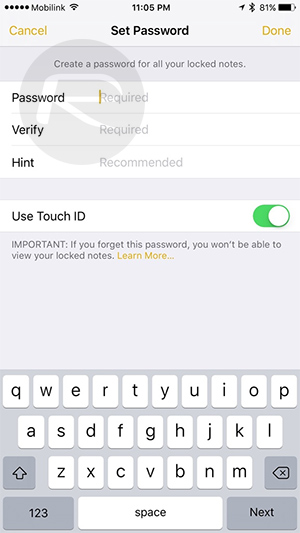
Step 6: Give iOS a hint that can be used if the password goes missing.
Step 7: In the same menu, toggle on Use Touch ID, you know, if you want to use Touch ID fingerprint authentication for your notes. We know you do.
Step 8: Tap Done in the top right corner and that’s all she wrote.
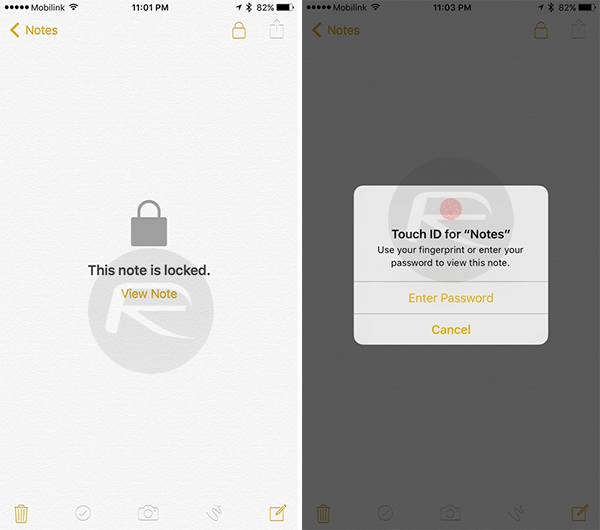
Step 9: Now to lock any individual note inside the Notes app, open that note, tap the Share button on top right and then the Lock Note button.

Step 10: If you entered your Notes password fairly recently, the note will lock. Otherwise, you’ll need to enter your password. Whenever you access the same note next, you will be prompted to unlock it with Touch ID or by entering the password.
If you leave a note unlocked and exit the app, that note will auto lock itself whenever either the device’s display turns off, or when you close the Notes app from the app switcher.
OS X 10.11.4
On the Mac, the settings for passwords are carried over from iOS (and vice versa), so there shouldn’t be anything to configure here, provided both your iOS device and Mac have the same Apple ID signed in and iCloud Notes syncing is enabled on both. Just in case you have separate Apple IDs set up or want to set up Notes password protection from your Mac first, we’ll start from the beginning down to locking individual notes.
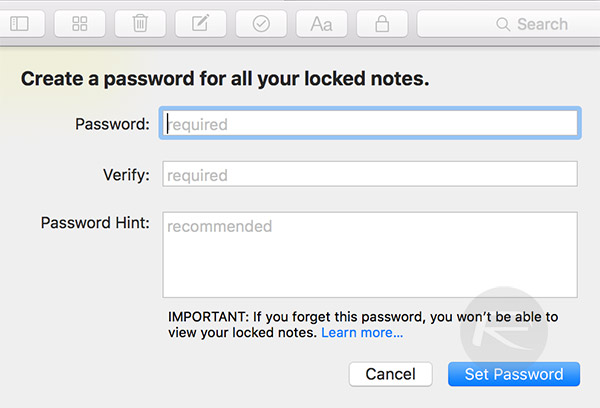
Step 1: Open the Notes app and from the app menu, select Set Password (or Change Password, if you already have a password set up and synced over, and now you want to change it).
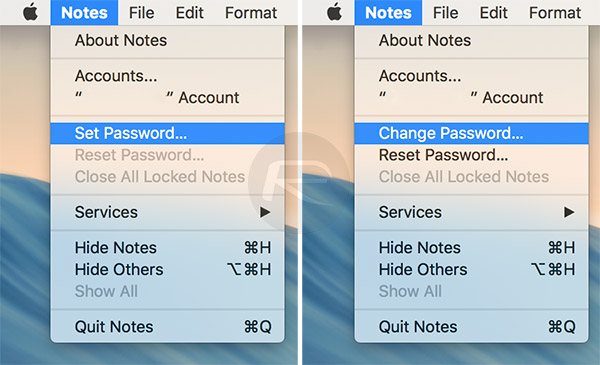
Step 2: In the window that follows, fill in the fields to set a new password or change your existing one and confirm.
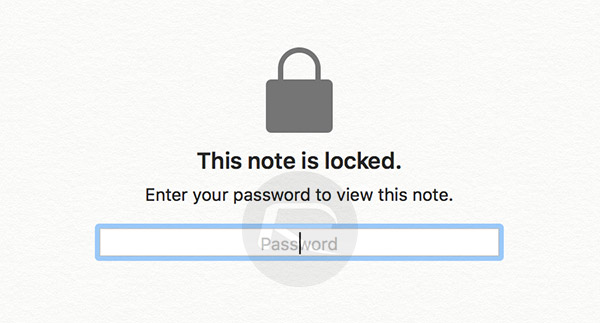
Step 3: Once that is done, you can lock individual notes by selecting them and clicking the lock icon beside the search field.

Step 4: Any locked notes you try to open will present you with the following password entry screen.
It is important to note that all the individual notes that are password protected will have the same password for locking/unlocking. You can’t password protect the whole app, neither can you set different password for different note entries within the app. Though you can add same password lock to all the individual note entries inside the app.
You may also like to check out:
- iOS 9.3 / 9.2.1 / 9.2 / 9.1 Jailbreak Status Update
- Download iOS 9.3 Final Version For iPhone And iPad [Direct Links]
- How To Downgrade iOS 9.3 On iPhone Or iPad [Tutorial]
You can follow us on Twitter, add us to your circle on Google+ or like our Facebook page to keep yourself updated on all the latest from Microsoft, Google, Apple and the web.
