Here’s how to make a bootable macOS Sonoma USB installer drive the correct and easy way.
Apple’s macOS Sonoma update is now available for download which means that you can put it on your Mac now without waiting any longer. The update has been in beta for months, but it’s now ready for anyone who wants it.
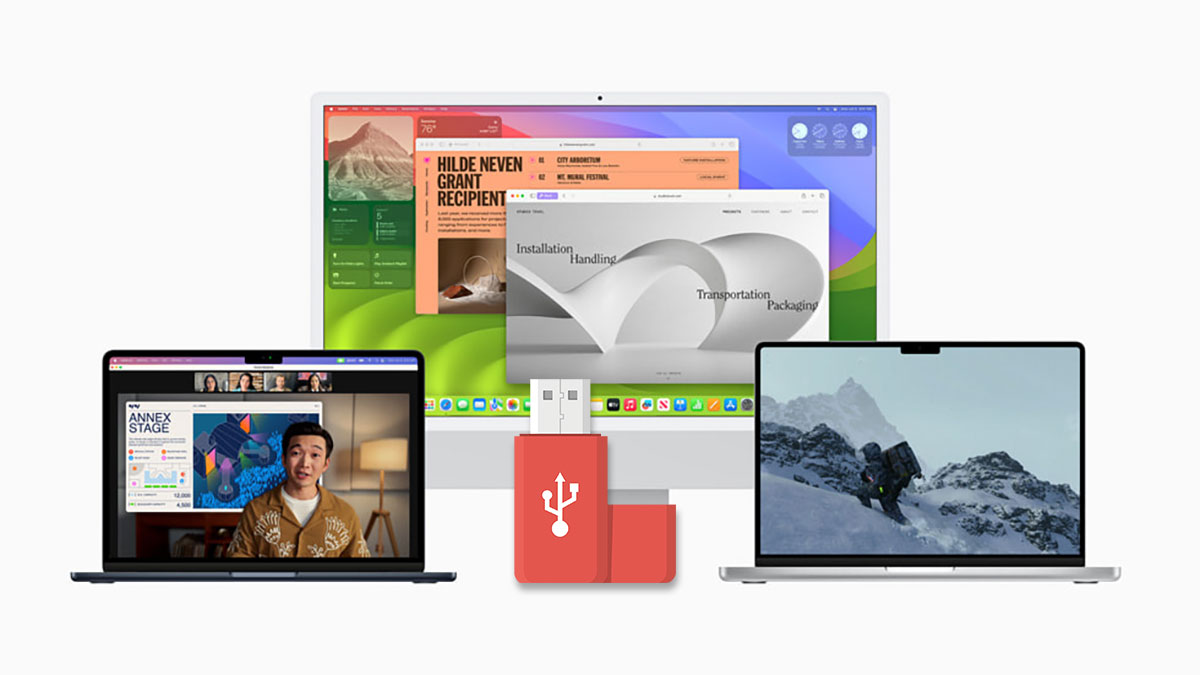
You can of course install macOS Sonoma via the Settings app in macOS right now, but those who want to install via a USB stick can do that as well. That could be handy for restoring a Mac, for example, and here are the steps that you’re going to need to follow. You’re also going to need a USB stick that’s big enough to fit macOS Sonoma on — we’d suggest simply getting the biggest you can, but one that’s at least 16GB.
Assuming that’s all sorted, let’s get started.
Step 1: Open the Terminal application on your Mac.
Step 2: Connect the USB stick to your Mac and rename it to “SonomaUSBStick”.
Step 3: Enter the following command and press return:
sudo /Applications/Install\ macOS\ Sonoma\ Installer.app/Contents/Resources/createinstallmedia –volume /Volumes/SonomaUSBStick –nointeraction
Once the process is done you are fine to unplug the USB stick.
Booting from the macOS Sonoma installation USB stick is easy, but it differs depending on which Mac you are using.
Using an M1 or M2 Mac
Step 1: Plug the USB stick into your Mac and then turn it on.
Step 2: Choose the macOS Sonoma installer as the boot volume and follow the instructions.
Using an Intel Mac
Step 1: Plug the USB stick into your Mac.
Step 2: Turn the Mac on while holding the Option key until you see the boot options.
Step 3: Select the macOS Sonoma USB stick and follow the instructions.
And that’s it, you should now be up and running using your new macOS Sonoma USB stick.
You may also like to check out:
- Jailbreak iOS 17.0.1 On iPhone Status Update [Latest]
- Download: iOS 17.0.1 IPSW Links, OTA Update For iPhone, iPadOS 17.0.1 For iPad Released
- How To Fix Bad iOS 17 Battery Life Drain [Guide]
You can follow us on Twitter, or Instagram, and even like our Facebook page to keep yourself updated on all the latest from Microsoft, Google, Apple, and the Web.
