Here’s how to download and install PPSSPP PlayStation emulator IPA on iOS 10. No jailbreak is required for this to work on iPhone and iPad.
Are you a fan of mobile gaming but can’t seem to find any top-class titles in the App Store that may raise your excitement levels? Do you yearn for the days of yesteryear when you could simply jump on your PlayStation Portable (PSP) to play some quality games that were cutting-edge for their time? Step forward the awesome PPSSPP PlayStation Portable emulator that can now be installed on Apple’s iOS 10-running devices without a jailbreak.
We have tested and can confirm that PPSSPP supports all iPad, iPhone and iPod touch devices running iOS 10.0.x to iOS 10.2, with the current version coming with a ton of improvements around how graphics are handled on newer devices, and much better video support. The developers have also introduced multiple language support and the much needed save and load states.
Impressed? Check out the step-by-step guide below to install PPSSPP PlayStation Portable emulator on your iOS 10 device, and that too without a jailbreak. Running iOS 9? No problem as this will work with previous versions of iOS as well.
Step 1: This one goes without saying, but you can’t physically install anything without actually having access to the necessary install file. With that in mind, you’re going to need to download the PPSSPP IPA file from here.
Step 2: Now with the PPSSPP IPA file in your possession, the next step is to install/sideload it onto your device. This is actually the biggest and most complex part of the process, but thankfully we’ve covered this previously in existing guides that cater for both Mac and Windows users using either Xcode 7 or higher or Cydia Impactor. Simply use any of the two guides below to sideload PPSSPP emulator for iOS 10 on your iPhone or iPad.
- Xcode 7 or higher (recommended method): How To Sideload iOS Apps Without Jailbreak Using Xcode
- Cydia Impactor: Sideload iOS Apps On Windows, Mac With Cydia Impactor Without Jailbreak, Here’s How
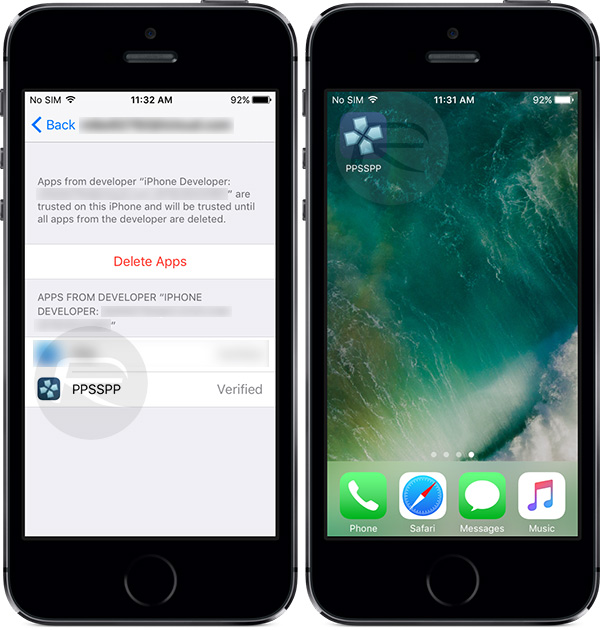
Step 3: With the app installed, you’ll probably have found that it doesn’t launch just yet, and instead, tries to and then just quits back to the Home screen. That’s no good now, is it? This is where we have to trust the certificate that has been used to digitally sign the app on an enterprise level. To do this, launch Settings on your device, then go to General > Profile & Device Management and then select the certificate that corresponds to PPSSPP. Select Trust and then Trust again. On some iOS versions, this option might be available at General > Profile(s) & Device Management or General > Device Management.
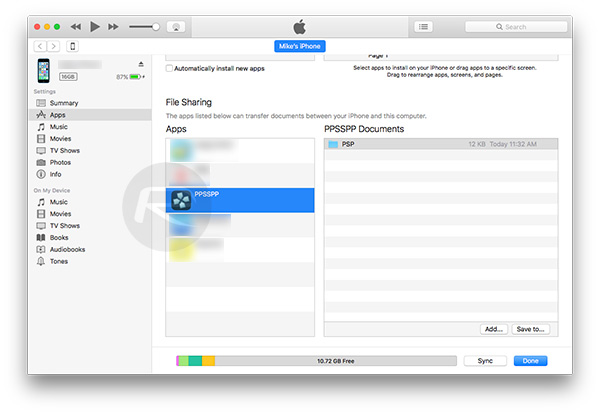
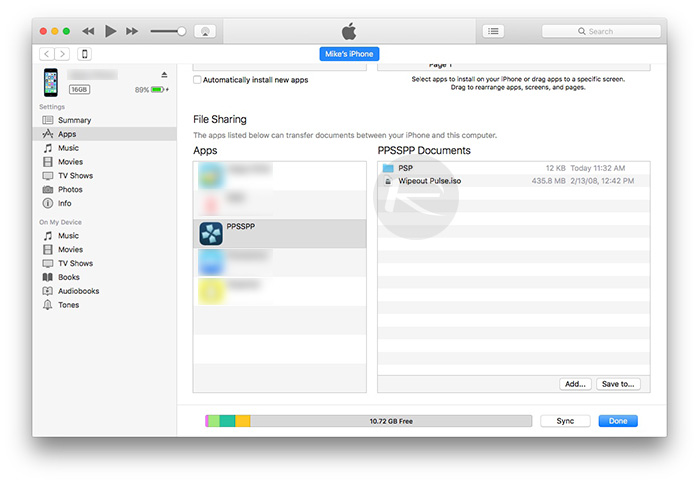
Step 4: Now that you actually have PPSSPP installed and running, you’re going to need to get some ROMs onto the device to play PSP games. To do this, simply download the ROM of your favorite game from web, then connect your iOS device to your computer and launch iTunes. In Tunes, select Apps from the left-hand column and then select PPSSPP from the main File Sharing column.
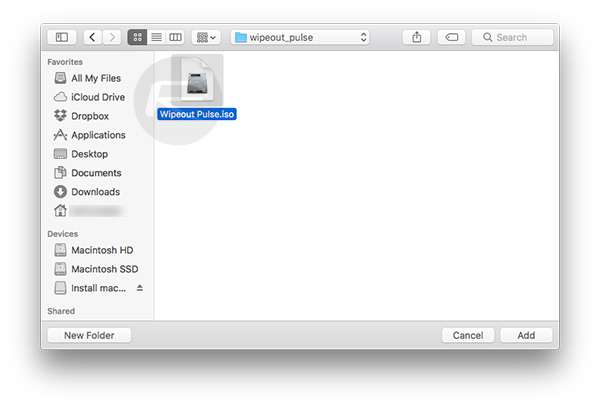
Step 5: Next, click Add and navigate to the ISO file of the ROM that you have downloaded. Select the file and click on Add again.
Step 6: iTunes will now handle the rest and transfer the file across to the internal folder of the PPSSPP app, making it accessible to the app. Once the transfer is complete, and you see the ISO file moved over to PPSSPP Documents section in iTunes as shown in the screenshot below, disconnect your iOS device from the computer.
Step 7: Back on your iOS device, launch the PPSSPP emulator app from the Home screen. Tap on the Games tab from the top of the interface. From here you will be able to select the installed ISO file of the game that you transferred over using iTunes and play it.
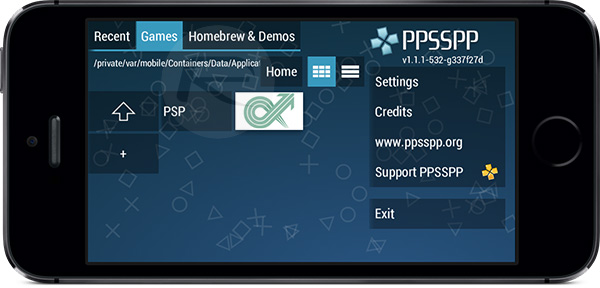
In our case, we got Wipeout Pulse up and running, complete with on-screen controls.

Let us know if you have, or plan on playing some PSP games on your iOS 10-running iPhone using this PPSSPP emulator.
You may also like to check out:
- Pokemon Go++ 1.19.1 / 0.49.1 Hack Available To Download On iOS / Android
- Jailbreak iOS 10 / 10.1.1 / 10.0.2 / 10.2 For iPhone, iPad, iPod touch [Latest Status Update]
- Download iOS 10, 10.1.1, 10.2, 10.0.2 Links & Install On iPhone 7, 6s, 6, Plus, SE, 5s, 5c, 5, iPad, iPod [Tutorial]
You can follow us on Twitter, add us to your circle on Google+ or like our Facebook page to keep yourself updated on all the latest from Microsoft, Google, Apple and the Web.
