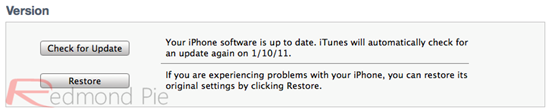
If you’ve been paying attention to the news today, you’re probably aware of the unexpected release of iOS 4.3.5, an update that allegedly fixes a security issue with certificate validation. If you’ve backed up a blob from an older version, fear not, you can downgrade very easily.
It should be noted that this guide does not apply to 3G iPad 2 users running iOS 4.3.5. This is because downgrading the baseband on 3G iPad 2 is not possible yet. If you do have a 3G iPad 2 and have upgraded to iOS 4.3.5, then you are out of luck for now.
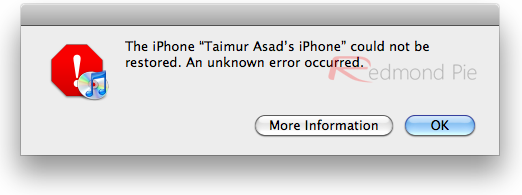
Because of Apple’s security checks, you can’t just restore the old firmware using iTunes. However, thanks to a few tools (and your own blob) there’s an easy way around it.
Step 1: Download the firmware file you want to downgrade to. As a matter of common sense, download the version which can be jailbroken untethered like iOS 4.3.3, but any of the versions we’re linking to below should work just fine.
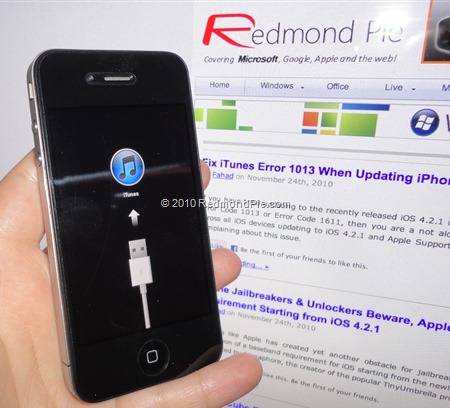
Step 2: In order to proceed, you’ll need to set your device into DFU mode, by taking the following steps:
- Connect the device to your computer, turn it completely off, by holding the power button and sliding your finger along the red slider, just like you normally would, then launch iTunes.
- With your device still plugged in, press and hold both the power and home buttons for 10 seconds.
- After 10 seconds, release the power button but keep pressing the home button for 10 more seconds. At this point, your screen should be completely black. If you see the iTunes logo, you’re not in DFU mode.
If you were unable to enter DFU mode: follow the steps above again and make sure you’re holding the buttons for the right amount of time. This procedure might require a fair amount of practice and you should be able to get it right after a few tries.
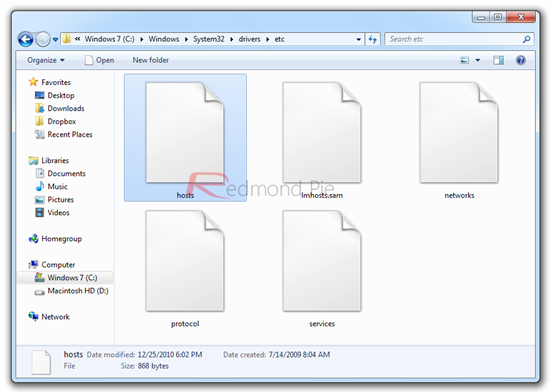
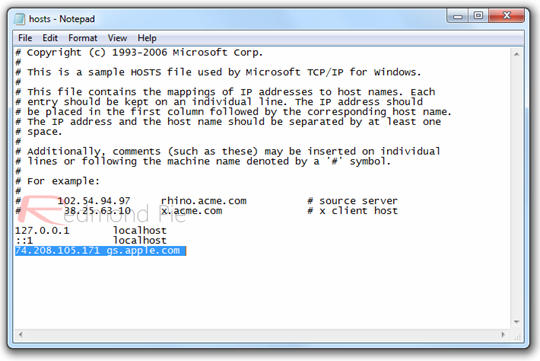
Step 3: once you have entered DFU mode, you need to trick iTunes into connecting to Saurik’s server instead of Apple’s servers. In order to do this, you’ll need to edit your hosts file, like we’re showing below.
If you’re on Windows: navigate to \Windows\System32\drivers\etc\ and locate the file named hosts. Back it up and open it in Notepad.
If you’re on Mac OS X: from Finder, hit the Go menu, select Go to Folder and type in /etc/. Now look for a file named hosts. Back it up and open it in TextEdit.
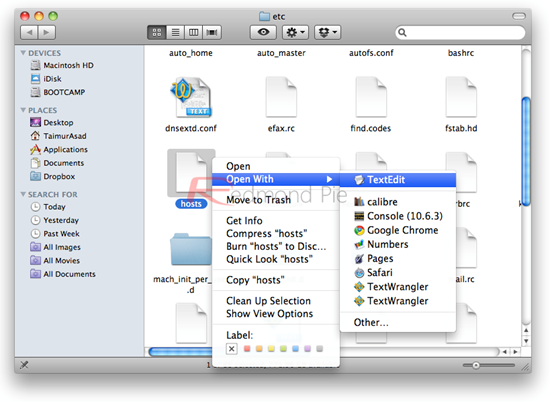
On either system, add the following line to the hosts file, then save it. Make sure you have administrative privileges:
74.208.105.171 gs.apple.com
Step 4: launch iTunes, select your device from the sidebar and click on Restore while holding Alt if you’re on the Mac and Shift if you’re on Windows. If everything goes as expected, you should be able to select the firmware file you’d like to downgrade to. Once you’ve done it, your device should be downgraded in a matter of minutes.
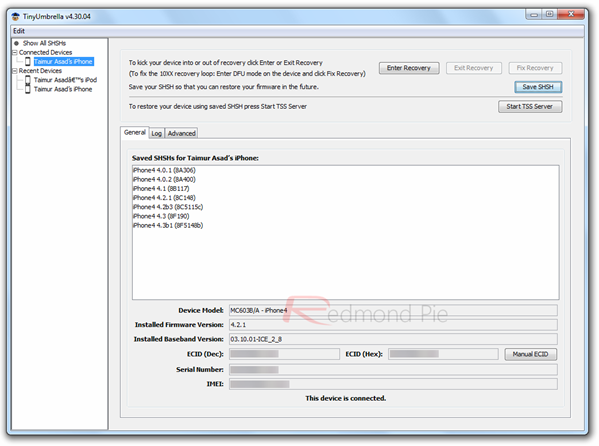
Note: sometimes a 1013 error will pop up, throwing your device into recovery mode.
In order to return to standard mode, you simply need to download two utilities: TinyUmbrella (Windows, Mac) and Fix Recovery (Windows, Mac). Launch it and select Exit Recovery.
Once you’re done, your device should work normally. There’s one last step, however, if you’d like to receive future updates from Apple’s servers: restore the hosts file you’ve backed up earlier to its original location.
If you have downgraded to iOS 4.3.3, then simply follow our guide posted here on how to jailbreak (full untethered) iOS 4.3.3 using JailbreakMe 3.0.
You can follow us on Twitter or join our Facebook fanpage to keep yourself updated on all the latest from Microsoft, Google and Apple.
