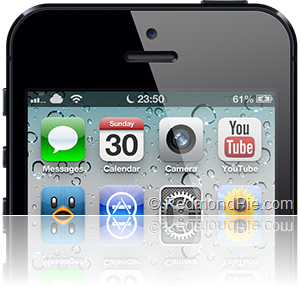
Cydia tweaks like Zeppelin have allowed jailbroken users to show any custom logo or a string of unique text as carrier logo for years. But now thanks to the new CarrierEditor software, that has now been extended to all cellular based iOS devices and a simple carrier settings restore through iTunes. Follow the simple steps below to find out how.
Requirements:
- The free of charge CarrierEditor software.
- Any cellular based iOS device.
Step 1: Download and run the CarrierEditor application (Mac OS X download link). Please note that the software is currently only available for the OS X and it doesn’t look likely that a Windows version will be released anytime soon.
Step 2: Select the Let’s Get Started option from the bottom of the CarrierEditor interface.
Step 3: The software will request some information about the device that you wish to change the carrier logo on. A guide is given on the interface but users will need to go to Settings >> General >> About on their iOS device to obtain the Carrier Version Number of their hardware. Enter this information into the provided box and select Next.
Step 4: CarrierEditor will then ask for addition information under the Carrier Information header. Input the device type (iPhone, iPad etc) before selecting the carrier that the device is related to (AT&T, Verizon, T-Mobile etc). Select Next.
Step 5: The next stage is to actually select the carrier logo that you want to be on your device. The CarrierEditor downloaded DMG file actually comes with a number of pre-created options that one can use. Alternatively you could also use a file that you have created yourself or one that has been previously created for use with another app like Zeppelin in Cydia. Drag and drop the image file into the provided box before selecting Compile Carrier Update (.ipcc).
Step 6: The software will work its magic and dump a .ipcc file on the computer desktop. Select the How to Install the Custom Carrier Update option.
Step 7: The process requires a manual restore through iTunes. Make sure the iOS device is plugged into the Mac, open iTunes before holding down the Option key on the computer and clicking the Restore iPhone option in iTunes.
Step 8: Select the newly created .ipcc file from the desktop to finish the process. When iTunes has finished simply reboot the connected device to take full advantage of the new carrier logo.
You can follow us on Twitter, add us to your circle on Google+ or like our Facebook page to keep yourself updated on all the latest from Microsoft, Google, Apple and the web.

