Tired of the usual look of your buttons in WPF? Do you want a glossy-looking button with glass shine and glow effect as soon as you move the mouse cursor over the button?
Its just six easy steps away …
Follow the tutorial below and give a fresh look to your apps.
Tools used :
- Visual Studio 2008
- Expression Blend
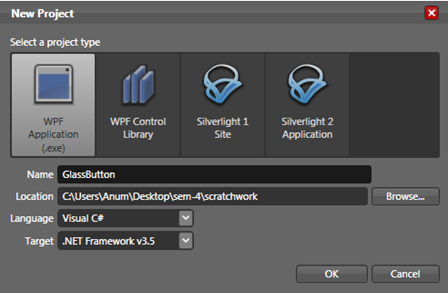
1. Create a new WPF Application
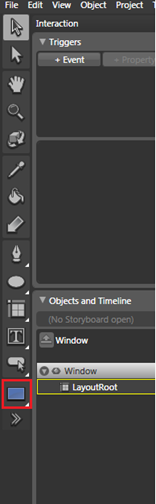
2. Create a Canvas
- Add the rectangle from the toolbar on the left:
- Drag the corners of the rectangle to the appropriate dimensions that is the size you want for the button.
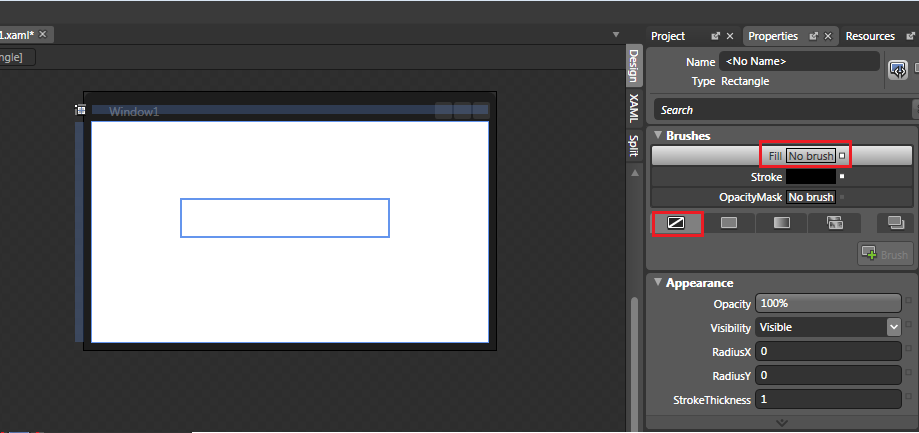
- Click on the rectangle.
- Select the ‘Properties’ tab on the right.
- Select ‘Fill’ ->‘No Brush’.
-
Select ‘Stroke’->’No Brush’
-
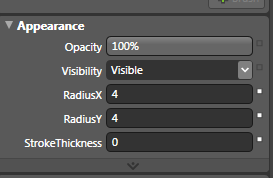
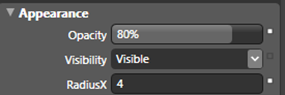
In the Appearance section, change the RadiusX and RadiusY properties to 4 (to make the corners rounded).
-
Make the stroke thickness 0 (stroke is boundary).
-
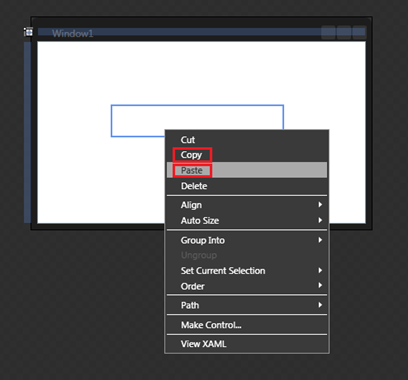
Right click on the rectangle you have created.
-
Copy it.
-
Paste it twice.
-
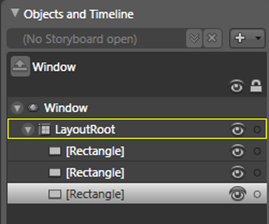
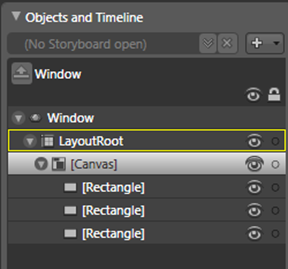
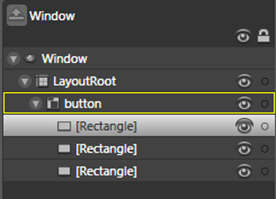
Your LayoutRoot should look similar to this:
-
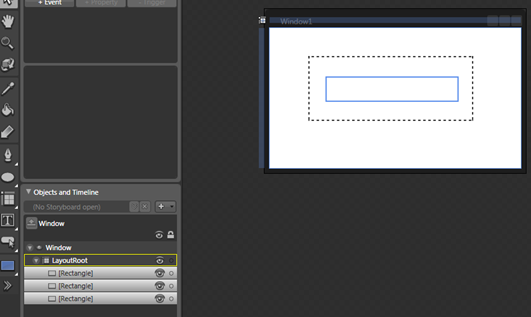
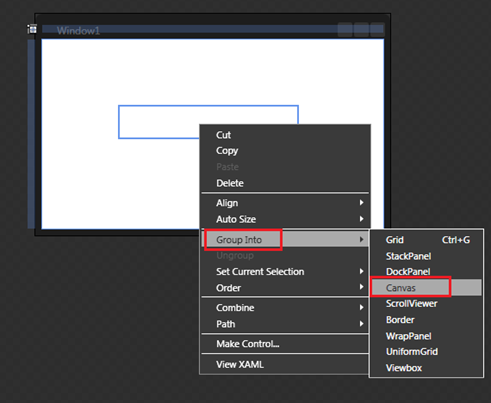
Select the rectangle as shown:
-
Right click it.
-
Select ‘Group Into’->’Canvas’
3. Create the Basecoat
-
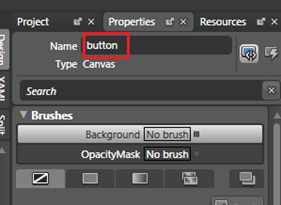
Rename the canvas as ‘button’ in the properties tab.
-
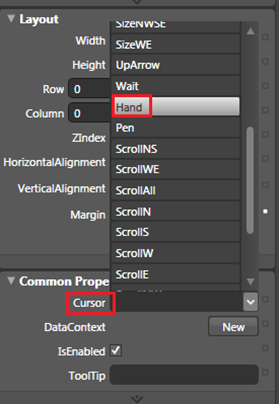
In the layout section section select the ‘Hand’ in the options for ‘Cursor’
-
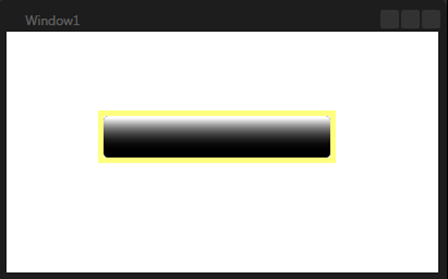
Click on the first rectangle from the top in the LayoutRoot:
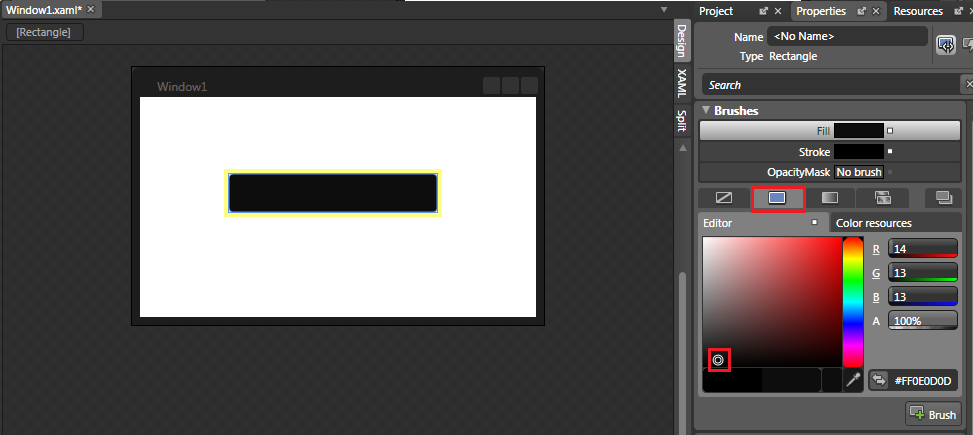
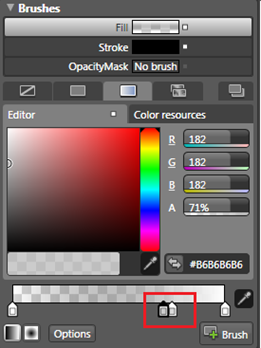
- Select ‘Fill’ –> ‘Solid Color Brush’
-
Select the color black in the editor.
-
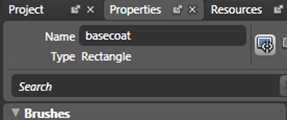
Rename the rectangle in the properties tab as ‘basecoat’:
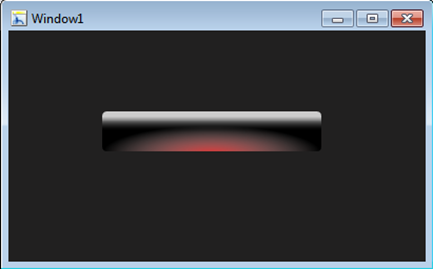
4. Create the Glow
-
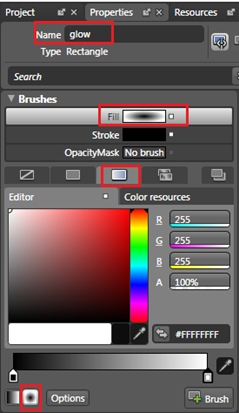
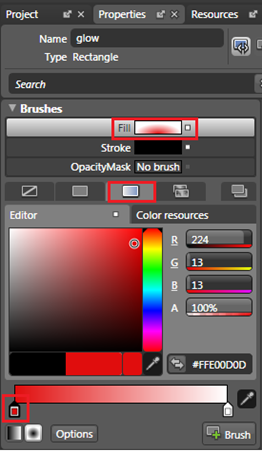
Select the second rectangle from the LayoutRoot as before
-
Name it ‘glow’ in the properties tab
-
Select ‘Fill’-> ‘Gradient Brush’->‘Radial Gradient’
-
Click on ‘Brush Transform’ in the toolbox on the left :

The brush transform will be used to adjust the positioning of the gradient.
-
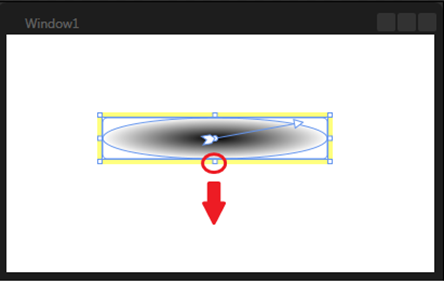
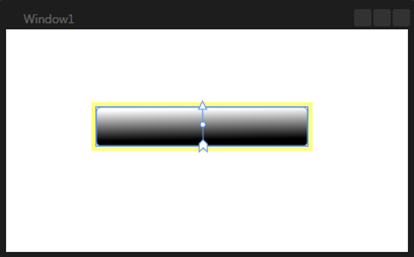
Drag the bottom of the rectangle a little to enlarge the gradient vertically:
-
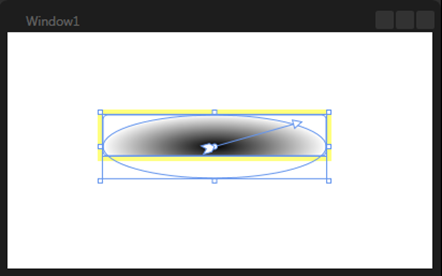
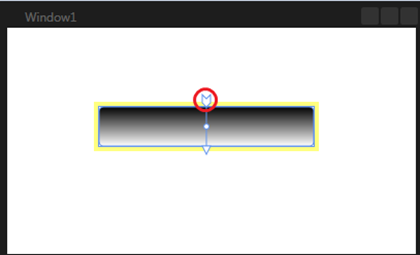
Move your cursor around at middle of the rectangle until you see the four headed cursor.
-
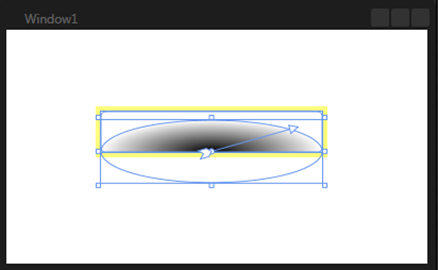
Drag the highlight down a little:
-
Select ‘Fill’->’Gradient Brush’->’Linear Gradient’
-
Click the first gradient stop and select the color you want for the glowing effect.
-
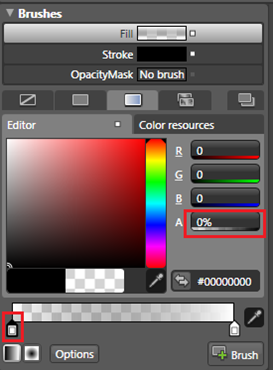
Select the second gradient stop.
-
Reduce the A value to 0 to achieve transparency.
-
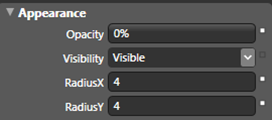
Make the opacity 0% for now in the Appearance section:
5. Create the Glass Effect
-
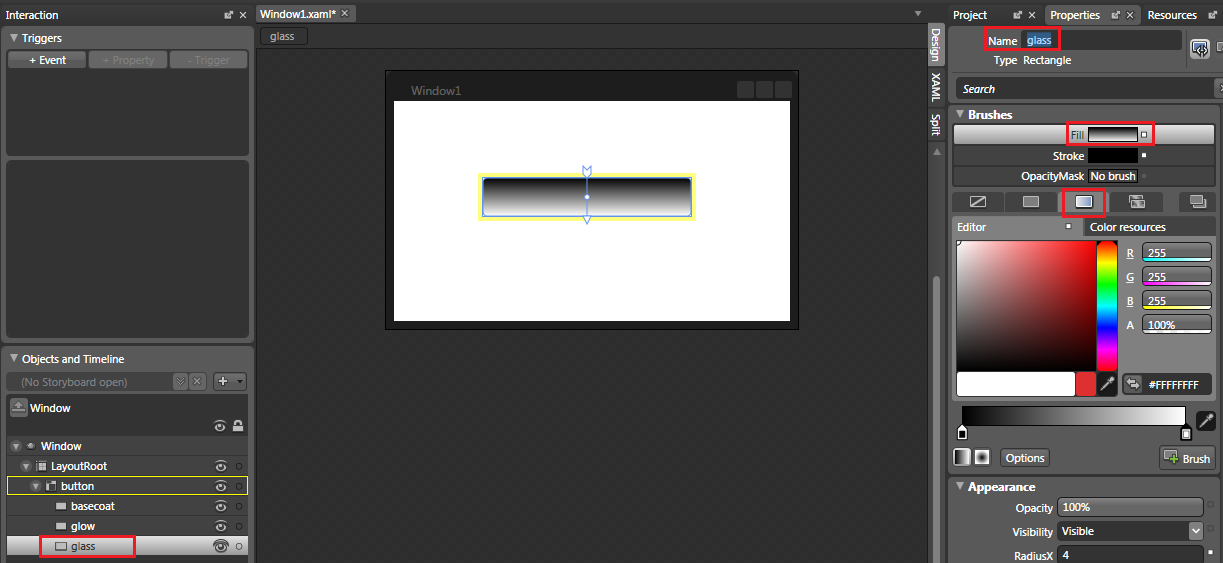
Select the third rectangle.
-
Name it ‘glass’.
-
Select ‘Fill’->’Gradient Brush’->’Linear Gradient’
-
Select the ‘Brush Transform’
-
Select the back of the arrow and rotate it to alter the gradient accordingly:
-
Move your cursor around at the top middle part of the rectangle until you see the cursor as a hand:
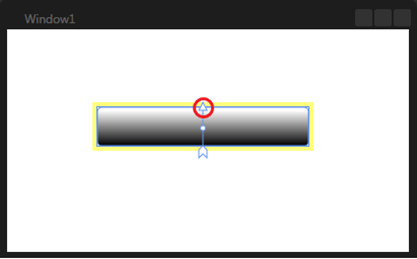
-
Drag the cursor in to the rectangle (as if pushing something into a box from the top) until you see something like this :
-
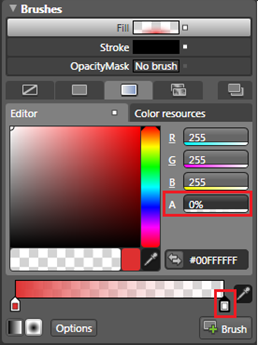
Select the first gradient stop.
-
Set A to 0
-
Click twice on the gradient bar at around 60% to get two gradient stops.
-
Get one gradient stop a few percentages lower than the other.
-
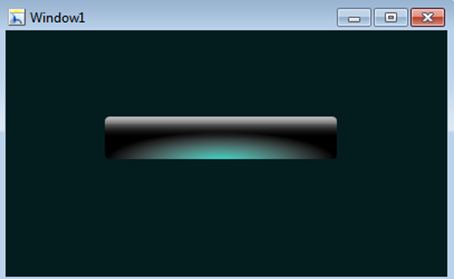
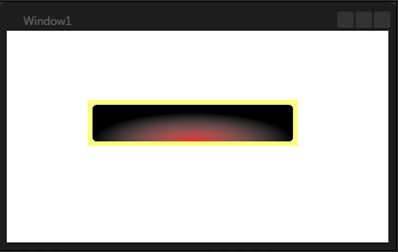
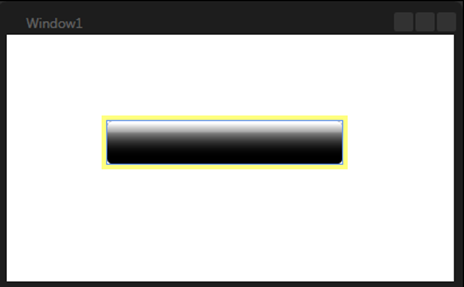
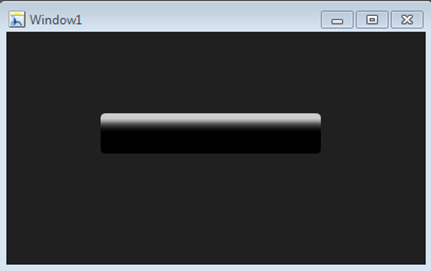
You can see the glassy effect in your window:
-
Alter the Opacity to 80%.
6. Code a little
-
Save your project in Blend and close it.
-
Open your project with Visual Studio.
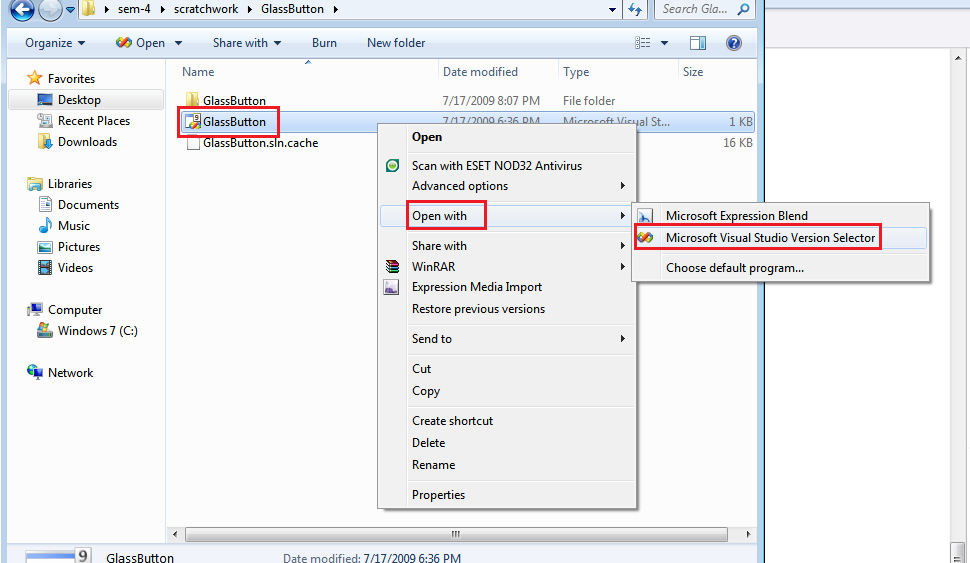
-
Double click ‘Canvas’ in the xaml code of the window:
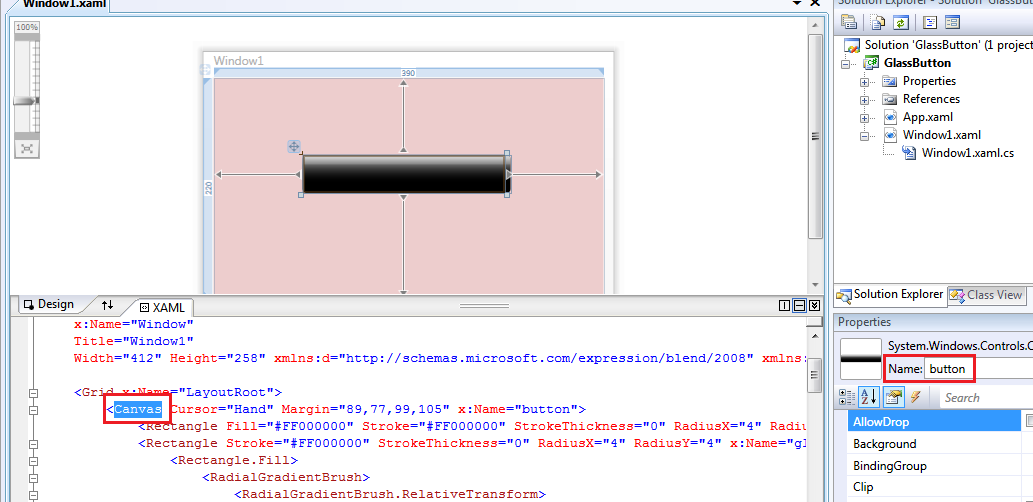
Don’t get confused with the pink color. I just changed the background color for testing.
-
Select the ‘Event’ option in the properties window.
-
Double click on the column to the right of Mouse Enter.
-
Double click on the column to the right of Mouse Leave.
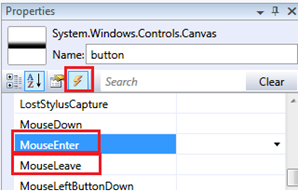
The double clicking caused the xaml code of the window and the method headers to be automatically generated for the events.
-
Enter the following code to make the glow appear only when the mouse is over the button:
private void button_MouseEnter(object sender, MouseEventArgs e)
{
glow.Opacity = 100;
}
private void button_MouseLeave(object sender, MouseEventArgs e)
{
glow.Opacity = 0;
}
And you are done 😀
Your queries are always welcome!
