Lets take a sneak peak at the most interesting new features introduced in Microsoft Word 2010.
1. Integration of Screenshot feature in Word
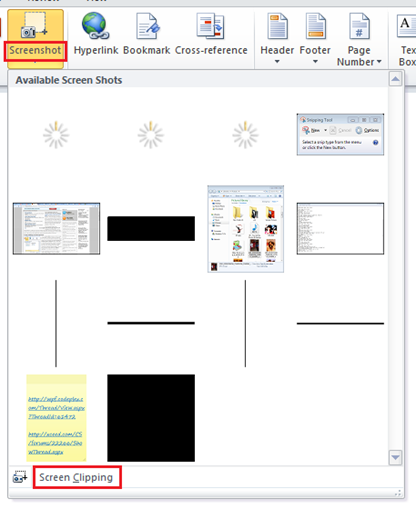
Enough use of the snipping tool or print screen buttons! Now you can take screenshots directly from the Word document you are working on.
The option of screenshot is in the ribbon at the top of your document. When you click screenshot you automatically get few screenshot samples from the background (that is at the back of the the word document). You can either select from the available screenshots or click on “Screen clipping” to take the screenshot yourself.
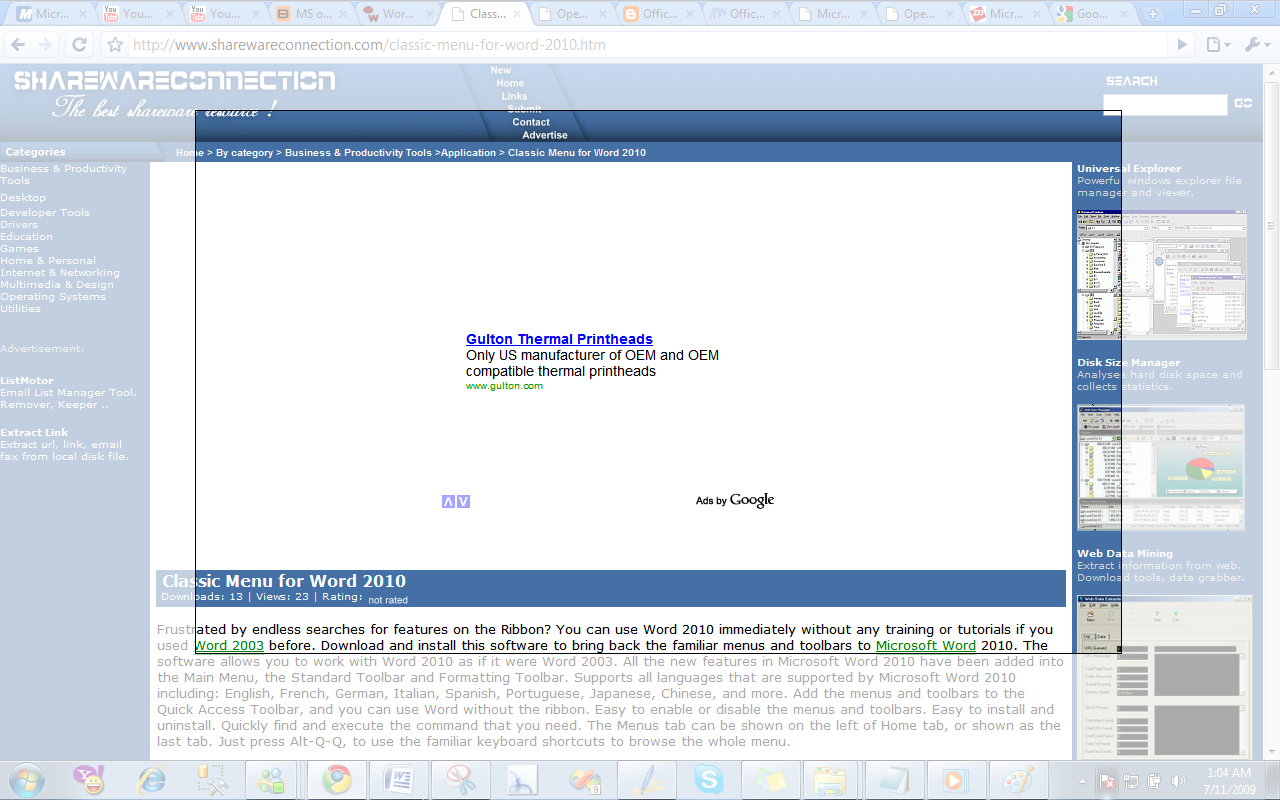
If you select “Screen Clipping”, your word document will get minimized and a resizable window will appear over your background.
Like I had a site opened at the back of my word document-so my document minimized and the screen appeared as follows:
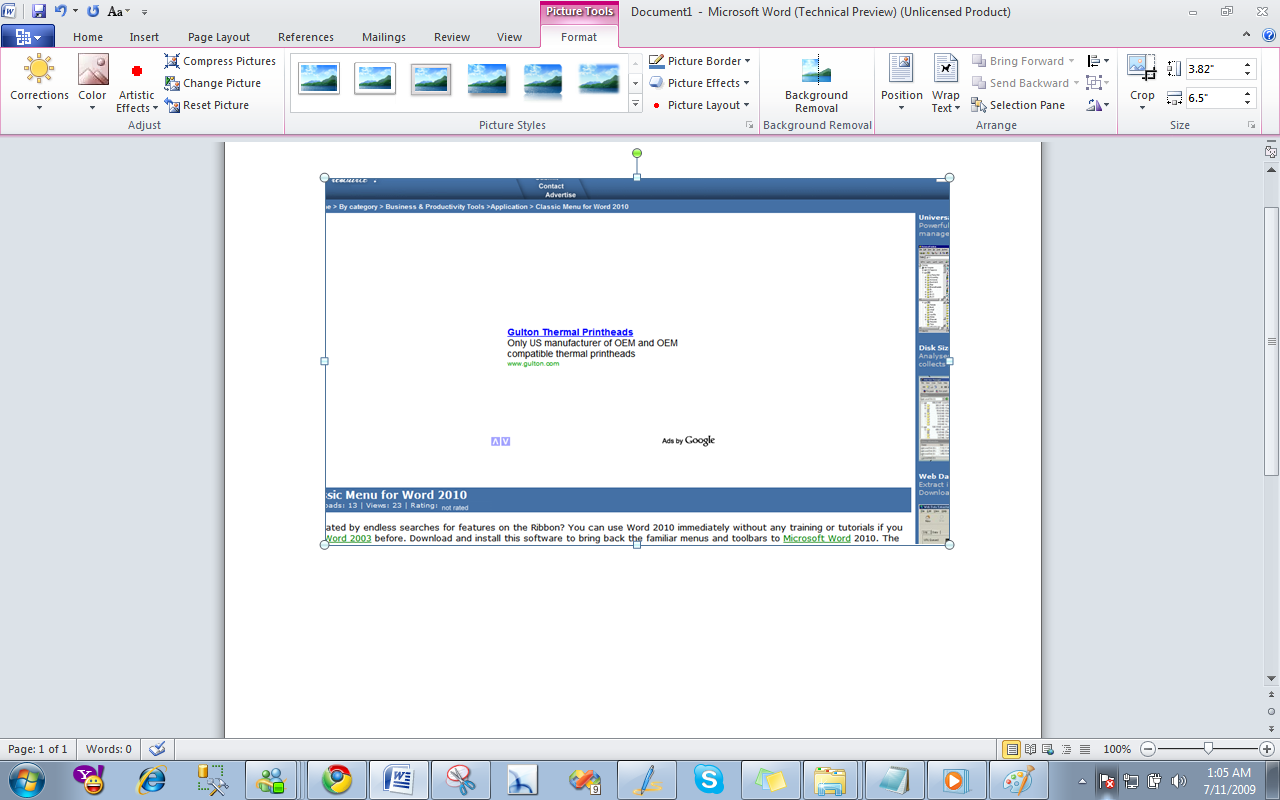
I adjusted the border and instantly got the screenshot (that is the area inside the border) pasted to my document as below:
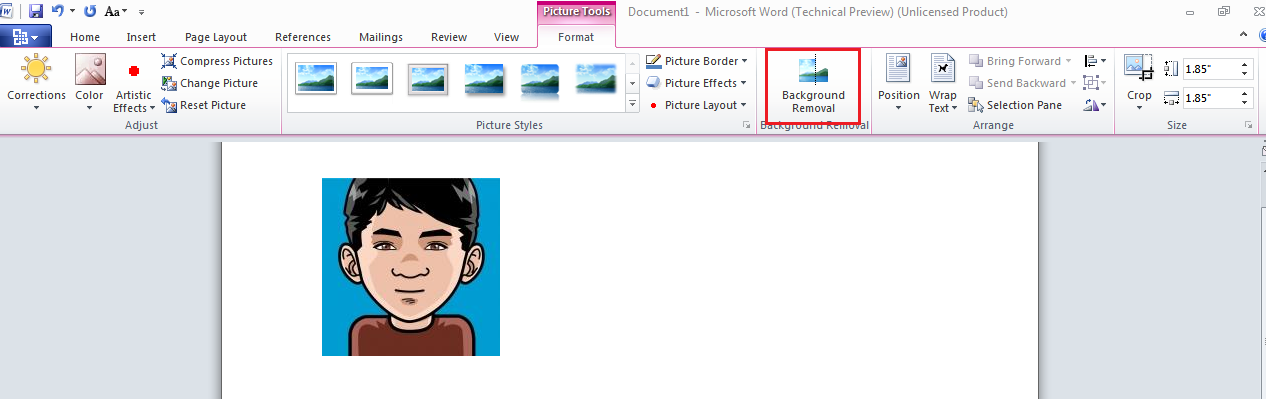
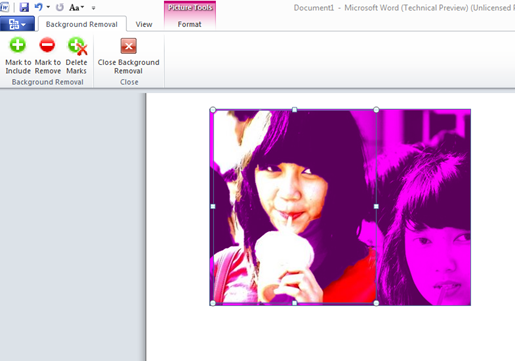
2. Remove background of Images
It’s a Photoshop like feature-not as effective though-yet its a great help. With it you can directly remove the background of any picture. It is really good for simple backgrounds while a little untidy and time consuming for the complex ones.
Select the picture then click on “Format”:
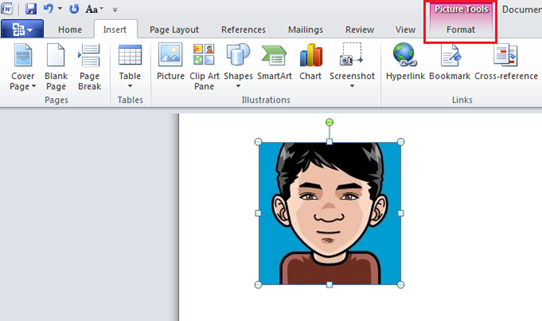
Click on “Background Removal”:
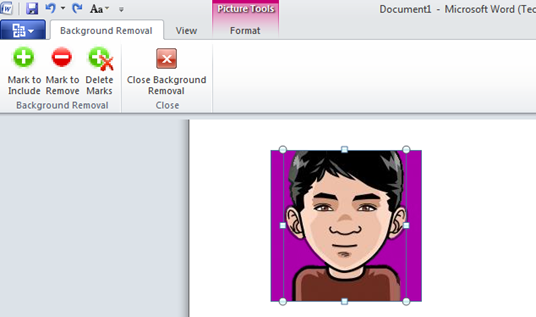
The area with purple color as highlighted below will be erased and the one with the original color will stay:
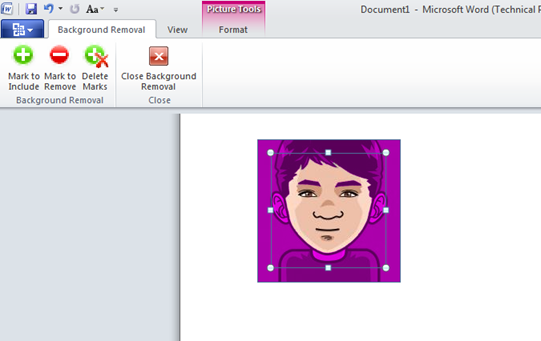
Simply drag the area you want:
Voila! Background removed!
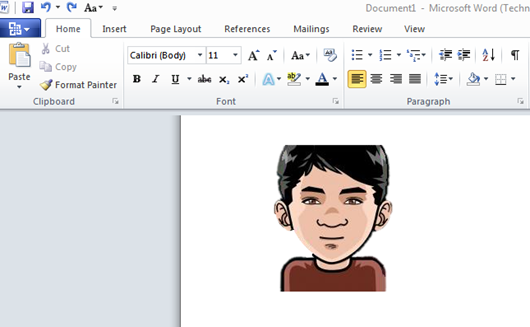
It was pretty quick and easy for the picture above as the background was simple but its not the same for images with complex backgrounds like the one below:
 For such images, you will have to use “Mark to Include” and “Mark to remove” options to mark the area to be removed from images. I did try to remove the background for the image above but left it in the middle as it was quite tedious and I must say EXTREMELY time consuming.
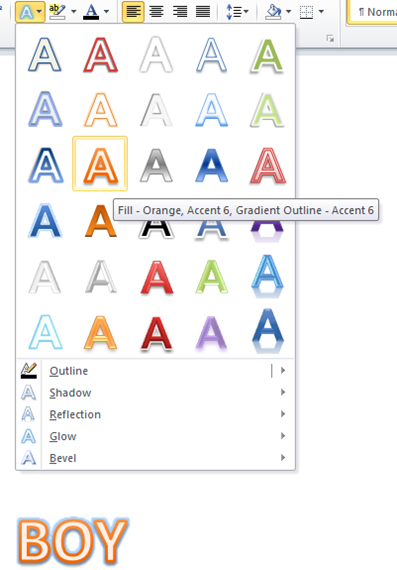
3. New Art Effects in WordArt
WordArt has been updated with new colorful art effects. Select the text, click “Word Art” and a list of options will appear. You can see how your text will appear when you hover the mouse over the option-which is the best part:
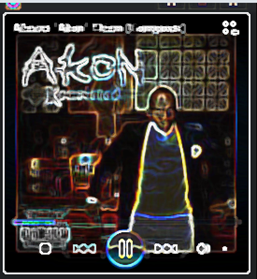
4. Artistic Effects
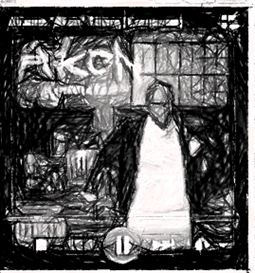
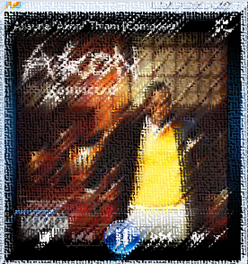
Fantastic new artistic effects have been added in Word 2010! Select the image and click on “Artistic Effects” from the ribbon. You get a bunch of options like Pencil Sketch, Chalk Sketch, Glowy Edges, Photocopy etc

You can view the final output as soon as you hover the mouse over the options. Undoubtedly,the effects are mind-blowing:

Some of these effects are shown below:
Show Edges, Paint Strokes, Pencil Grayscale, Blur:
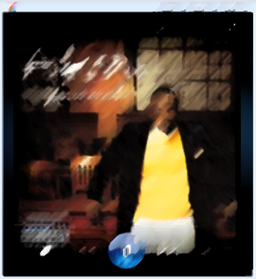

Water Color Sponge, Glass, Line Drawing, Pastels Smooth:


5. Ligatures
Ligatures usually replace consecutive characters sharing common components. However, the application and the system still recognizes the characters in its individual components thus enabling spell checkers and search facilities. Remember that ligatures can be supported only if they are present in the font. In Word 2010, OpenType ligatures aren’t enabled by default. Follow the steps below to enable it by using the famous example of ffi ligature.
Type in f f i:
 Right click on the word document and click on “Font”:
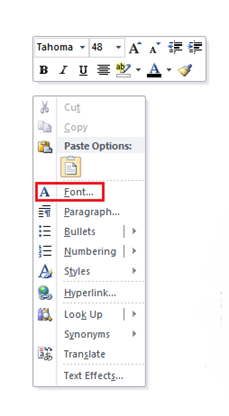 Select the Advanced tab and select “Standard only” in the Ligatures combo box:
 The result is:
 I love all of the features above as they remove the need of using other tools for carrying out simple basic tasks which is the biggest pain when one wants to get things done quickly.
Do try the features above and please let me know if you know of more features new to Word 2010 so that I can update the list.
