Here’s a quick tip on how you can take screenshots in clipboard on your Mac. This works in both macOS and OS X.
It may not seem like one of the latest or most impressive feature or functionality, but capturing screenshots for use in a wide variety of situations is generally something that a lot of Mac owners do on what is likely a daily basis. Capturing a screenshot and turning it into a physical image file on your desktop is one thing, but what about actually negating that part of the process and holding it against the clipboard for use on any other device or to be pasted into other apps? Well, that’s also possible. We show you how.

How to take a screenshot directly in clipboard on Mac:
If you’re already familiar with capturing screenshots from a macOS-powered machine natively – meaning without the use of additionally installed software – chances are that you’ll be extremely au fait with the process. Copying to the clipboard largely follows the same process. To grab a screenshot of any area of the screen using the crosshairs, press the CMD+SHIFT+4 keys together. This will change your cursor into a crosshair tool with screen coordinates. Using that crosshair tool to drag and drop will capture a screenshot of the selected area, but place it on the desktop in an image format.
We’re looking to get this information saved to the clipboard as data rather than a physical file. To do this, using the same crosshair style, press CONTROL+CMD+SHIFT+4 together. On the face of things, this will give you the exact same crosshair tool, and allow you to capture a portion of the screen in the same manner as above, but the resulting output will be held in the clipboard for that quick copy-paste action in any app. This works with CONTROL+CMD+SHIFT+3 shortcut as well as CONTROL+CMD+SHIFT+4+SPACEBAR shortcut for capturing full-screen and window screenshots directly to clipboard.
Once the data is in the clipboard, it’s subject to the same usage rules as other type of content, such as text, meaning that it’s very easy to simply paste that screenshot into documents, emails or even new messaging conversations via the native macOS Messages app.
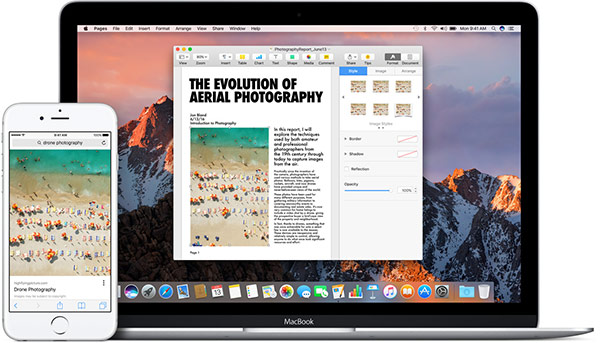
What’s actually really interesting about this type of screenshot capture is that it also brings the new macOS Sierra and iOS 10 Universal Clipboard feature into play. For those unfamiliar with Universal Clipboard, it essentially means that data on the clipboard can be synced across multiple devices with the feature enabled when running either macOS Sierra or an iPhone or iPad on iOS 10. This makes taking a screenshot in clipboard on Mac and pasting it in an app on iPhone or iPad running iOS 10 a breeze!
You may also like to check out:
- How To Take Screenshots On Mac OS X
- Hidden macOS Sierra Features For Mac That You Probably Don’t Know About
- Remove Or Hide iOS 10 App Icon Labels From Home Screen Without Jailbreak, Here’s How
You can follow us on Twitter, add us to your circle on Google+ or like our Facebook page to keep yourself updated on all the latest from Microsoft, Google, Apple and the Web.
