Mobile phones with great cameras have been around for a good many years now, and while the units mounted atop the likes of Apple’s iPhone 5 and 4S, Samsung Galaxy S III or Sony Xperia lineup have been nothing short of impressive, Nokia PureView 808’s 41-megapixel shooter had, indeed, taken smartphone photography to a whole new level. Add to the mix the powerful noise reduction algorithms that these cameras come with, the variety of photo applications they have their disposal, and the connectivity for wireless and cloud sharing that they offer, makes one absolutely believe that this is the future of general photography, no matter what point-and-shoot cameras might have you believe.
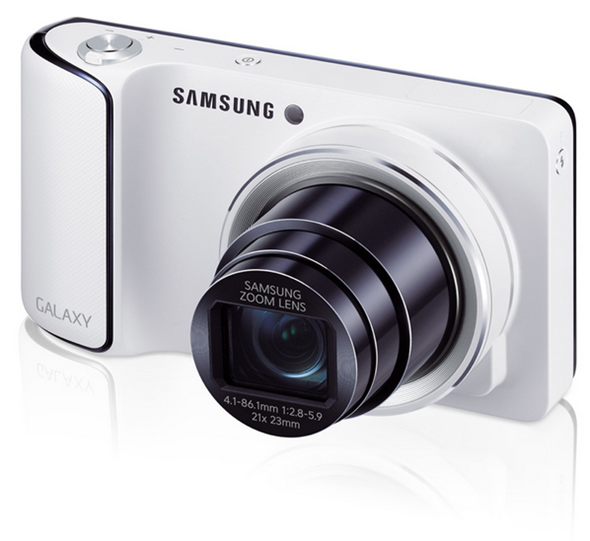
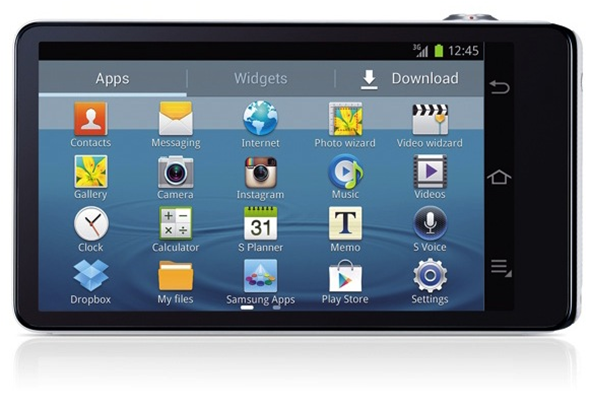
I tend to think that’s why Samsung took this step – and in the right direction, too – when they launched the Galaxy Camera. Much more than your average point-and-shoot digital camera, it’s a monster photo capturing machine with a massive 4.8-inch screen, powerful quad-core processor, 16MP CMOS wide angle lens with Xenon flash, and to top it all off, running Android 4.1 Jelly Bean with 3G/4G wireless connectivity, making it a device in a league of its own. However, since it’s an Android device, the first question that comes to an ‘initiated’ mind is, naturally, can it be rooted? Well, thanks to the XDA community, Samsung Galaxy Camera can indeed be rooted, and we’ll show you how.
Before you proceed, please remember that the standard disclaimer applies – you follow these instructions at your own risk. Nothing should go wrong (it’s the same process that has been used for years now), but if it does, we’re not responsible.
Requirements
The instructions are provided for a Windows PC, since Odin works on that. However, you may also use Heimdall on Linux.
- Required recovery & cache package
- Odin3 Flashing tool version 1.85
- Jellybean 4.1.1 build:GC100XXALK1 (you don’t really need this, unless your current firmware refuses to accept the CF root used above)
- USB Drivers for your Galaxy Camera
You can grab all the files from the source link given at the end of this post.
Procedure
Just to put things in perspective, this is standard CF-root for Galaxy Camera – you just need to flash the rooted recovery and cache as PDA in Odin.
Step 1: Extract the CF-Auto-Root-gd1-ekgc100.tar.md5 file from the recovery and cache package that you downloaded, and keep it in the same folder as Odin (makes it easier to find).
Step 2: Run Odin3 1.85 as administrator by right-clicking its icon and choosing “Run as administrator”.
Step 3: Put the Galaxy Camera in download mode (Turn it off, and turn back on while pressing and holding Volume Down+Camera+Power).
Step 4: Connect the camera to PC using USB cable. If drivers are installed fine, the first box under ID:COM will turn yellow.
Step 5: Hit the PDA button and point to the .tar.md5 file you extracted in step 1. Do not make any other changes, but make sure Re-Partition is UNCHECKED.
Step 6: Click Start, and wait for the process to complete.
That’s it – when the camera boots up, you will have root access on Jelly Bean. Enjoy!
For more details and queries, check out the source XDA thread below.
(Source XDA-Developers)
You can follow us on Twitter, add us to your circle on Google+ or like our Facebook page to keep yourself updated on all the latest from Microsoft, Google, Apple and the web.
