Here’s how you can setup and use multiple Kodi profiles on your Kodi 17.6 Krypton setup the right way in 2018.
Have you ever logged into your Mac or PC, or even Netflix for that matter, and been greeted with multiple user profiles? Are you a Kodi user who thinks that feature would be wonderful to distinguish between individual users? Well, believe it or not, the functionality already exists, and we’re going to show you how to access it.

Profiles are a wonderful way to ensure that each member of the family has their own Kodi “account,” for lack of a better word. It allows each profile to be set up differently, using different skins and themes. Let’s dive right in and take a look at the process.
Creating a new profile in Kodi
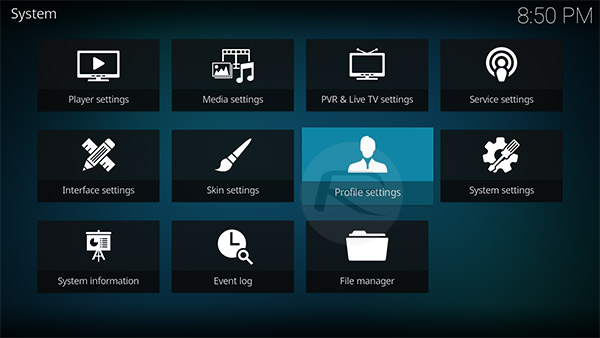
Step 1: Launch Kodi on whatever device it is running on and select the cog icon to head into the main Settings page. Select Profile settings.
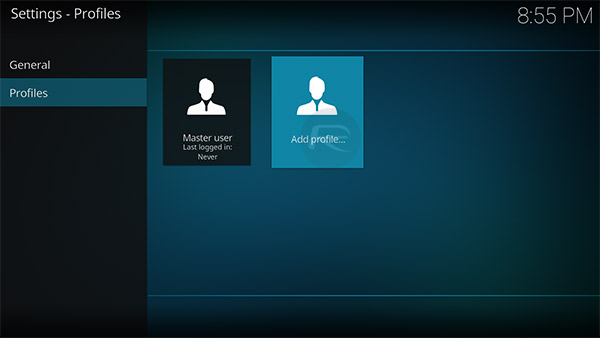
Step 2: On the left-hand side of the page select Profiles. This will update the interface to show you a selection of profiles that you already have associated with the Kodi installation. Select Add profile… to start the process of adding a new one.
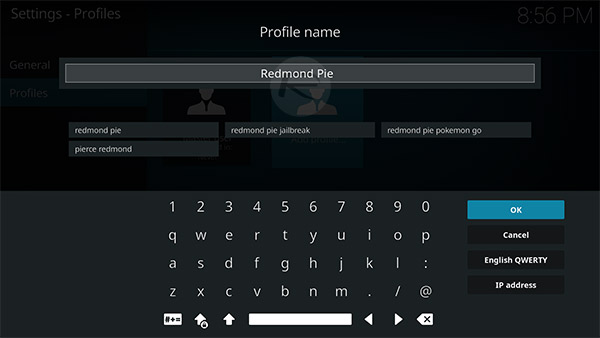
Step 3: Click on the name text field and enter a name for your new profile. This is likely going to be your own name or the name of a family member or individual who will be accessing Kodi. Select Ok to exit and then select Ok again when you get the Browse for folder pop up.
Step 4: You are then going to be presented with an Edit profile screen which gives you the ability to change certain behaviors of the profile that you have just created. Make sure that you scroll through all of the options and change accordingly to suit your own needs and requirements for that particular profile.
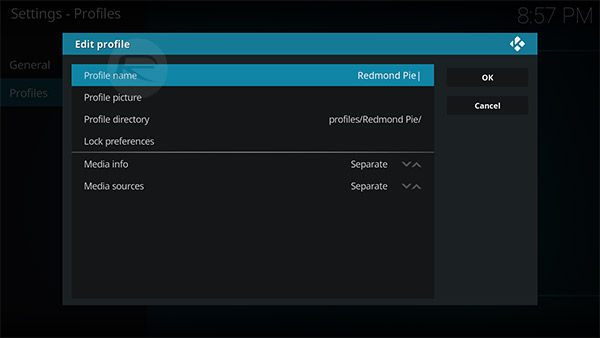
NOTE: If you feel more comfortable, you can just skip past this screen and select “copy from default” when prompted. This will give you a basic default profile with no advanced changes made.
Switching Profiles in Kodi
Step 1: Once again, launch Kodi and get yourself onto the home screen. Select the cog icon to head into Settings.
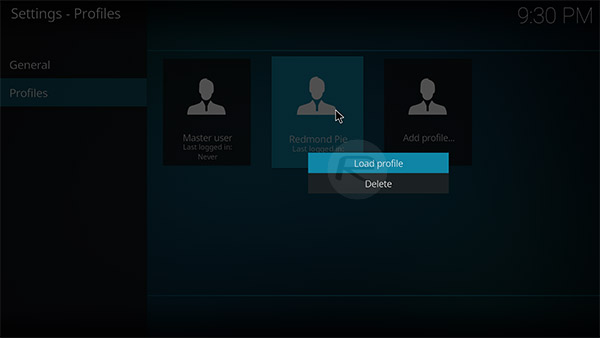
Step 2: Select Profile settings and then Profiles from the left-hand menu. This will give you a list of all available profiles.
Step 3: Right-click or tap and hold on the profile that you want to use and select Load profile.
And that, our dear friends, is literally all that she wrote at the basal level of setting up and switching between profiles in Kodi. This should be more than enough information to get you up and running.
You may also like to check out:
- Want Old Snapchat Version Update Reversal On iOS, Android? Here’s How To Do It
- LocationFaker iOS 11 IPA / DEB Download For iPhone Now Available
- Download iOS 11.3 Beta 3 IPSW Links, OTA With CPU Throttling Toggle, New Animoji, And More
- iOS 11.2.6 Jailbreak: Here’s What You Need To Know
- How To Downgrade iOS 11.2.6 On iPhone, iPad, iPod touch
- Download iOS 11.2.6 IPSW Links And OTA With Fix For Messages Crashing Bug
- Jailbreak iOS 11.2.6 / 11.2.5 / 11.2.2 On iPhone And iPad [Status Update]
- Jailbreak iOS 11 / 11.1.2 On iPhone X, 8, 7, iPad Using Electra Or LiberiOS [Updated]
You can follow us on Twitter, add us to your circle on Google+ or like our Facebook page to keep yourself updated on all the latest from Microsoft, Google, Apple and the Web.
