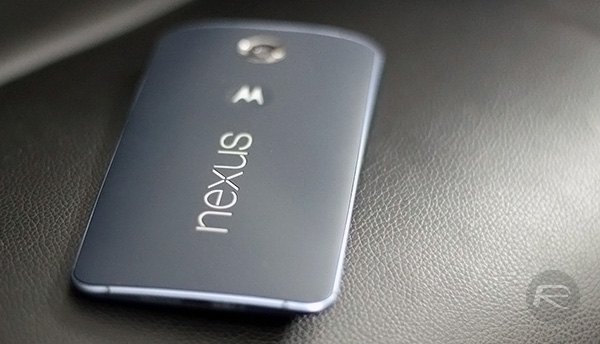
Google has today made final version of Android 7.0 Nougat available for those who carry devices that are eligible for the update, which boils down to a select few Nexus devices including the Nexus 5X and Nexus 6P smartphones at the moment. If you are lucky, you will have already received over-the-air update and you’re reading this having updated to Android 7.0, but the chances are you’re still either waiting for Google to push the update, or for your carrier to OK it. Neither position is a fun one to be in.
This being Android, though, there is a way to get your Android 7.0 Nougat update right now, although you will still need to have a supported Nexus device in order to update. If you do, and you don’t mind a little bit of command-line-fu, then you’re in luck.

Google hosts all of the factory images for its Nexus devices on its own Developer website. It’s important to note that following this method requires flashing your device, before which you’ll need to backup your device or you’ll lose your data. So make sure you’re all backed up before setting off with this.
This also guide assumes that you have all the relevant tools such as adb and fastboot installed on your Windows PC or Mac. If not, be sure to check out our guide for Windows here, or for Mac (see step 2) here, in order to set-up adb and fastboot. Ready? Here we go.
Step 1: Download the system image file that matches your device, then unzip it to a location where you will be able to find it later on. You can get the direct download link to a system image file for supported Nexus devices from here: Download: Android 7.0 Nougat Final Version Released.
Step 2: Connect your device to your computer using a USB cable.
Step 3: Start the device in fastboot mode. To do this, with the device powered on, open up a terminal/command prompt window on your computer and run the following.
adb reboot bootloader
Step 4: Unlock the device’s bootloader by running one of the following commands in terminal/command prompt window.
- For newer devices such as the Nexus 5X and 6P:
fastboot flashing unlock
- For older devices:
fastboot oem unlock
Step 5: Your device will show you a confirmation screen, but be warned – it’s at this point your device will be completely wiped. You did backup, didn’t you?
Step 6: Within the terminal/command prompt, navigate to the unzipped system image folder from step 1.
Step 7: Run the flash-all script inside (flash-all.bat on Windows and flash-all.sh on OS X and Linux). Remember that you need to have the fastboot tool added to your computer’s PATH variable for the script to work from this directory.
Step 8: Once it finishes flashing, your device will reboot itself. At this point, you can lock your device’s bootloader once again. To do this, simply start the device in fastboot mode again, just as you did in step 3 above. Within the command line, run one of the following.
- For newer devices like the Nexus 5X or 6P:
fastboot flashing lock
- For older devices:
fastboot oem lock
Depending on the device in question, this process may wipe the storage again. Be sure to do this before configuring or installing anything after the initial update to Android 7.0 or you may end up having to do it all again!

Assuming no hiccups, you should now have a fresh install of Android 7.0 Nougat. Feels good, doesn’t it?
You can follow us on Twitter, add us to your circle on Google+ or like our Facebook page to keep yourself updated on all the latest from Microsoft, Google, Apple and the Web.

