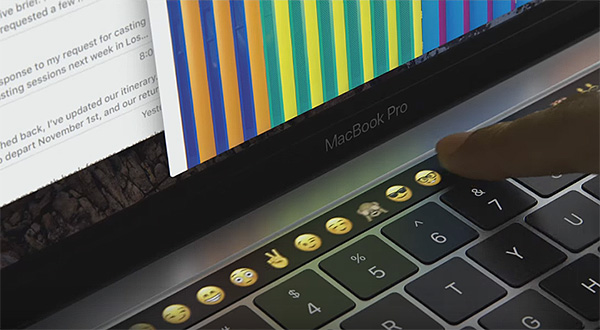
Want to share what’s on your 2016 MacBook Pro’s Touch Bar? Here’s how to take screenshots of your Touch Bar setup.
Apple’s new 2016 MacBook Pro with Touch Bar model is still only just beginning to find its way into the hands of customers, and while ordering online could still see you theoretically waiting a number of weeks for delivery, some lucky folks have been able to walk into an Apple Store and pick one up.
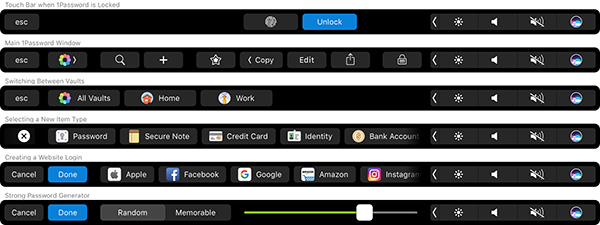
Those people are finding the new Touch Bar to be quite the useful addition to the Mac and macOS, and it turns out that configuring that Touch Bar can be a lot of fun too. Getting it set up just right, and configured for your specific workflow, is paramount to making the best of the Touch Bar. It turns out that sharing what’s on yours is actually really easy to do, too, so if anyone wants to see your setup online, you can show them.
Taking screenshots in macOS has always been simple. Simply pressing ⇧⌘+3 or ⇧⌘+4 will allow a screenshot to be taken, and if you want to take a screenshot of the Touch Bar rather than the desktop, that shortcut becomes ⇧⌘+6.
In fact, the particularly cumbersome ⌃⇧⌘6 will allow users to take a screenshot of their Touch Bar and have it remain on the clipboard for pasting into the app of their choice.
Should anyone wish to change the keystrokes required to take screenshots, then they can head on over to System Preferences > Keyboard > Shortcuts > Screen Shots and fiddle around as much as they want, though we think the defaults are as good an option as any.
Speaking of screenshots, did you know that if you take a screenshot of your new MacBook’s display, then the Touch Bar will offer different options for where the screenshots will be saved? Right now, those options amount to Preview, Mail, and Messages, but we expect more to be added in due course.
You might also like to check out:
- Touché Allows You To Run The Touch Bar As An App On Any Mac
- How To Get Touch Bar On Any Old / Unsupported Mac [Video]
- Download iOS 10, 10.1.1, 10.2, 10.0.2 Links & Install On iPhone 7, 6s, 6, Plus, SE, 5s, 5c, 5, iPad, iPod [Tutorial]
- Pokemon Go++ 1.15.0 / 0.45.0 Hack Is Out, Download From Here
You can follow us on Twitter, add us to your circle on Google+ or like our Facebook page to keep yourself updated on all the latest from Microsoft, Google, Apple and the web.
