Well yes you have finally found it! A complete tutorial on how to save and retrieve images from the SQL Server 2008 database in a C# WPF application. For Windows Forms application, check out this article written by Sumair.
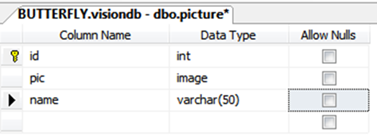
The database for this tutorial has been designed in SQL Server 2008 with two columns as shown below:
Everything has been kept simple so that even beginners can understand. However, if posed with any problem, questions are always welcomed!
So lets start! Create a new WPF Application using Visual Studio 2008 and follow the steps below:
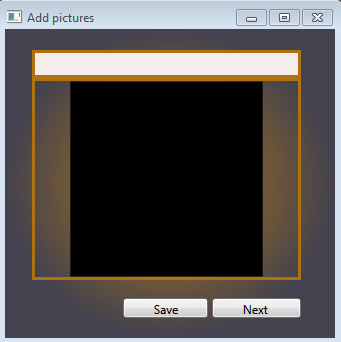
Step 1: Create the two XAML based windows in WPF as follows:
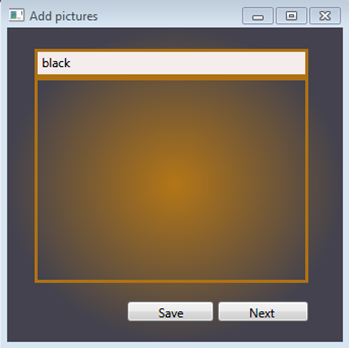
- Create the first window with:
- Image named imagebox
- Textbox named tbname
- Button named btnsave
- Button named btnnext

The orange lines around the image and text box that you see are actually a border that i have added around the image. Its not at all necessary-I just did to add beauty plus its not the focus of this tutorial.
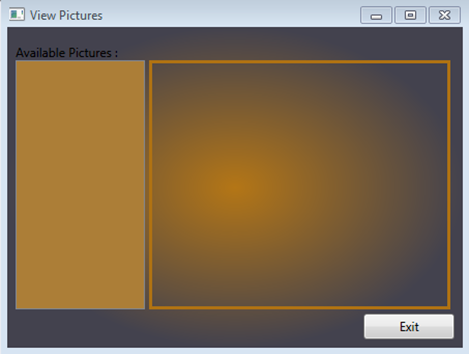
- Texblock with Text as: ‘Available Pictures’
- Listbox named as lbpics
- Image named imagebox
- Button named btnexit
First we will work on the first window:
Step 2: Open dialog box, save the selected image to a FileStream and read the FileStream into a byte array:
- Place the code for Step 2, Step 3 and Step 4 at the click event of btnsave.
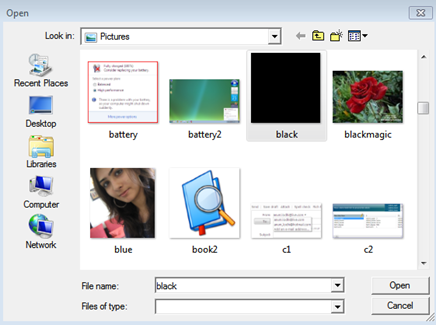
- We use OpenFileDialog class to let the user open the picture to be saved in the database.
- Filemode.Open() opens a FileStream on the path(from dlg.FileName) with read access.
- “data” variable is used to save the bytes with the length of the stream.
- The stream object fs then reads itself into the data variable.
Microsoft.Win32.OpenFileDialog dlg =
new Microsoft.Win32.OpenFileDialog();
dlg.ShowDialog();
FileStream fs = new FileStream(dlg.FileName, FileMode.Open,
FileAccess.Read);
byte[] data = new byte[fs.Length];
fs.Read(data, 0, System.Convert.ToInt32(fs.Length));
fs.Close();
Step 3: Insert the picture into the database using the byte array as follows:
sqlCon.Open();
SqlCommand sc = new SqlCommand("insert into
picture(pic,name) values (@p,@n)", sqlCon);
sc.Parameters.AddWithValue("@p", data);
sc.Parameters.AddWithValue("@n", tbname.Text);
sc.ExecuteNonQuery();
sqlCon.Close();
Step 4: Show the selected image in the image box :
- The ImageSourceConverter actually converts the path of the image (dlg.FileName.ToString()) to the type imagesource.
- The image is displayed in the image control through imagebox.SetValue.With the first parameter being the property to be set , and the second being the new value for that property.
ImageSourceConverter imgs = new ImageSourceConverter();
imagebox.SetValue(Image.SourceProperty, imgs.
ConvertFromString(dlg.FileName.ToString()));
Also add the following line if you want the texbox to clear when the image is displayed in the imagebox:
tbname.Text="";
Press F5 to test: Enter the name of the picture that you want to save.
The dialog box will appear. Select the picture and press Open.
The picture will appear in the imagebox with the textbox cleared.
Step 5: At the click event of btnext, type in the following code to open the next window:
private void btnext_Click(object sender, RoutedEventArgs e)
{
Window2 obj = new Window2();
obj.Show();
this.Close();
}
Step 6: Show the names already in the database in the listbox:
- Place this code in the window load event.
- Select the column of the names of the pictures in the dataset.
- Run a loop through the dataset-foreach row in the dataset create a listbox item and set its content to be the name.ToString() for the corresponding row. Add the listbox item to the listbox.
sqlCon.Open();
ds = new DataSet();
SqlDataAdapter sqa = new SqlDataAdapter("select name from picture"
, sqlCon);
sqa.Fill(ds);
sqlCon.Close();
foreach (DataRow dataRow in ds.Tables[0].Rows)
{
ListBoxItem lbItem = new ListBoxItem();
lbItem.Content = dataRow[0].ToString();
lbpics.Items.Add(lbItem);
}
Click Next on the first window: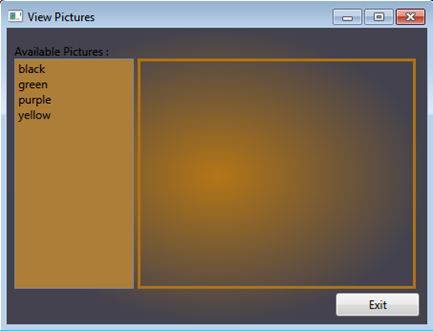
Step 7: Get the picture with the name selected in the listbox from the database:
- Place the code in this and the following steps in the SelectionChanged() event of the listbox . This gives a very nice effect as the picture will be displayed as soon as you select the name in the listbox.
- The ‘as’ operator is used to perform conversion between the two compatible types. This is to get the selected item in the listbox.
- Select the picture from the database corresponding to the name selected in the listbox.
ListBoxItem lb = (lbpics.SelectedItem as ListBoxItem);
sqlCon.Open();
ds = new DataSet();
SqlDataAdapter sqa = new SqlDataAdapter
("Select pic from picture where name='"+lb.Content.ToString()+"'", sqlCon);
sqa.Fill(ds);
sqlCon.Close();
Step 8: Display the image in the imagebox
- Convert the pic in the database into byte array named data.
- The stream strm writes data into itself. The position of the stream is set to 0,
- Create an image from stream.
- Create a BitmapImage and begin its initialization.
- Create another memory stream.
- Save the Image to the specified memory stream “ms” in the bitmap format through img.Save().
- Rewind the stream through ms.Seek().
- Make the streamsource of the bitmap image to be “ms”.
- End the initialization of bitmap and make it the source of the imagebox .
byte[] data = (byte[])ds.Tables[0].Rows[0][0];
MemoryStream strm = new MemoryStream();
strm.Write(data, 0, data.Length);
strm.Position = 0;
System.Drawing.Image img = System.Drawing.Image.FromStream(strm);
BitmapImage bi = new BitmapImage();
bi.BeginInit();
MemoryStream ms = new MemoryStream();
img.Save(ms, System.Drawing.Imaging.ImageFormat.Bmp);
ms.Seek(0, SeekOrigin.Begin);
bi.StreamSource = ms;
bi.EndInit();
imagebox.Source = bi;
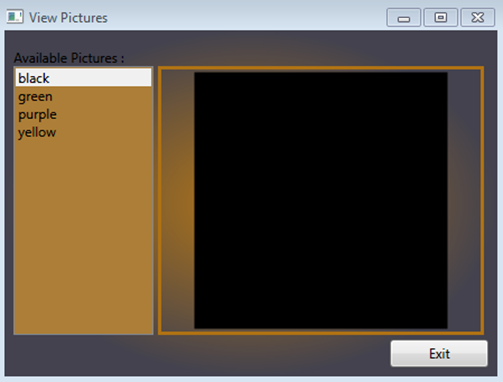
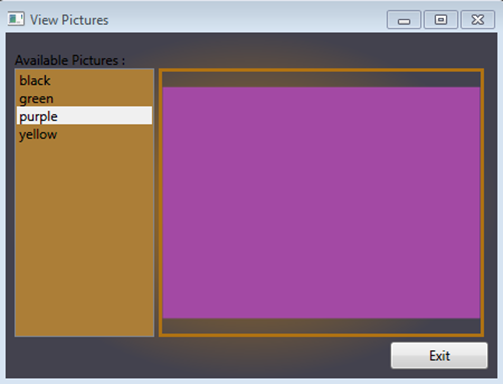
Press F5 now to finally test the project, Press next in the first window. Select one of the names in the listbox to display the corresponding picture.
Finally! You are done 🙂 Please let me know if you have any queries!
