In the world of Android, rooting a device is what jailbreak is to Apple’s iOS creations, although the former is much easier compared to the latter, thanks to Android’s open source nature and direct Linux-based kernel base. Nevertheless, it does take quite some skill to achieve that for all the new devices that are released, and here, we owe thanks to the highly dedicated and active developer community that exists for Android, putting in tireless hours to make lives easier for us. This is symbolized in many cases. Take Google’s Nexus 4, for example, that got rooted just a few hours after its release, showing how much potential the platform has for community support and developers’ love.
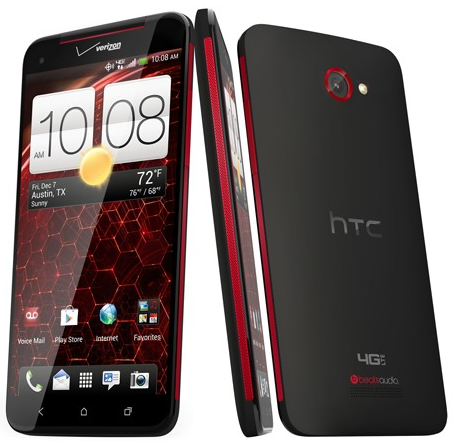
Things don’t stop here, and have, in fact, turned up a notch with the pre-release root of HTC’s latest flagship, the Droid DNA. A smartphone of its own class, Droid DNA is not yet widely available, yet the device has already gained Superuser access for those willing to try.
Before we begin, please note that while rooting a device is safe, it does void your warranty. Also, any instructions that you follow are at your own peril – we cannot be held liable for any loss or damage – hardware or software – that you may incur as a result of following this guide.
Requirements
- An HTC Droid DNA with unlocked bootloader .
(If the bootloader is locked, you may unlock it by visiting HTC’s bootloader unlock page. Please note that doing so will wipe your data, so make a backup). - ClockworkMod Recovery or TWRP Recovery for your device.
- ADB configured on your computer with fastboot
- SuperSU, su and Busybox package.
- USB cable.
- Experience with using ADB and rooting.
All the files can be downloaded from the source link at the end of this post.
Procedure
Step 1: Download all the files & recovery mentioned above. Rename the recovery file to recovery.img and put it in the root of your PC’s C: drive (assuming that you’ve configured ADB with default settings).
Step 2: Put the SuperSU and Busybox package in the root location of your DROID DNA’s internal memory.
Step 3: Reboot your phone into bootloader mode and connect it to your computer via the data cable. Let the drivers configure, if they already haven’t.
Step 4: Open a command prompt window, navigate to the C: drive (or wherever the recovery.img file is located), and run the following command to flash the custom recovery:
fastboot flash recovery recovery.img
Step 5: Once the recovery has been flashed, reboot to recovery, choose Install ZIP from SD card followed by Choose ZIP from SD card (or Internal memory), and flash the SuperSU and Busybox package that you placed in your phone’s memory earlier.
Step 6: Once flashing is complete, reboot the phone normally.
That’s it; you now have root access on your Droid DNA!
For further details and technical assistance, check out the source link below.
(source XDA-Developers)
You can follow us on Twitter, add us to your circle on Google+ or like our Facebook page to keep yourself updated on all the latest from Microsoft, Google, Apple and the web.
