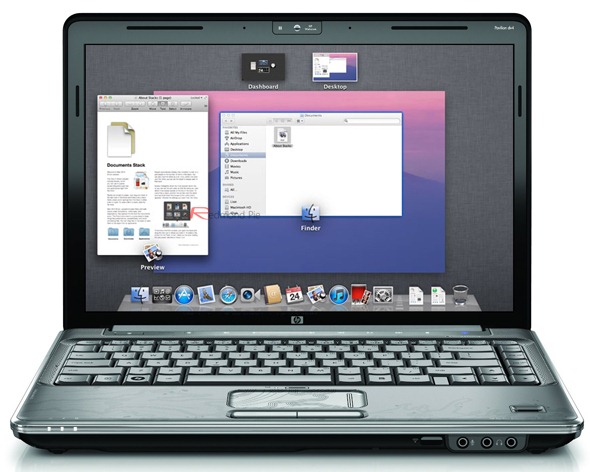
If you’ve ever attempted to install OS X Lion onto your PC (a process known as hackintosh), you will be aware that although the result is pretty good, the effort required to get you there is quite high in what is a rather tedious process.

You have to install Snow Leopard, and follow an upgrade process in order to enjoy Apple’s famed operating system on an ordinarily Windows-based PC. Hardware wiz tonymacx86 is renowned for developing the hackintosh project, and has now made the process a whole lot simpler by introducing UniBeast all-in-one bootable USB drive.

The new utility enables you to create a bootable Lion flash-based drive for hackintosh, and also eradicates the necessity of using an iBoot CD to boot. So unlike the previous method, no optical drive is needed for you to create your own hackintosh.
We’re going to demonstrate how you can install OS X Lion on your hackintosh, following these recent advances.
Firstly, you will need a copy of OS X Lion (downloadable from the Mac App Store or attainable via the official Lion USB flash drive), and a separate 8GB (or more) flash drive.
Additionally, you will need UniBeast, which can be downloaded from here.
Step 1: Firstly, you’ll need to create a bootable USB drive using UniBeast. Open /Applications/Utilities/Disk Utility and highlight your USB drive on your Mac.
Step 2: Next, click the Partition tab, then Current and opt for 1 Partition. Then, click Options and select Master Boot Record.
Step 3: Change Name to ‘USB’ (can use any name, but we’ll use USB for the benefit of this tut), and select Mac OS Extended (Journaled) as your format. Once you’re done, select Apply followed by Partition.
NOTE: If you’re using the Install Mac OS X Lion Application, be sure to check that it’s been placed in the /Applications folder. If you’re instead using the OS X Lion USB Thumb Drive, plug it in.
Step 4: Download and run UniBeast. Continue through the first few steps.
Step 5: At Destination Select, click USB and then Continue.
Step 6: Select the package name of the method you’ll be using to install as depicted below. Laptop users will need to select the Laptop Support in addition. Once that’s done, hit Continue.
Step 7: Enter password and click Install. Depending on the speed of your system and the flash drive, it could take up to 15 minutes.
Step 8: Boot from your freshly prepared USB flash drive and install.
If you get stuck at any point along the way, head over to tonymac86’s forums and sign up there, where you’ll find a bunch of like-minded techies on hand to help you through your trials and tribulations!
If you liked this, then you may also like to check out:
- How to Install Chrome OS in Windows 7
- Chromium OS For MacBook Air Available, Here’s How You Can Install It Now! [Tutorial]
- How To Install Windows 8 In a VMware Virtual Machine On PC & Mac
- Install Windows 8 DP In VirtualBox Virtual Machine On Mac & Windows 7 [How-To Tutorial]
- How to Install OS X Snow Leopard in VMware Windows 7
- How to Install Mac OS X Snow Leopard in VirtualBox on Windows 7
You can follow us on Twitter or join our Facebook fanpage to keep yourself updated on all the latest from Microsoft, Google and Apple.

