Here’s how to create your own iOS 10 iMessage sticker packs for Messages app on the App Store, and that too without requiring any coding skills.
Now that Apple has finally jumped aboard the stickers bandwagon in iOS, it opens up a whole new door and revenue model for budding developers with artistic talent. If you truly believe that the new features in Apple’s Messages app are worth their weight in gold, and you are a budding artist who needs to show his/her creative side, then you too can get involved in the stickers phenomenon.
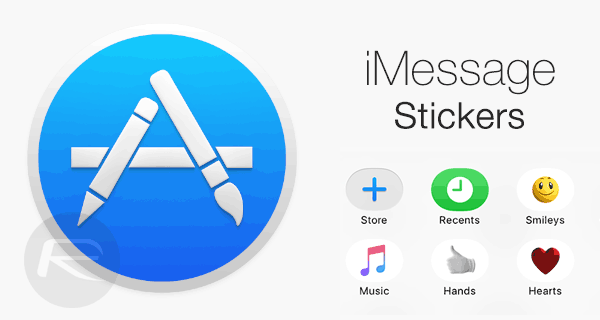
While it was the introduction of third-party keyboard apps to the App Store in hordes with the release of iOS 8, this time, it is the Messages app in iOS 10 which had completely revamped the whole iMessage experience, thanks to app extensions – including stickers – bubble effects and much more. Simply put, stickers are the hottest commodity on the App Store right now, so if you’re looking for that chance to jump in, here’s how you can do that.
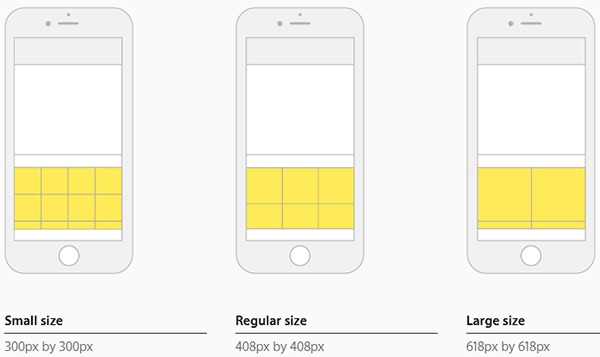
Step 1: Let’s start with the fun part first. If you want to make a sticker pack for Apple’s new iOS 10 Messages app, then the chances are that you are probably of the creative persuasion. With that in mind, the fun part of the whole process is actually creating those stickers and getting them ready for your app. Apple outlines the various possible sizes for new Stickers in its updated iOS Guidelines, which means that users can create images as either Small (300-by-300 px), Medium (408-by-408 px), or Large (618-by-618 px).
All of these images are presented to the end-user in a grid-based system on the device, with Apple also taking the opportunity in the iOS Guidelines to make some recommendations on how to best appeal device owners, including keeping each image under 500KB in size. Oh, and keep them tasteful. This is the iOS platform after all. For more details on this, check out Apple’s guidelines here.
Step 2: Once you have your images that will form the basis of your proposed sticker pack, you’re going to need to get involved in some of the nitty gritty grunt work that is necessary to get these onto the App Store. First of all, you’ll need to go through the process of creating an Apple Developer account. This is free-of-charge to create in its basic form, but will actually cost you $100/year as you will need submission privileges. Worry not, sticker packs are the new flashlight apps and will recoup that money for you in no time. You can sign up for a developer account at developer.apple.com.
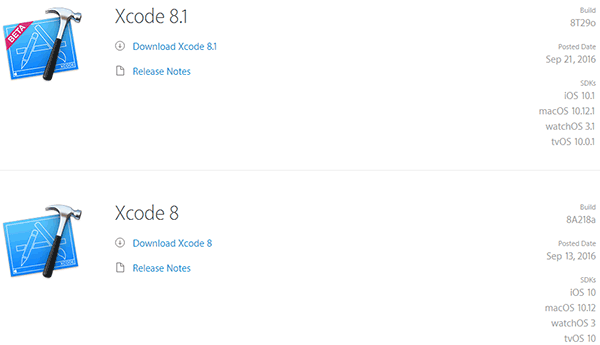
Step 3: Ok so you have some images now. You have a developer account as well. What you need next is the latest version of Apple’s development software, Xcode 8. You can download Xcode for free from the Mac App Store or Apple Developer Program portal. Make sure you give yourself sufficient time to download the huge file, and that you have a MacBook or iMac running OS X El Capitan on higher.
Step 4: Time for some more administration unfortunately. Apple needs some information about your new sticker pack, so you’re going to need to sign into iTunes Connect – which is a part of Apple’s Developer Program portal – and fill out the information required. This is where you’ll tell the world exactly what they will get if they hand over money to you, as well as show off screenshots of your stunning stickers. Apple will also want your banking and tax information so it can hand over that money to you.

Step 5: It’s time to take the exciting step toward financial freedom by uploading your new sticker pack to Xcode. Of course, this isn’t actually an Xcode tutorial, but thankfully Apple has provided the iOS 10-loving world with a very handy little walkthrough video that outlines how to get Xcode up and running as well as adding stickers. As soon as you watch the video, you’ll understand the simplicity and be dragging that artwork into the app in no time at all. You can check out the video here.
Step 6: Your creative juices aren’t ready to be retired just yet. You’re also going to need to create yourself an app icon that is shown in the App Store when users visit your app page. Apple offers a handy template for icons as a download, but this is your chance to be really creative as it represents the first visual overview of the new sticker pack. You can download the templates from here.
Step 7: The time has come to upload your build and submit it to the iTunes Review Team for them to give it their seal of approval and add it to the App Store as an available purchase or download for everyone with an iOS 10 device. This can be handled via Xcode or Apple’s separate upload program, Application Loader. This can be grabbed from the resource section of iTunes Connect.

Step 8: Sit back, wait for the Apple Review Team email to populate your inbox saying that your upload has been approved, and prepare to become rich and famous with all of the sticker money. As you wait, you may want to test out your app as a beta release through TestFlight.
You may also like to check out:
- iOS 10 Messages: Best Stickers, Games, Apps For iMessage
- iOS 10 iMessage App Store Apps & Stickers In Messages App [Tutorial On How To Use Them]
You can follow us on Twitter, add us to your circle on Google+ or like our Facebook page to keep yourself updated on all the latest from Microsoft, Google, Apple and the Web.
