
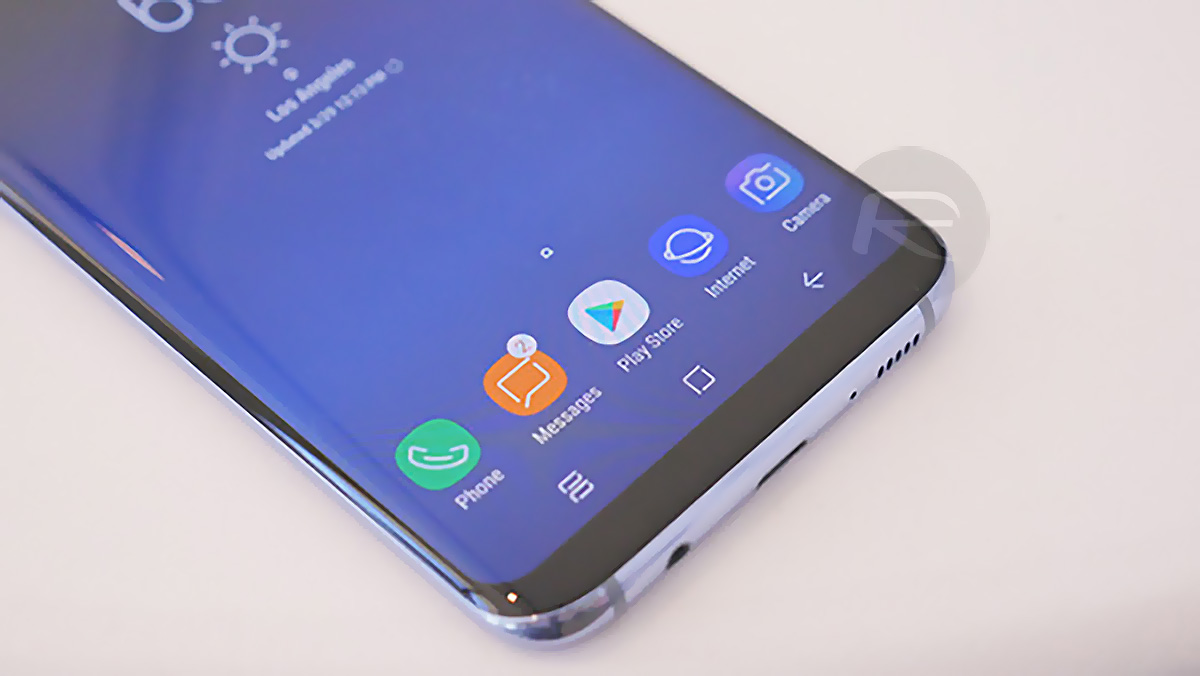
It has taken many, many months to arrive – arguably far too many – but Android Oreo is finally rolling out to the majority of Samsung Galaxy S8 and Galaxy S8+ devices worldwide. This also now finally includes Verizon, and although other carriers in the United States have yet to give Oreo the green light on these devices, it should only be a matter of time before the updates start rolling out.
The Exynos versions of Android Oreo have already been available for a while, but with the Snapdragon variants of the Galaxy S8 and Galaxy S8+ now also getting the update, everyone can finally breathe a sigh of relief.

While the option of waiting for the update to be pushed to your device over-the-air is very much one that most users should opt for, there is, of course, a way to get the update installed much sooner, although you will need to do a little leg work in order to do it. Here’s what you need to force it, but be warned: it’s not a two-minute job!
Step 1: Make sure that you are using the correct model of phone – either G950U or G955U. Once you make note of that, download BRB1 Odin firmware and the update file for your Galaxy S8 or Galaxy S8+ from here:
- BRB1 Odin firmware for Galaxy S8 | Galaxy S8 Update
- BRB1 Odin firmware for Galaxy S8+ | Galaxy S8+ Update
Step 2: Copy the OTA file that you just downloaded to your phone’s SD card and extract the Odin firmware, too. If you don’t have an SD card, keep the file on your computer. We’ll need it later, but the SD card route is definitely simpler.
Step 3: Boot your smartphone into the correct mode by powering it off and then holding the Bixby button + Volume down + Power in order to turn it back on.
Step 4: Download the Odin tool from XDA here and connect your smartphone to your computer. Odin is built by Samsung for flashing devices, and may look a bit confusing initially. Don’t worry, we’re not going to use a lot of what you see.
Step 5: Click on the BL button and find your Odin firmware folder – the one you extracted the files to in step 2. Select the file starting with BL before doing the same process for the AP and CP files.
Step 6: Click the Start button.
Step 7: Sit back and wait for your device to flash and then restart of its own accord. Once done, power it off again before turning it on using the Bixby button + Volume up + Power button combo (note that it’s Volume up this time, not down).
Step 8: Select apply from SD card by using the Volume up and down keys to navigate the options and the Power button to make a selection. Find the file called “update.zip” and select it.
Optional: If you don’t have an SD card, select apply update from ADB, then on your computer, open a command prompt and type “adb sideload” before pressing enter. Follow any instructions that pop up.

You’re all done. Enjoy Oreo!
You may also like to check out:
- PUBG Mobile USA Version APK, iOS Download Links Officially Released
- Fortnite Mobile Invite Codes Sign Up May No Longer Be Needed To Play, Here’s What You Need To Know
- PUBG Mobile 0.4.0 APK Download In USA Of Battlefield Variant [China Version]
- PUBG Mobile USA English IPA Download On iOS Can Now Be Installed Without App Store, Here’s How
- Fortnite Mobile IPA Link For iOS Download Now Available Outside The App Store
- Download iOS 11.2.6 IPSW Links And OTA With Fix For Messages Crashing Bug
- Jailbreak iOS 11.2.6 / 11.2.5 / 11.2.2 On iPhone And iPad [Status Update]
- Jailbreak iOS 11 / 11.1.2 On iPhone X, 8, 7, iPad Using Electra Or LiberiOS [Updated]
You can follow us on Twitter, add us to your circle on Google+ or like our Facebook page to keep yourself updated on all the latest from Microsoft, Google, Apple and the Web.