Here’s how to fix or clear Kodi cache full issue on version 17 and 17.1 Krypton release of Kodi on various platforms that you may have it installed.
If you are a regular Kodi user, and regularly use that Kodi installation to stream movies or TV shows, then you may occasionally find yourself in a situation where content won’t load, or the playing experience isn’t as you would expect. It’s not immediately evident what could be causing that issue, but it can sometimes be down to the fact that you need to clear the cache on your Kodi installation.

As you might expect, it isn’t as simple as having a “clear my Kodi cache” button. In this convoluted digital world that we live in nothing is quite as simple as that. Thankfully, there is an add-on that you can install on 17/17.1 Krypton release which introduces a wonderfully simple cache clearance tool that makes that whole process super simple and efficient. If you have found yourself experiencing some of these problems, and are ready to resolve it, then follow the steps below.
Step 1: In your Kodi File Manager you are going to need to add a new resource. Load up the aforementioned File Manager and add the following repository: http://fusion.tvaddons.ag/
Step 2: Select Add-ons from the Kodi menu and then choose the box icon in the top left-hand corner of the main menu. This will take you to a new menu.
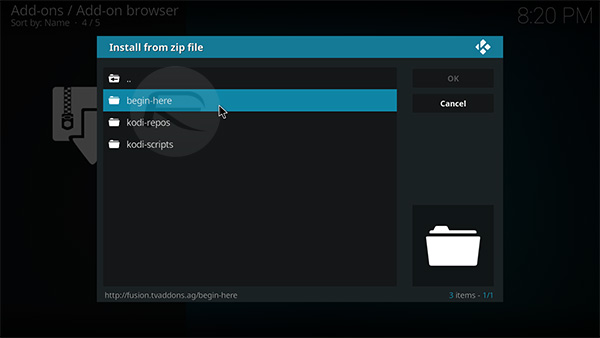
Step 3: Select Install from zip file and then select Fusion from the next set of options. You will be presented with a new set of options. Make sure to select the begin-here folder.
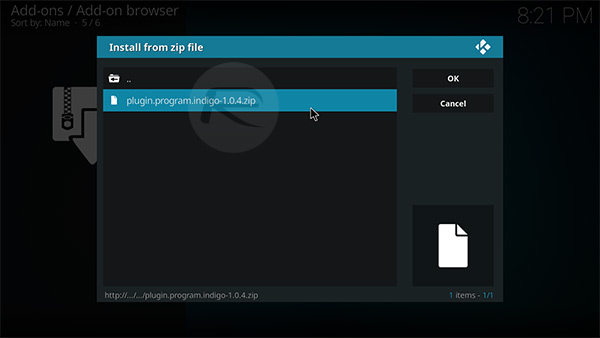
Step 4: Select the plugin.program.indigo-1.0.4.zip file. The menu will change to reflect a new option of Currently downloading add-ons.
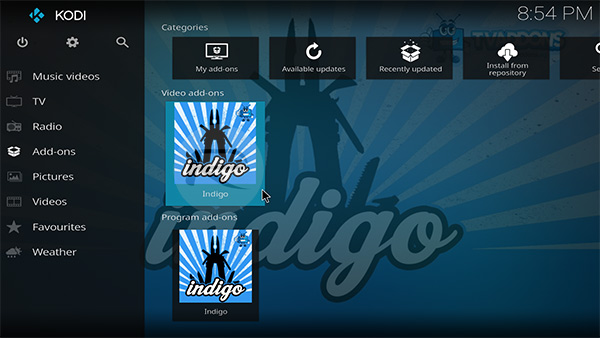
Step 5: A notification will appear at the top of the display with the text Add-on enabled when it has finished installing. In the main Add-ons section select the new Indigo add-on.
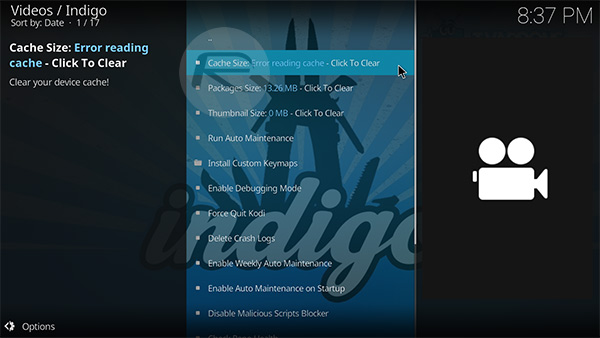
Step 6: Kodi will present a Starting up screen which basically initializes the content. Once it has finished its business it will provide a list of options. Select the Cache Size option which reads “Click To Clear”.
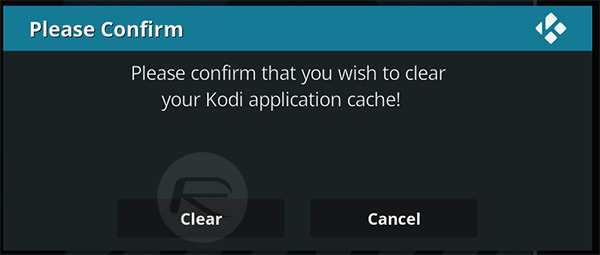
Step 7: When the Please Confirm dialogue box is presented, select the Clear option to confirm.
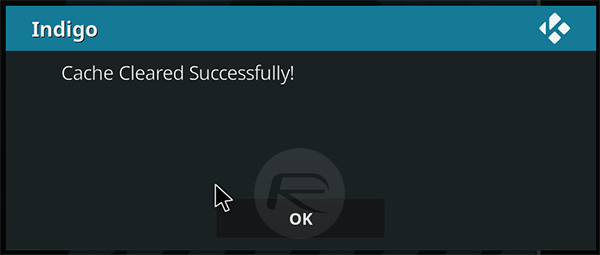
Step 8: You will then be presented with a dialogue box to inform that the cache has been cleared.
You might also like to check out:
- Download Kodi 18 Leia Alpha IPA On iOS 10 iPhone [No Jailbreak Required]
- How To Sideload Kodi On iOS 10 Without Jailbreak [Tutorial]
- Download Kodi 17.1 IPA On iOS 10 And Install Without Jailbreak
- How To Sideload / Install Kodi On Apple TV 4
- Sideload / Install Kodi On Amazon Fire TV Stick The Easy Way [How-To Tutorial]
- The Best Kodi 17 Krypton Skins / Themes [2017 Edition]
- Fix Kodi 17.1 Krypton Buffering Issue, Here’s How [2017 Edition]
You can follow us on Twitter, add us to your circle on Google+ or like our Facebook page to keep yourself updated on all the latest from Microsoft, Google, Apple and the Web.
