Windows 10 is undoubtedly extremely powerful and comes equipped with a number of excellent features that set it in a class of its own when compared to legacy versions of Windows. With that said, it’s more often than not, the smaller inclusions and customization capabilities that will make users truly embrace a certain OS. Windows 10 is full of such areas which users can customize, but today we’re going to take a look at how to create a new set of images that can then be used as a beautiful wallpaper slideshow on any Windows 10 device.
Unlike many of the well-hidden settings and customizations that Windows 10 sports, the procedure for invoking Slideshow feature for desktop wallpapers in the OS is a relatively simple, and straight forward one.
So let’s jump right in.
Step 1: Head into the Pictures folder within Windows 10. Right-click and create a new folder named “Slideshow“. In actual fact the name of the new folder doesn’t really matter. We just need a dedicated folder to hold our images for the slideshow. It’s also possible to use a OneDrive folder if you already have images stored in a cloud account.
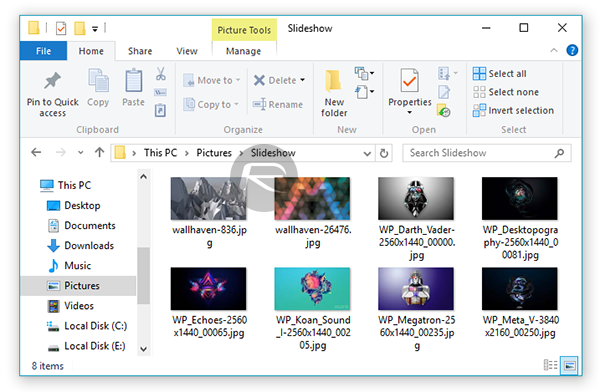
Step 2: Add as many images as you desire into that newly created folder. These image files will be used by Windows 10 to cycle through and create a Slideshow.
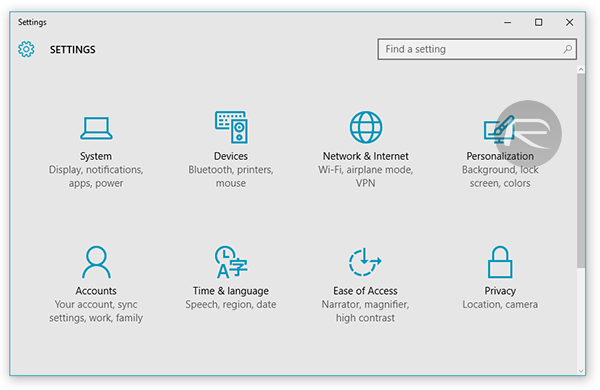
Step 3: Launch the Settings app by pressing the Windows key + I keys.
Step 4: From within the Settings menu choose the Personalization > Background option.
Step 5: Under the Background drop down box select the Slideshow option.
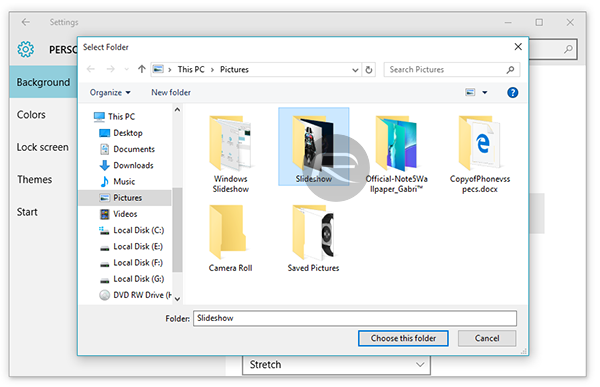
Step 6: You should now see a header titled, Choose albums for your slideshow. Click the Browse option that appears under it.
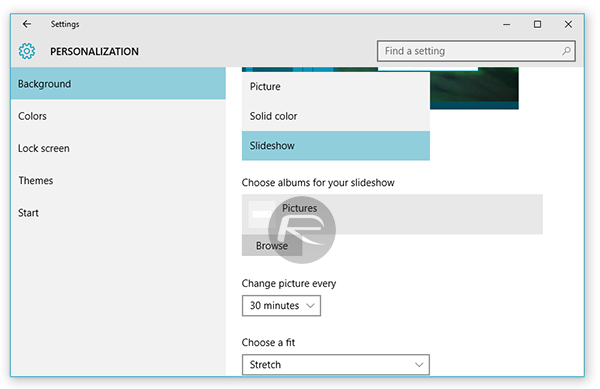
Step 7: Select the ‘Slideshow’ folder we created in Step 1. Alternatively, if the intention is to use a OneDrive folder then make sure that particular OneDrive folder is selected.
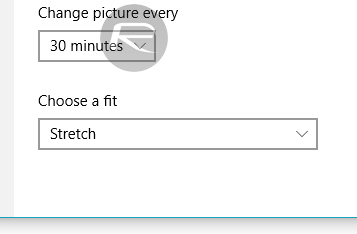
Step 8: Windows 10 then provides a number of customizable options. Under the Change picture every heading, select a time interval that denotes how quickly each image should be cycled.
Step 9: The Choose a fit drop down menu then allows you to select Fit, Tile or Stretch settings for your wallpaper depending on your own preferences of course. Select your desired choice.
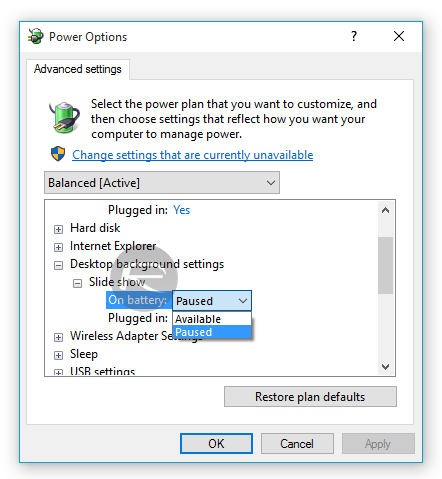
In addition to creating the Slideshow and adding a splash of customization to your Windows 10 PC, it’s also possible to enable this feature to function when the Windows 10 device isn’t plugged in to a power source. By default Microsoft has set the Slideshow feature to be automatically disabled when running on battery power, You can force it to run even when on battery by changing the setting from Power Options > Advanced settings, as shown in the screenshot below.
You may also like to check out:
You can follow us on Twitter, add us to your circle on Google+ or like our Facebook page to keep yourself updated on all the latest from Microsoft, Google, Apple and the web.
