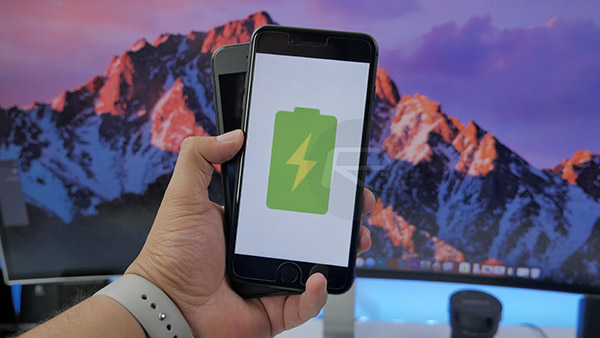
Anger levels may have died down now but there was uproar and consumer chaos when it first came to light that Apple was limiting the performance of older devices which were detected to have degraded batteries.
If you are one of those who were angry and definitely doesn’t want your device being artificially limited, then here’s how you can disable Apple’s CPU throttling in iOS.
Before you go through this process and start editing files and deleting entries that you may not be comfortable with, remember that Apple CEO Tim Cook has already confirmed that iOS 11.3 beta will come with the ability to actually enable or disable this throttling through the iOS Settings. In fact, today Apple announced iOS 11.3 beta for developers, but since the update won’t be available to everyone until this Spring, you can turn off this feature right now even without iOS 11.3, and here we will show you how.
If you are comfortable with tinkering iOS system files, then this is the guide for you. Here’s what you need to do:
Requirements:
- This process can work if you are jailbroken or non-jailbroken, but only if you are on iOS 11.0-11.1.2. If you have a jailbroken iOS 11 device, then you will need an app such as Filza or iFile installed to be able to navigate through the device’s directory structure.
- If you are non-jailbroken, running iOS 11 through to iOS 11.1.2, then you will need the FilzaJailed app installed which utilizes the async_wake exploit to allow non-jailbroken device owners to still have access to the device’s file structure. Instructions to install it can be found here: FilzaJailed IPA Download On iOS 11 Lets You Install Filza With Full Root Access [No Jailbreak Required].
- You will also need to know the model of your device. You can use the SystemGuard app from the App Store to get this information. You will need it in Step 1 below.
Instructions:
Step 1: Launch the Filza (or alternative) app that you have on the device and make sure that you are sitting at the root of the file structure. This will be denoted by “/”. Navigate to the following directory: System/Library/Watchdog/ThermalMonitor.bundle/[your device model].bundle
NOTE: Replace the [your device model] with the actual model as found in the SystemGuard app outlined in the Requirements above.
Step 2: Once inside of that directory, open up the info.plist file and tap on the “Root” option with the little icon next to it to expand the information tree. Once you have expanded and can see all of the options, locate the contextualClampParams entry and tap on the “i” information option.
Step 3: Once inside, you are going to need to locate and delete the lowParamsSpeaker, lowParamsCPU, and lowParamsGPU entries. It’s that simple. Find them and delete them.
Step 4: Save the changes.
That’s it! Exit the property list file, and reboot the device. You should now be operating a device which isn’t throttled in performance by Apple when degraded battery is detected.
Apple introduced this so called throttling feature on iOS 10.2.1 for iPhone 6, 6 Plus, 6s, 6s Plus, SE. iOS 11.2 added this for iPhone 7, 7 Plus. This so-called CPU throttling “feature” kicks in only when a device’s battery health is detected to be at 80% or lower.
It is important to note that Apple is offering $29 battery replacements for all devices from iPhone 6 to 7 for all of 2018 regardless of its condition. Doing a battery replacement will immediately bring your performance back up to full level but Apple will force you to upgrade to latest iOS 11.2.5 when doing this battery replacement, meaning if you are planning to stick to iOS 11.1.2 or lower for jailbreak purposes, this is your only option (except for manual battery swap, of course).
You may also like to check out:
- Download iOS 11.3 Beta 1 IPSW Links, OTA Update Featuring New Animoji, iMessage Business, More
- Kodi Quasar Addon Download Not Working? Here’s How To Install It The Right Way
- Download iOS 11.2.5 Final IPSW Links, OTA Update For Your iPhone, iPad, iPod touch
- Downgrade iOS 11.2.5 To 11.1.2 For Jailbreak Purposes, Is It Possible?
- iOS 11.2.5 Final Release Notes, Changes, Security Content: Here’s What Is New
- Jailbreak iOS 11.2.5 / 11.2.2 / 11.2.1 On iPhone And iPad [Status Update]
- Jailbreak iOS 11 / 11.1.2 On iPhone X, 8, 7, iPad Using LiberiOS [Updated]
You can follow us on Twitter, add us to your circle on Google+ or like our Facebook page to keep yourself updated on all the latest from Microsoft, Google, Apple and the Web.
